DIY Christmas Table Runner: Repurpose Old Greeting Cards
Are you looking for cute and creative ways to reuse Christmas cards? Are you searching for a quick, easy, and eco-friendly Christmas craft? You’ll love this DIY Christmas table runner made from repurposed greeting cards!
This post contains affiliate links.
The most wonderful thing about the holiday season is that my mailbox is briefly filled with cheer and smiling faces instead of bills, junk mail, and the one giant spider who stubbornly resides in the very back (eek). Every day between Thanksgiving and Christmas, I dart out to the mailbox as soon as I hear the USPS truck roar down our street to see what little rays of cardstock sunshine might now be hiding in that normally gloomy, arachnid-occupied box.
I have a confession to make, though: until last year, we pretty much popped those cards right into the recycling bin after a quick look. It’s not that we didn’t love the cards, but I’m not one of those gals who like hanging them on a piece of string or displaying them on a mantel. I’ve tried it, but I just didn’t love it. So, when I saw Jen’s post on how to repurpose old greeting cards into gift tags, I felt inspired. Was there another way to enjoy these adorable cards as Christmas decor that I hadn’t thought of yet?

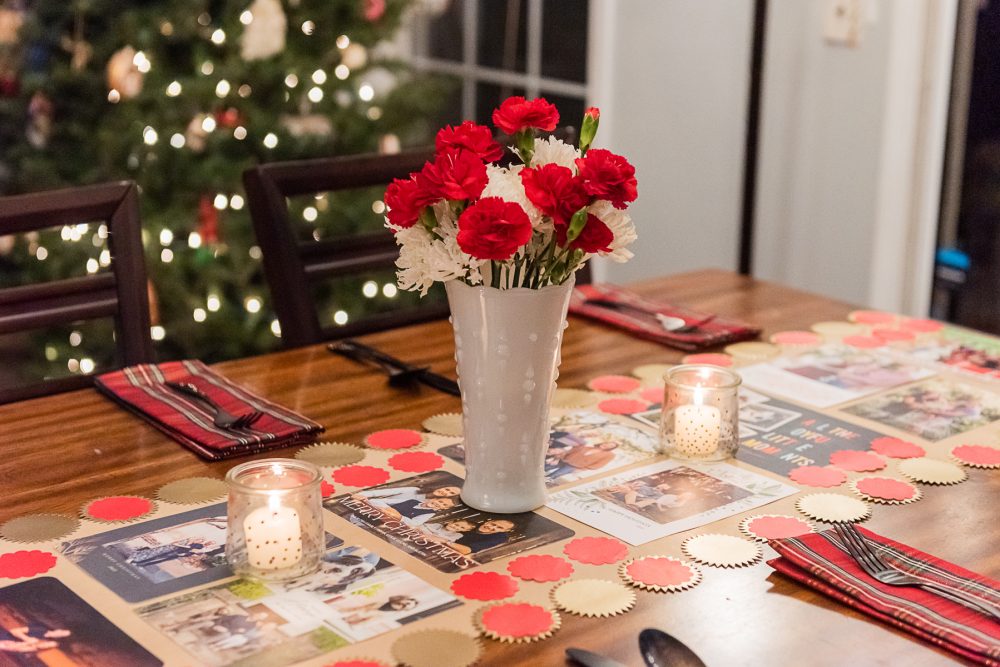
As a family, most of our quality time starts at the dining room table. So I wondered, “What if you could repurpose your old greeting cards into a festive DIY table runner?” You can, and you probably have almost everything you need for this simple, low-waste DIY in your craft room or home office!
Why does it matter, though? Did you know Americans send 2 billion cards each year? Most of those cards wind up in the trash or recycling can within days. And, did you know Americans throw away 25% more trash during the holidays, amounting to 25 million pounds of garbage?
Being an environmentalist and cultivating a sustainable lifestyle doesn’t mean everything you do has to be zero-waste (though it’s a great goal). It does mean making intentional choices, considering the global impact of your decisions, and looking for opportunities to get creative with single-use items. Any time you’re able to shift your perspective and see landfill-bound items as materials for something new, you’re on the right path.
Materials for DIY Christmas Table Runner
- Christmas cards or greeting cards
- A roll of brown kraft paper
- Two decorative hole punches
- Old colorful gift bags or gift boxes*
- Gold spray paint (optional)
- Double-sided tape
- Ruler
- Pencil
- Clear packaging tape
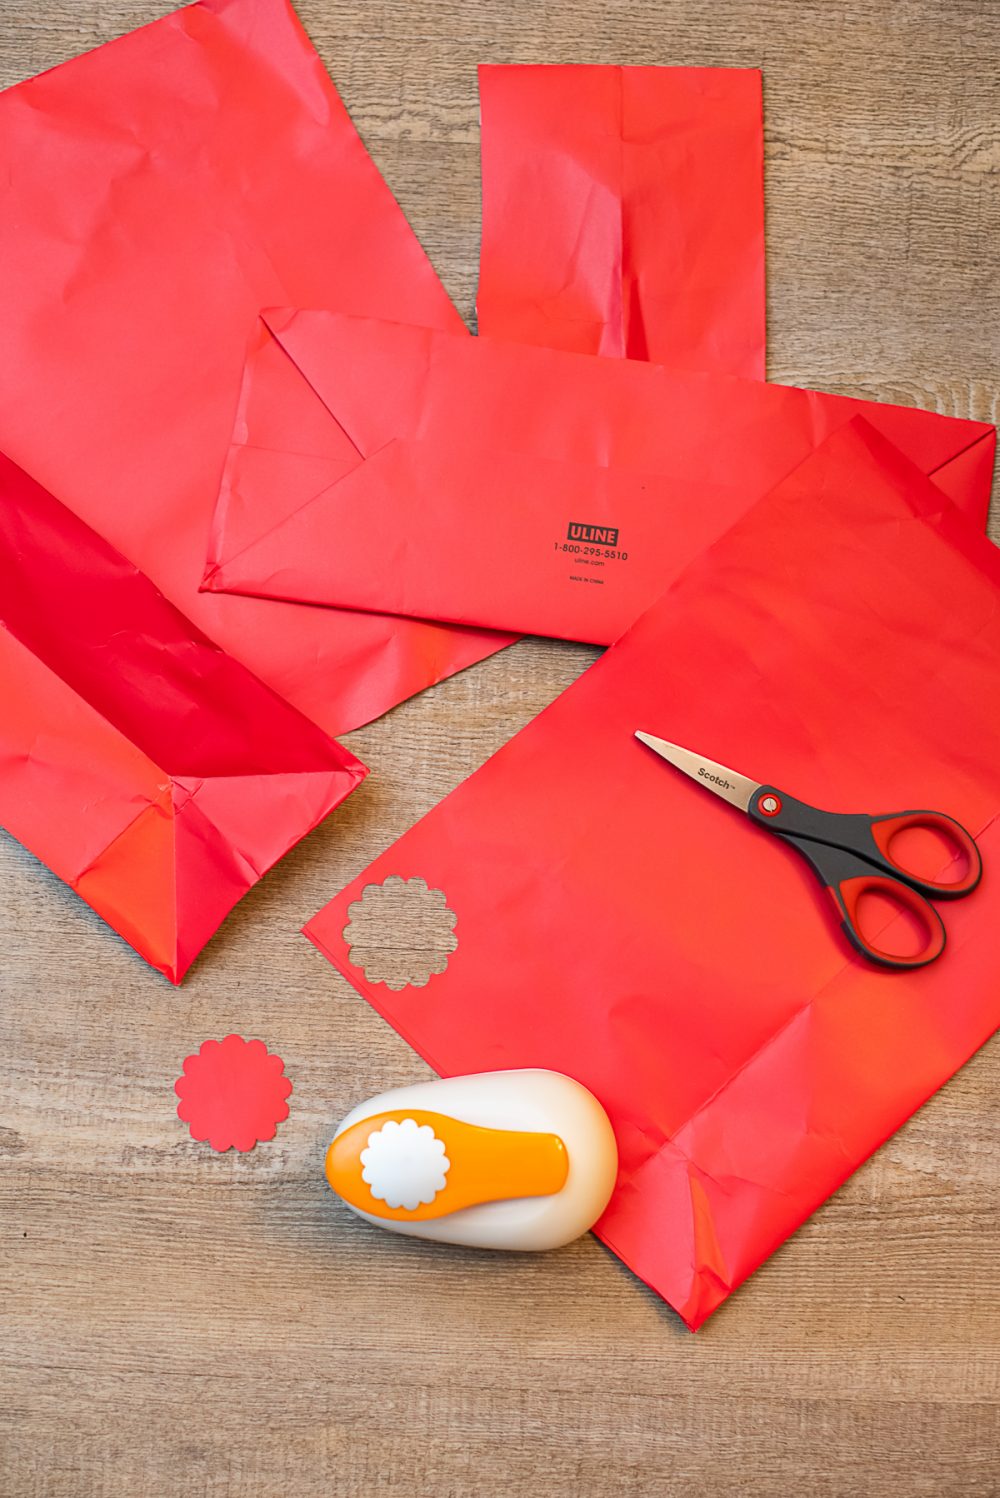
Note: I used a brightly colored but rather wrinkled plastic-coated gift bag and leftover shapes made from an Anthropologie gift bag from the DIY Photo Booth post. The red bag was a beautiful color, but it was too tired-looking to give someone, making it prime crafting material.

Instructions for DIY Christmas Table Runner
Note: This sustainable craft is so easy it almost feels like cheating, but the end product does look its best when you use attention to detail and good craftsmanship. If you slap the cards on there, it’ll still be cute, but if you tack everything down carefully, it looks really beautiful.
- Make your decorative flourishes! Split your gift bags or boxes into flat panels by cutting down the seams. Remove any handles or cardboard inserts.
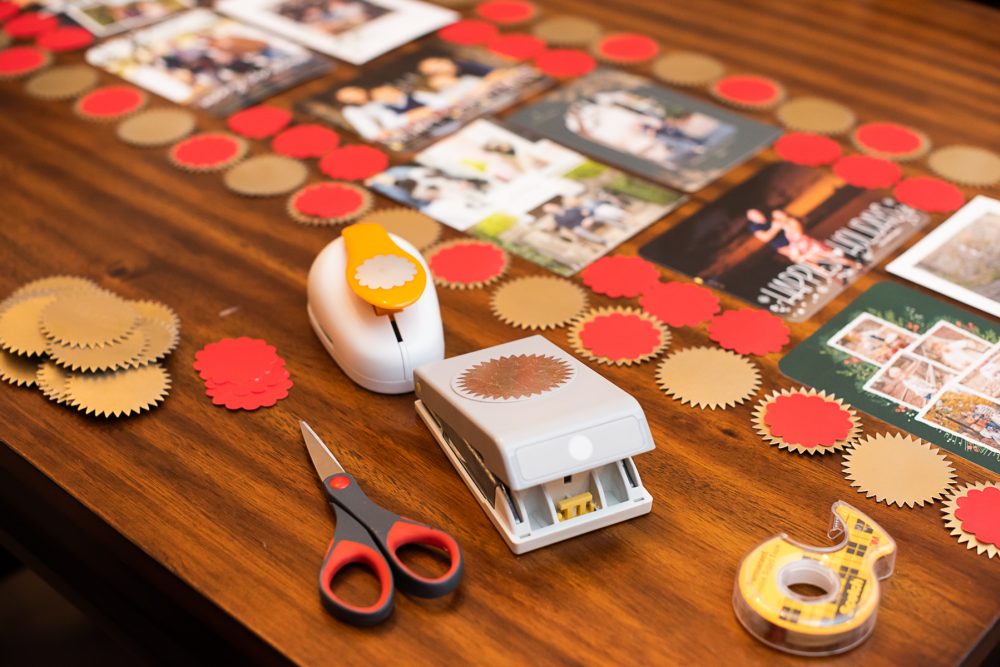
- If you don’t love the color of your gift bags or boxes, spray paint the panels and let them dry. Then use your decorative hole punches to cut out decorative inserts. (Check out last year’s DIY Photo Booth post for more details.)
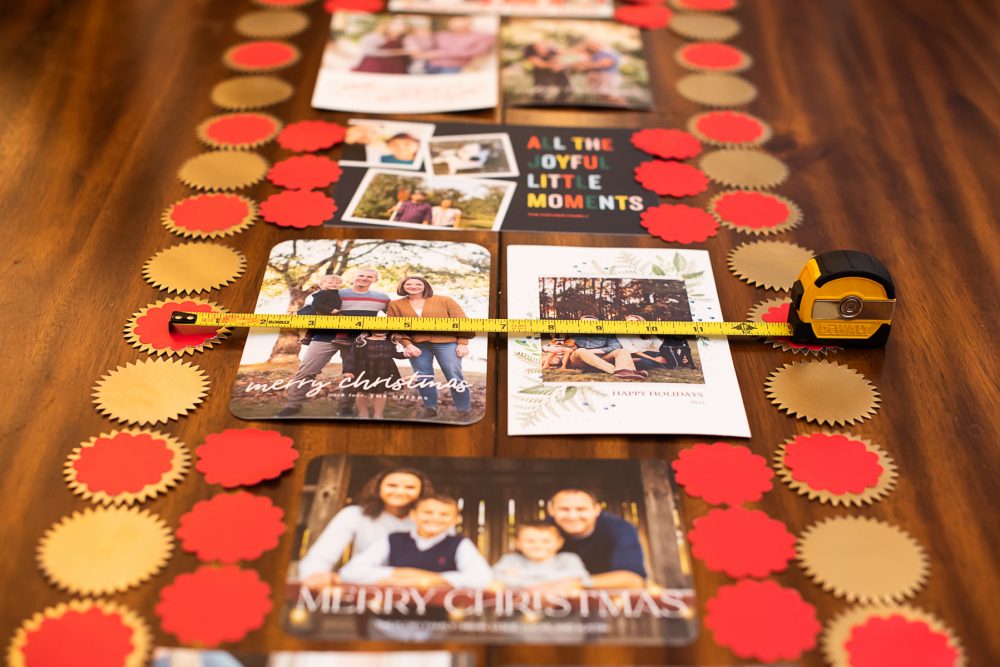
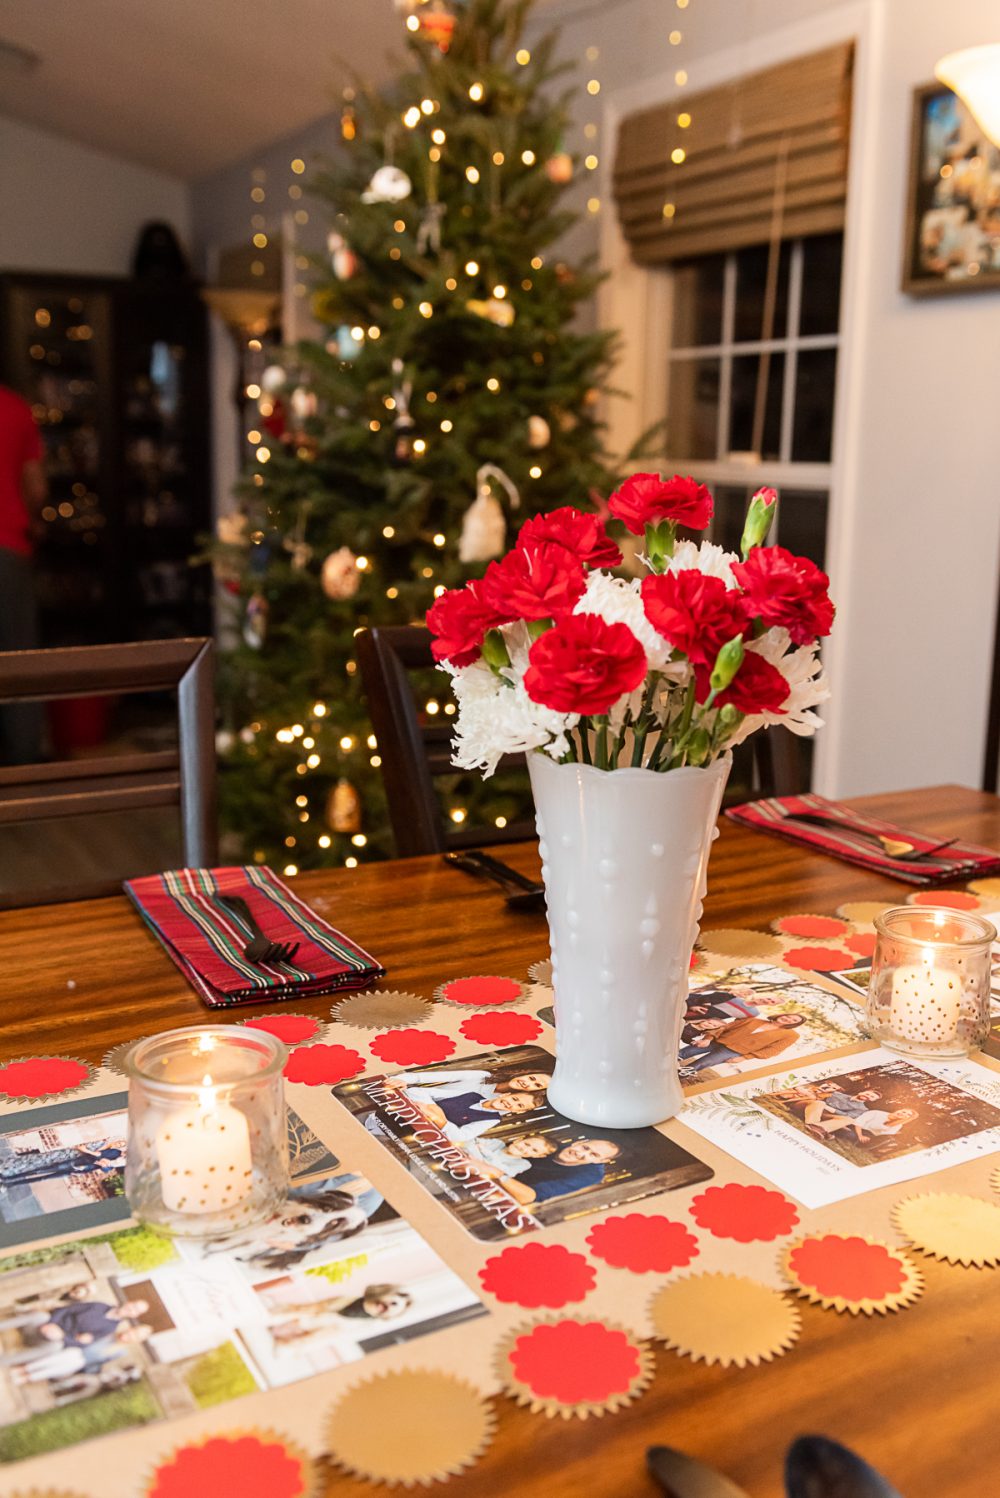
- Game plan your table runner. Lay out your cards on the table you plan to use and roughly space them out. Then ballpark where you want your decorative accents to go. I used mine to soften the edges of the kraft paper runner and fill in the patches of brown paper.
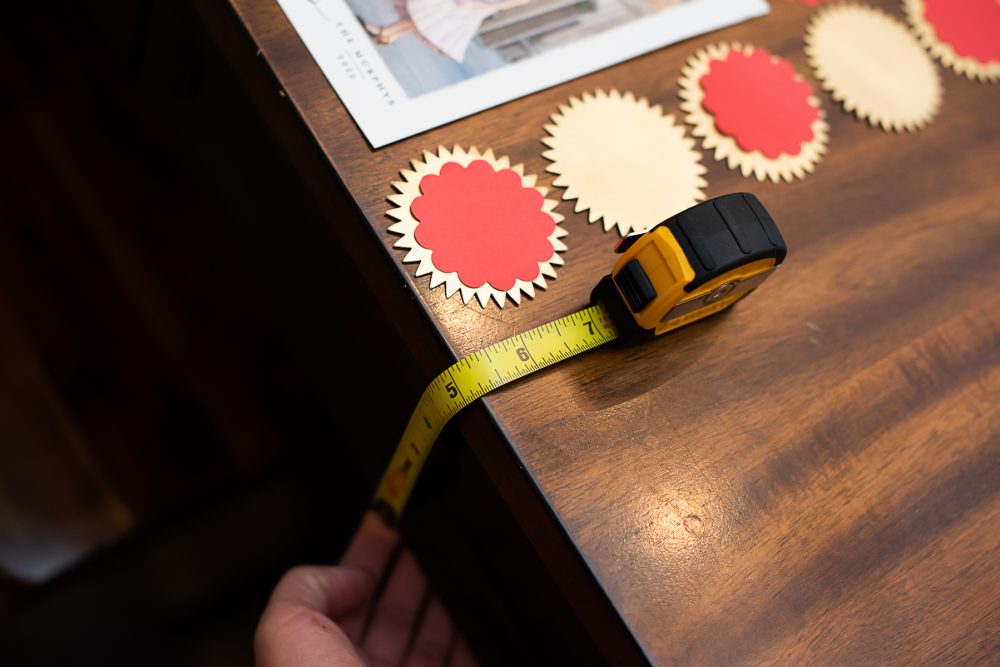
- Once you’ve roughly mapped out your table runner, measure the width of your design and write it down.
- Measure the length of your table and write it down. Then measure the height (i.e. thickness) of your tabletop, double that number, and add it to your runner length. Then add an additional four inches (two per end) to account for the paper needed to securely fold your kraft paper under the edges and tape your DIY Christmas runner under the edges of the table. (Does that sound confusing? Check out the photos. What we’re doing is mapping where you’ll fold the kraft paper around the edges of your table so that you can easily make crisp creases before you put it on the table, making the runner easier to assemble and tidy-looking.)
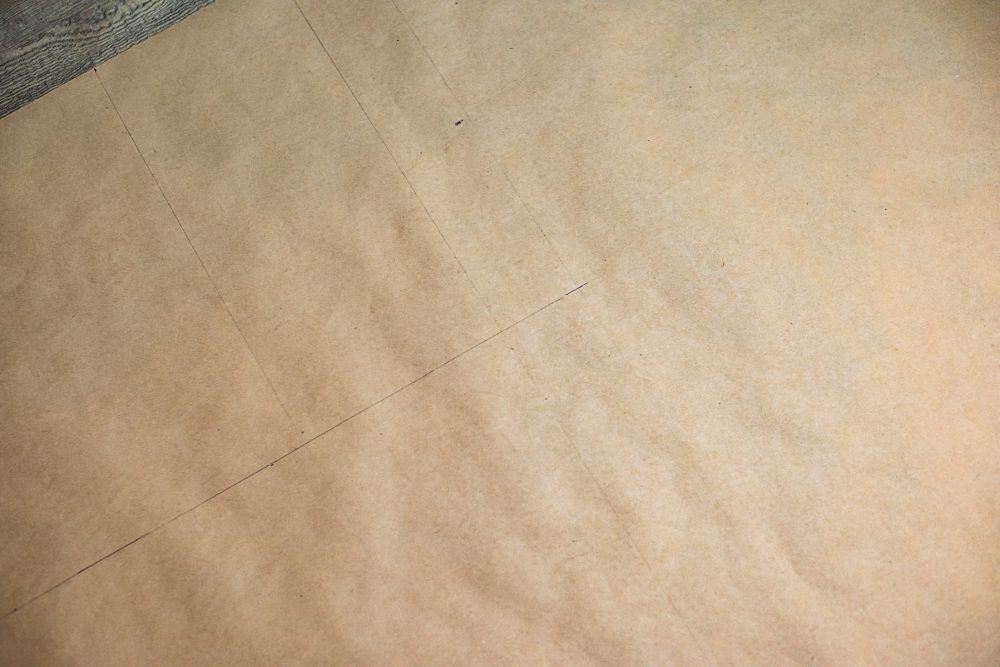
- Roll your craft paper out on the floor and weigh it down with small household items while you measure and draw your crease lines. You want the curvature of your paper to face upward, like a U shape, so that you’re drawing on the “under” side, and it will settle naturally into the creases and onto your table.
- Measure and draw out the width and total length of your table runner, including folding tabs and the portion that extends down the height of your tabletop. Add additional items to weigh down the table runner portion of your kraft paper so it won’t curl up as you cut, and cut it free from the roll of kraft paper.
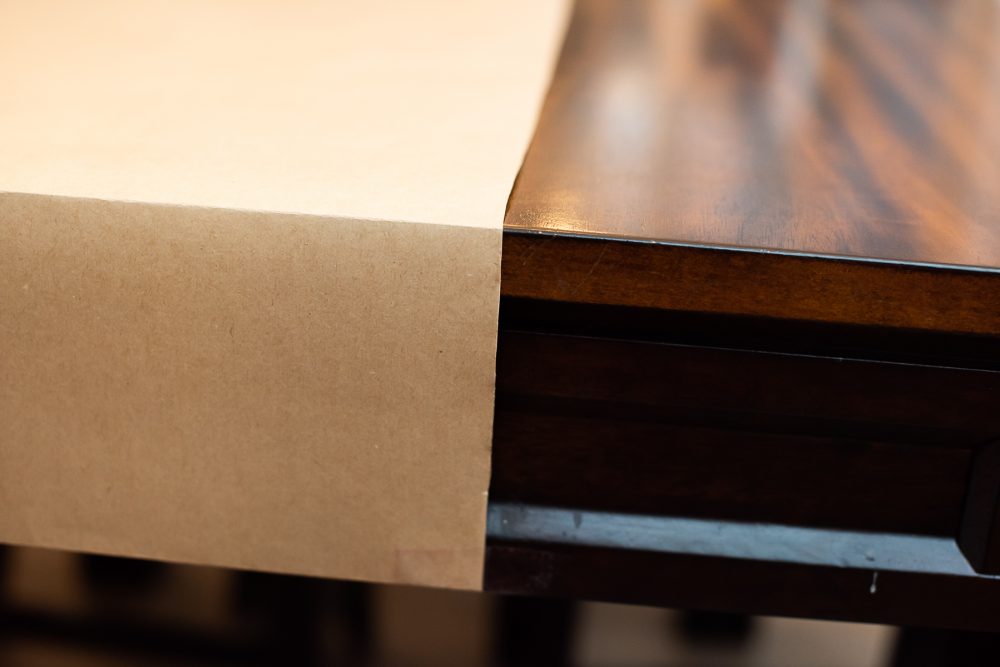
- Then, measure two inches from the top and the bottom (the long way) of the kraft paper and draw your crease guides. From the innermost crease guides, measure for the height (thickness) of the tabletop and draw guidelines for the next folds. Create crisp, clean folds along your guidelines.
- Place your runner on the table and use the packing table to secure the edges under the tabletop. Add a decorative accent with double-sided tape to cover the packing tape if desired.
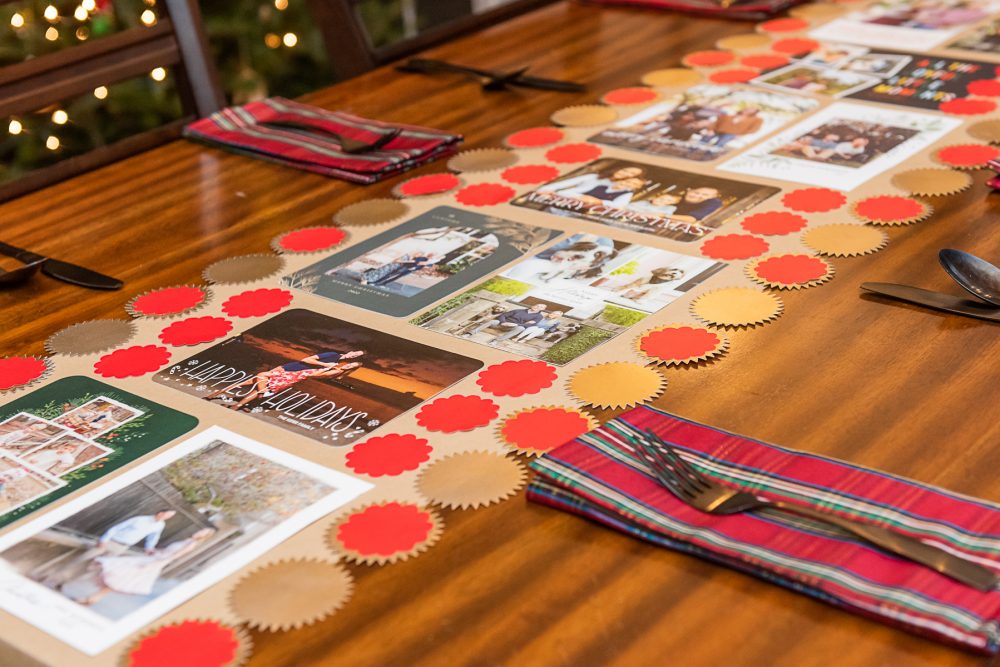
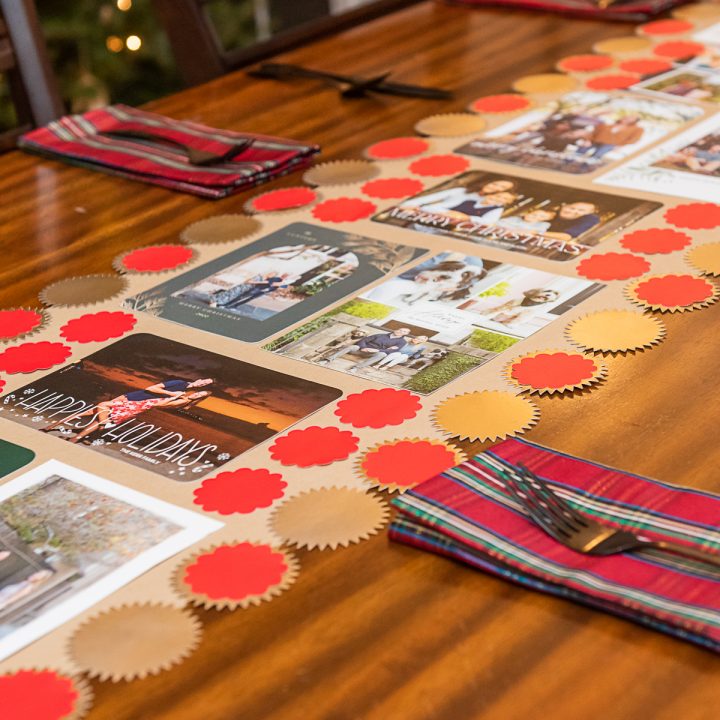
- Reassemble your cards and decorative accents over your kraft paper and secure them with small pieces of double-sided tape. Remember that any accents overhanging the edge should have tape positioned to only adhere to the kraft paper, not your table (so the finish on the table remains unscathed). For the cards, place a small piece of tape in each corner. If your card is a little worse for wear or warped, you may want to add an additional piece in the center of the long side of the card.
- Enjoy!
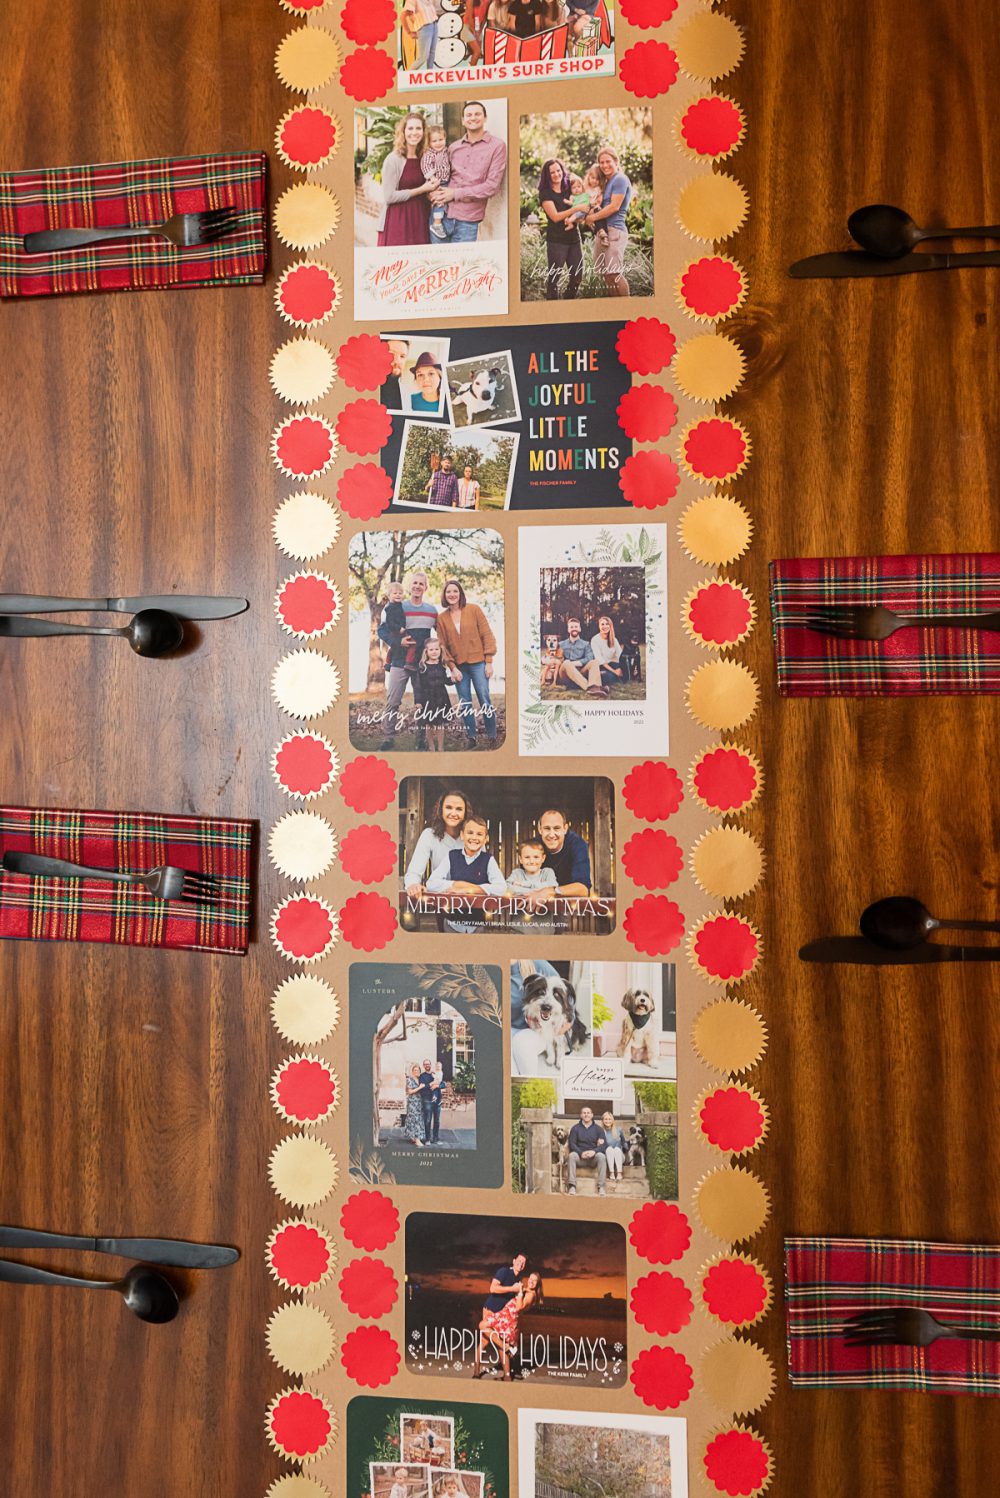
We love our table runner. It’s added so much warmth to our dinners to look down on the smiling faces and warm holiday messages.
Repurpose Old Greeting Cards into a Festive Holiday Tablescape
How to dispose of the table runner
In an effort to limit waste from any DIY project, consider how you will dispose of the table runner when you no longer need it or plan to use it.
- Remove all the elements from the kraft paper and peel off the tape. Discard the tape in the trash.
- Recycle any paper elements that do not have plastic coatings, paint, foil, or glitter embellishments (from the cards), or reserve the decorative accents for your next craft.
- Recycle or compost the kraft paper.
All photos via Reese Moore Photography
If you enjoyed DIY Christmas Table Runner: Repurpose Old Greeting Cards, you may also enjoy:
Easy DIY Christmas Table Decorations: Upcycling Ideas for an Eco-friendly Holiday
Everything to Know about Making Aromatic Homemade Fire Starters
Honest Review of Paper Culture Holiday Cards
About the Author

Reese Moore
Reese Moore is a photographer, content creator, and pickle connoisseur who divides time between Charleston and Lake Lure. When she’s not behind the lens shooting stunning images for Reese Moore Photography, Reese loves to spend her time wandering the woods with her dog Gatsby or adventuring with her husband Logan in their Airstream Basecamp.
Holiday Photo DIY Christmas Table Runner
A simple DIY holiday table runner made from all the holiday cards you receive from family and friends.
Materials
- Christmas cards or greeting cards
- A roll of brown kraft paper
- Old colorful gift bags or gift boxes*
- Gold spray paint (optional)
- Double-sided tape
- Clear packaging tape
Tools
- Ruler
- Pencil
- Two decorative hole punches
Instructions
- Make your decorative flourishes! Split your gift bags or boxes into flat panels by cutting down the seams. Remove any handles or cardboard inserts.
- If you don’t love the color of your gift bags or boxes, spray paint the panels and let them dry. Then use your decorative hole punches to cut out decorative inserts. (Check out last year’s DIY Photo Booth post for more details.)
- Game plan your table runner. Lay out your cards on the table you plan to use and roughly space them out. Then ballpark where you want your decorative accents to go. I used mine to soften the edges of the kraft paper runner and fill in the patches of brown paper.
- Once you’ve roughly mapped out your table runner, measure the width of your design and write it down.
- Measure the length of your table and write it down. Then measure the height (i.e. thickness) of your tabletop, double that number, and add it to your runner length. Then add an additional four inches (two per end) to account for the paper needed to securely fold your kraft paper under the edges and tape your DIY Christmas runner under the edges of the table. (Does that sound confusing? Check out the photos. What we’re doing is mapping where you’ll fold the kraft paper around the edges of your table so that you can easily make crisp creases before you put it on the table, making the runner easier to assemble and tidy-looking.)
- Roll your craft paper out on the floor and weigh it down with small household items while you measure and draw your crease lines. You want the curvature of your paper to face upward, like a U shape, so that you’re drawing on the “under” side, and it will settle naturally into the creases and onto your table.
- Measure and draw out the width and total length of your table runner, including folding tabs and the portion that extends down the height of your tabletop. Add additional items to weigh down the table runner portion of your kraft paper so it won’t curl up as you cut, and cut it free from the roll of kraft paper.
- Then, measure two inches from the top and the bottom (the long way) of the kraft paper and draw your crease guides. From the innermost crease guides, measure for the height (thickness) of the tabletop and draw guidelines for the next folds. Create crisp, clean folds along your guidelines.
- Place your runner on the table and use the packing table to secure the edges under the tabletop. Add a decorative accent with double-sided tape to cover the packing tape if desired.
- Reassemble your cards and decorative accents over your kraft paper and secure them with small pieces of double-sided tape. Remember that any accents overhanging the edge should have tape positioned to only adhere to the kraft paper, not your table (so the finish on the table remains unscathed). For the cards, place a small piece of tape in each corner. If your card is a little worse for wear or warped, you may want to add an additional piece in the center of the long side of the card.
- Enjoy!