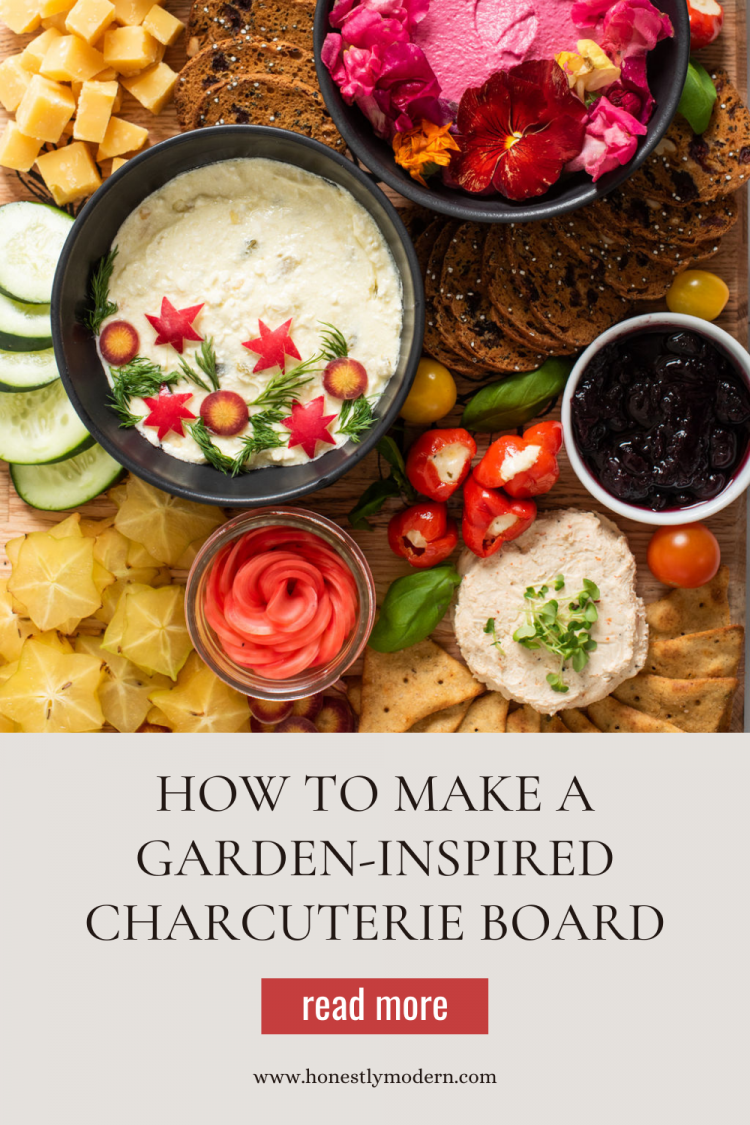
How To Make A Whimsical, Garden-inspired Vegetarian Charcuterie Board in Less than 45 Minutes
Are you looking to elevate your plant-based charcuterie board skills? Are you ready to make a colorful charcuterie board that’s so beautiful no one will even notice it’s vegetarian? We’ve got you.
Read on to learn how to make your own whimsical, garden-inspired vegetarian charcuterie board, complete with quick pickle roses, in less than 45 minutes.
If there’s one thing we take seriously in this house, it’s food. I’ve long joked that eating is my favorite sport, and frankly, I’m ready to go pro. I love preparing food because it keeps my hanger at bay (I swear I’m possessed by an angry, ravenous raccoon) and nourishes me, but also because it’s an opportunity for mindfulness.
In our ever-chaotic world of constant stimulation and multitasking, cooking invites you to slow down and take in the colors, smells, textures, and flavors that our natural world has to offer. (I know, I just got surprisingly deep with you on that one.)
That focused sensual experience that is so unique to the kitchen is at the heart of so many of my favorite family memories, from cooking with mom to now exploring the world of food and environmentally conscious eating with my tweenage niece, who is turning into quite the little chef in her own right.
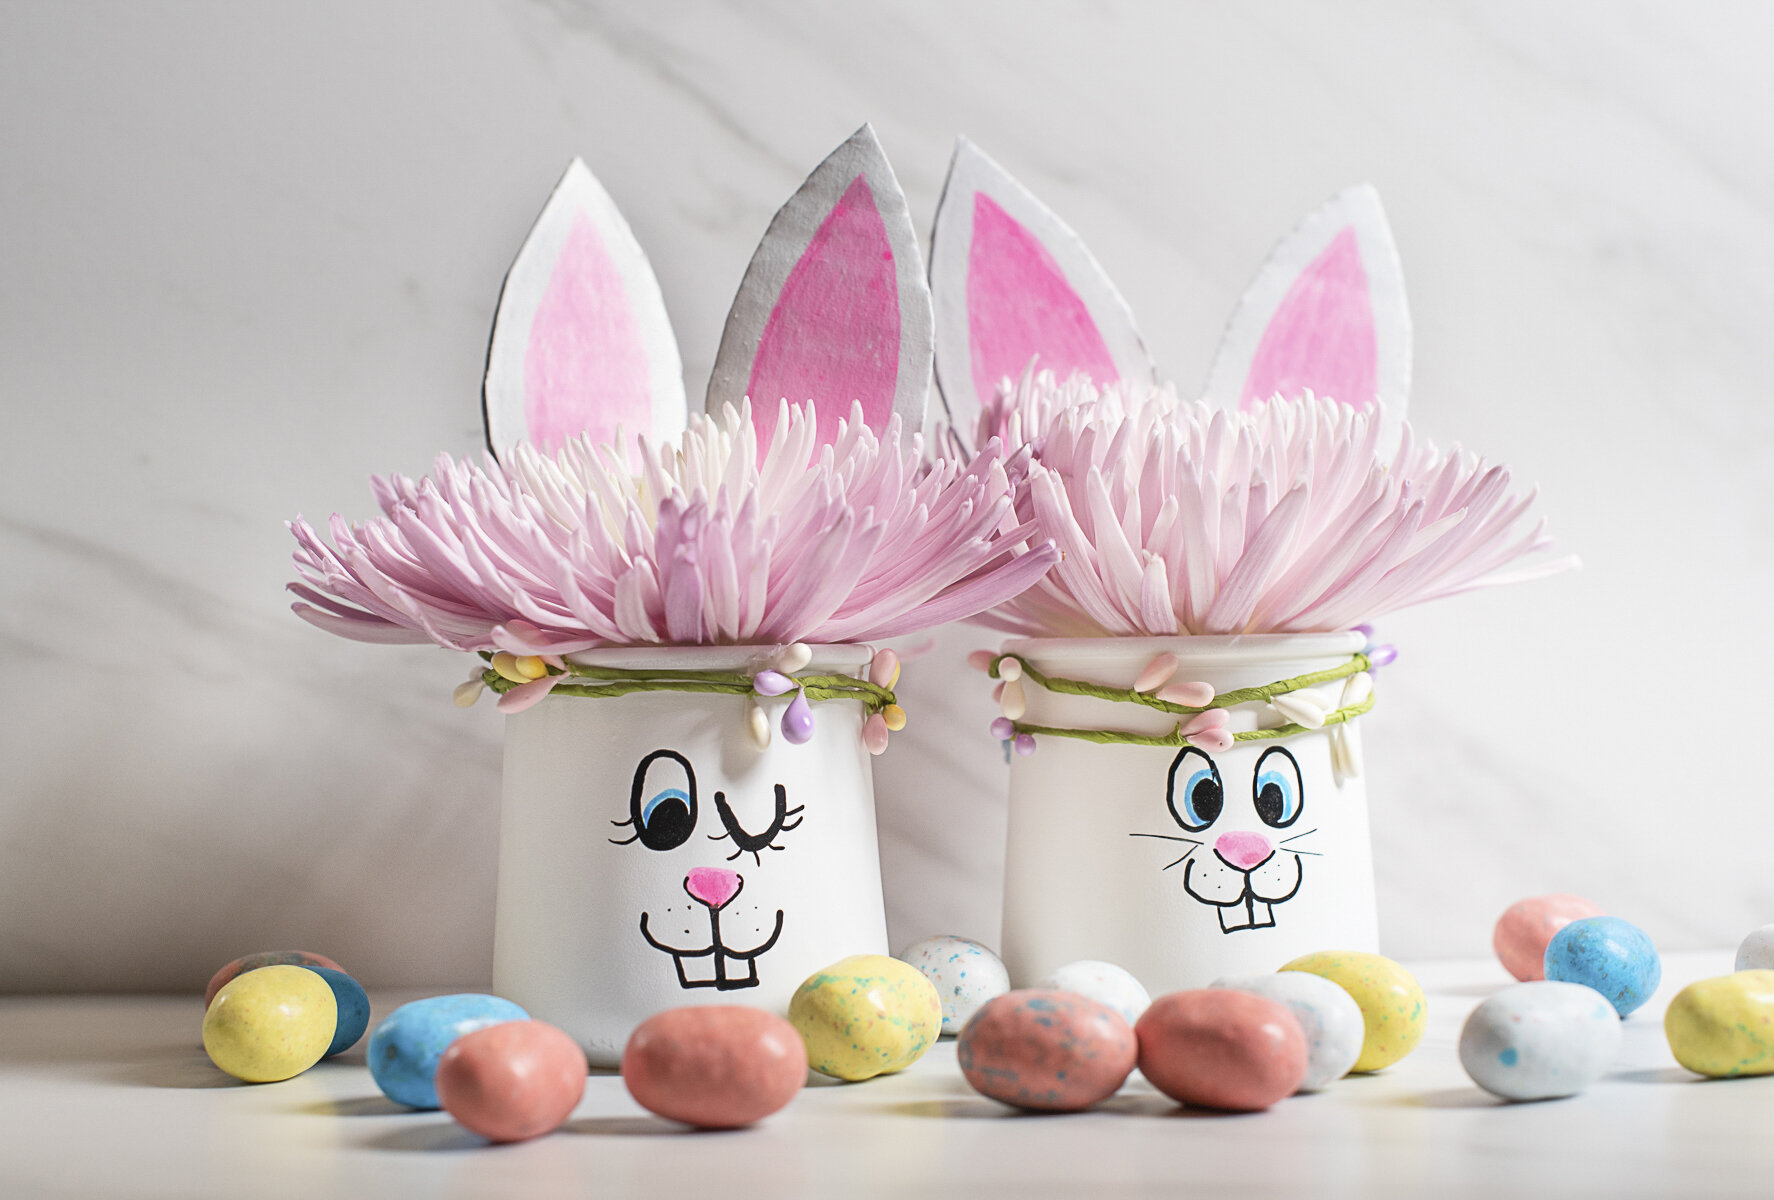
While I absolutely have a reverence for food (and the planet that allows us to cultivate it), I’m also a huge believer in playing with your food. When you invite whimsy and imagination into the kitchen, suddenly a snack of mozzarella balls and olives becomes hilarious googly eyes, celery and raisins become adorable ants on a log, and the vibrant trimmings of carrots, radishes, and kale aren’t food waste; they’re an opportunity to get creative.
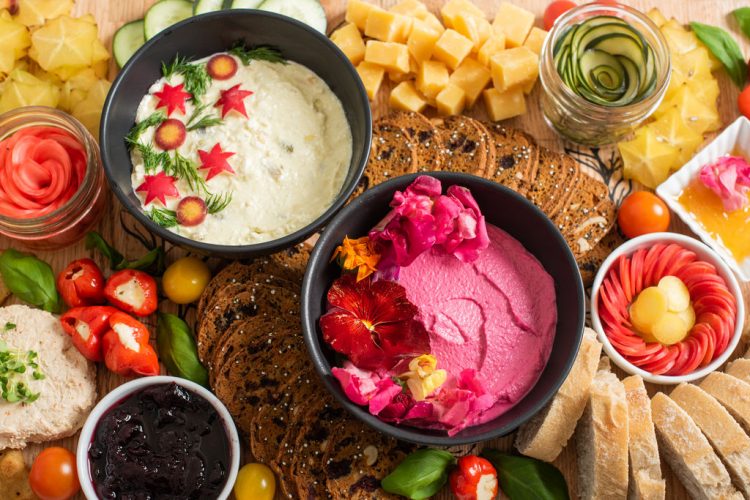
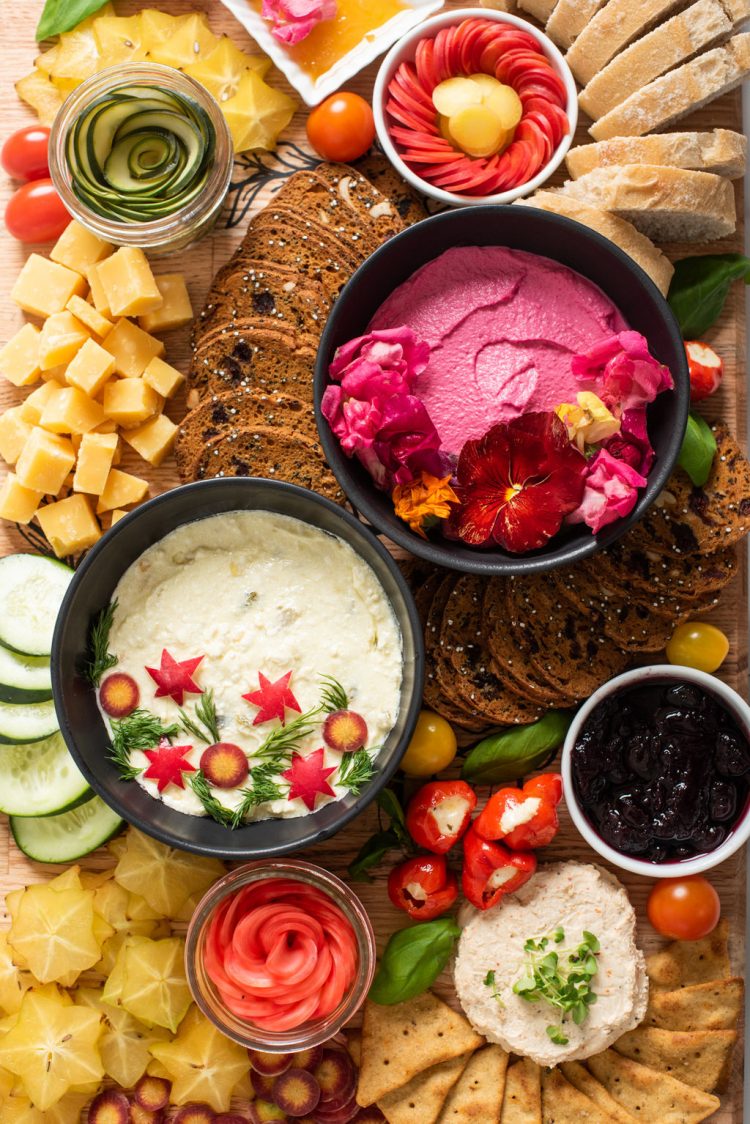
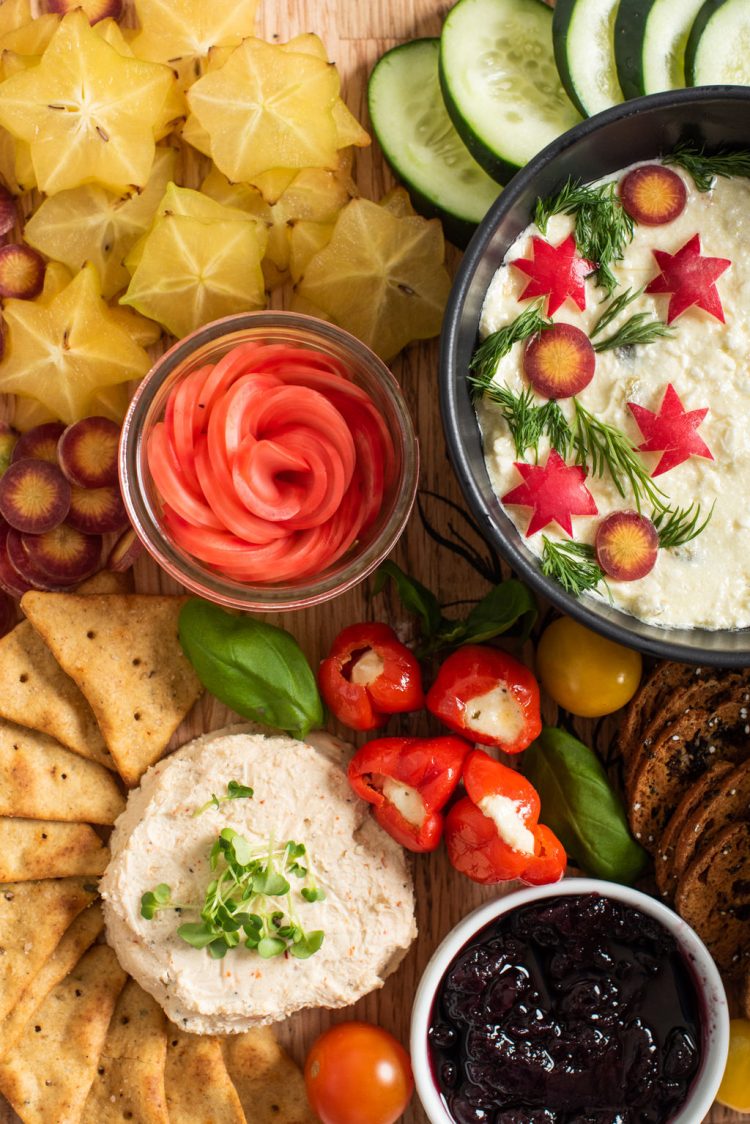
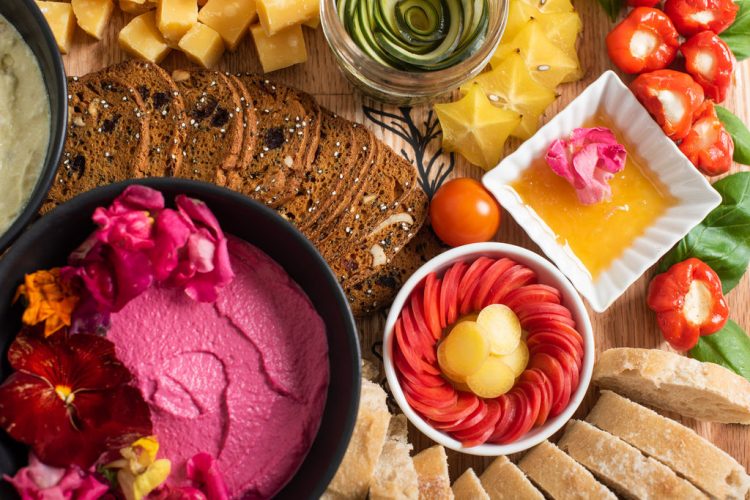
So, today, we’re celebrating the earth and all it has to offer with a vivid plant-based charcuterie board that’s not only filled with delicious snacks but edible flowers, quick pickle roses, and veggies styled to look like spring blooms.
A Plant-Based Charcuterie Board the Whole Family Will Love
I designed this spring garden-inspired vegetarian charcuterie board with my dad in mind. The man is a staunch meat-and-three type. The word “vegetarian” gives him hives, let alone trying to explain to the dear man what the term “plant-based” even means.
The key is to give resistant or picky eaters (I’m thinking of two grumpy littles in our family in particular) something that’s so fun and so exciting, they’re focused on what they are getting, not the ingredients that aren’t included.
The bright colors and combination of textures are so incredible and tantalizing, your loved ones will be blown away, and no one will even notice this is a meatless snack board!
Finally, while I normally delve into the important environmental statistics that drive all my sustainable DIYs, Jen Panaro recently did a beautiful piece on the importance of eating less meat that’s a wonderful read. Take a look and then come back to enjoy this post about playing with your food, enjoying a plant-forward meal, and being present.
Note: Are you new to the world of plant-based charcuterie boards? Antonietta Ferretti wrote an amazing blog post, How To To Build Your Own Plant-Based Charcuterie Boards, which you’ll find informative and inspiring.
Best Vegetables for Quick Pickle Roses
I love when food and art intersect, but those charcuterie roses taking Pinterest by storm are just… gross and creepy to me. Am I the only one that finds meat flowers disturbing? Yes, I do eat (and love) charcuterie, just not in fake flower form.
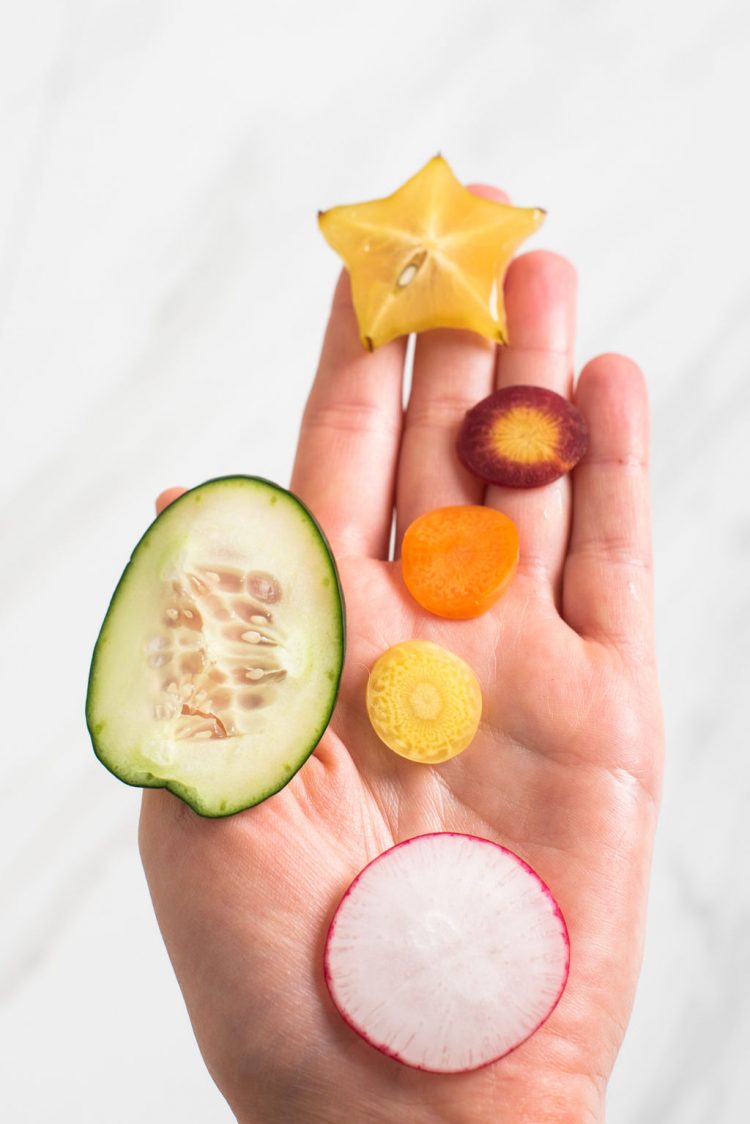
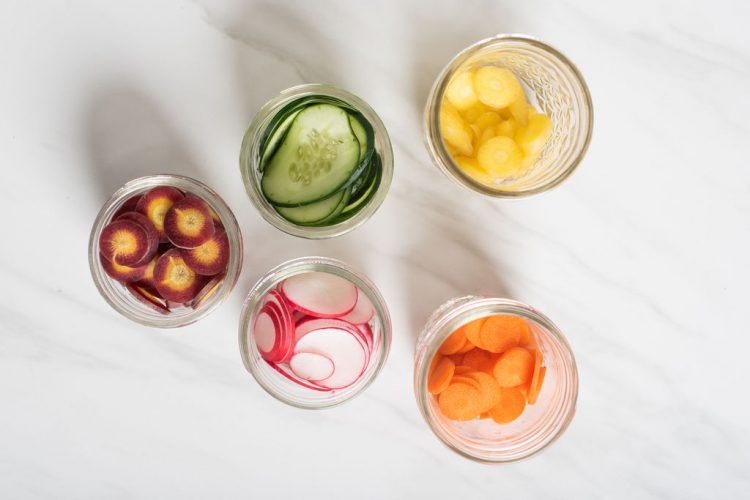
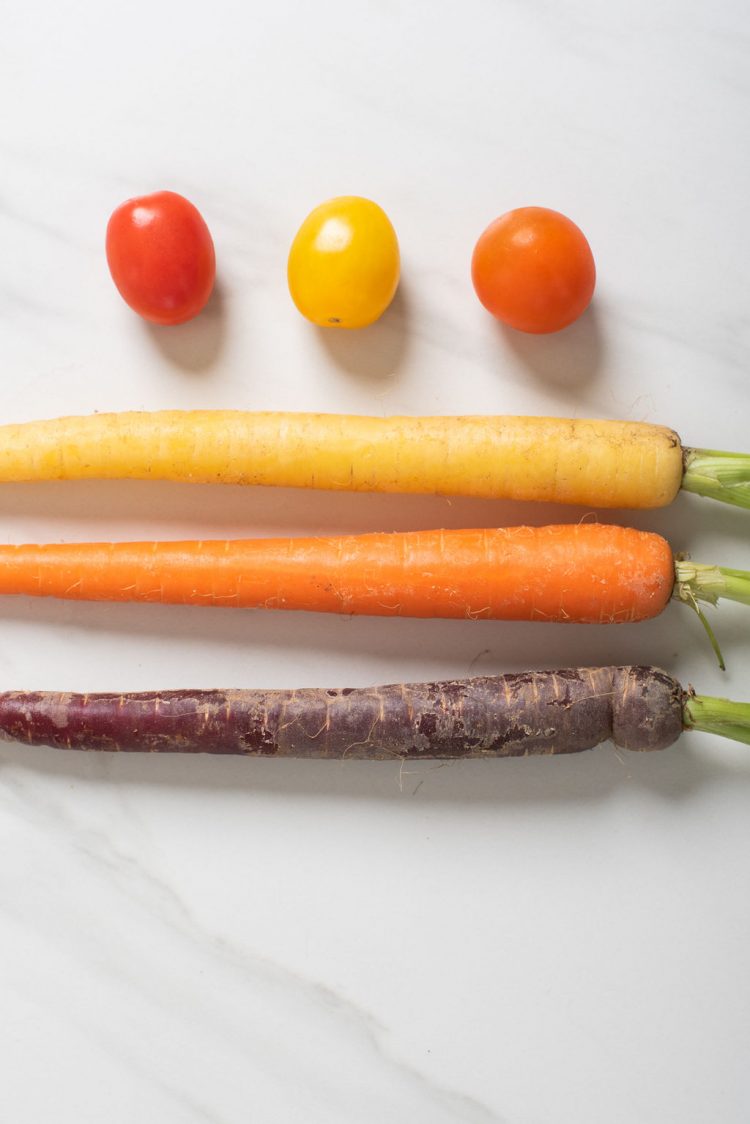
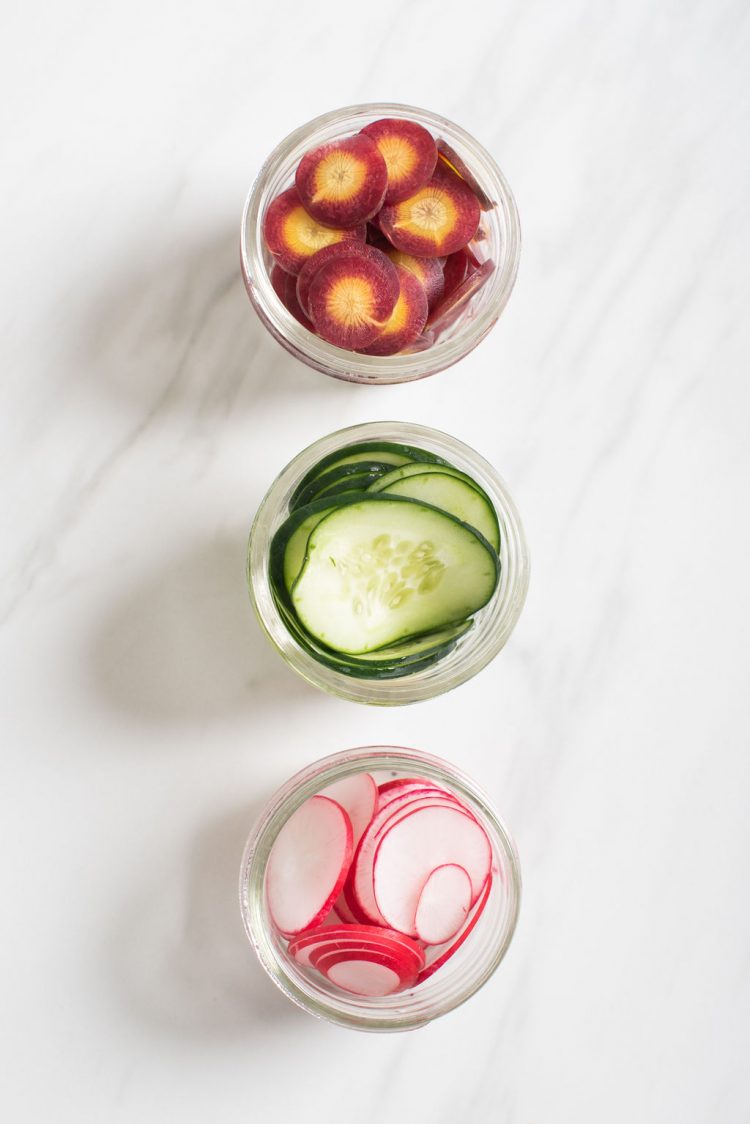
To make an equally impressive and easy garnish, we’re making quick pickle roses! Hit the veggie section of your local grocery or farmer’s market, and keep an eye out for colorful, fresh veggies that taste great pickled and can easily be sliced into very thin rounds. Multicolored carrots, radishes, and cucumbers are all excellent choices. If you’ve never made quick pickles before and you’re worried about the stiff texture of your vegetables, remember that quick pickling uses a hot vinegar brine that will lightly cook your vegetables during the pickling process, making them nice and pliable.

Ingredients for a Garden-Inspired Vegetarian Charcuterie Board
Note: Every great charcuterie plate, whether plant-based, vegan, or traditional, consists of five necessary and delightful ingredient profiles: sweet, salty, rich, spreadable, and crunchy. You can absolutely mix and match and get creative! You likely already have a lot of these ingredients and condiments on hand.
- Honey (Exclude for a vegan board.)
- 2 whole star fruit (Substitute: strawberries, raspberries, or something else colorful that can easily be made to look like a flower.)
- Jam, chutney, or lemon curd
- 1 box each of cranberry cashew crackers and herb and sea salt crackers (Pick something with pretty textural elements, and remember bags of crackers are often smashed to bits!)
- One small wheel of cheese (Consider color, if there’s a cranberry encrusted or red pepper infused option, and olive tapenade is a vegan substitute.)
- Stuffed cherry peppers (Mine were pre-stuffed in the olive section at Whole Foods.)
- 1 tub of spreadable light-colored dip (Opt for a white bean dip for a vegan option.)
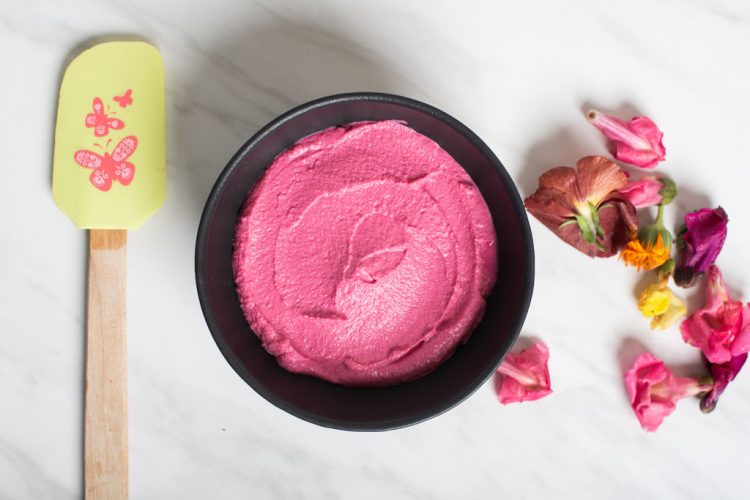
- 1 tub of beet hummus (Substitute: red pepper or chipotle hummus)
- Cheese cubes
- 2 cucumbers
- 1 bunch multicolored carrots
- 1 bunch radishes
- 1 small baguette
For the Quick Pickles
- 1 medium cucumber, 1 carrot, and several radishes from the list above
- ¾ cup vinegar (I used tarragon and champagne vinegar, but apple cider or rice vinegar work great, too.)
- ¼ cup of water
- 1 tsp sea salt
- 1-2 tablespoons of sugar or maple syrup
Miscellaneous Ingredients and Special Equipment
- Garnish: herbs, edible flowers (Available at Whole Foods or farmer’s markets), carrot greens, cherry tomatoes, whole grain mustard
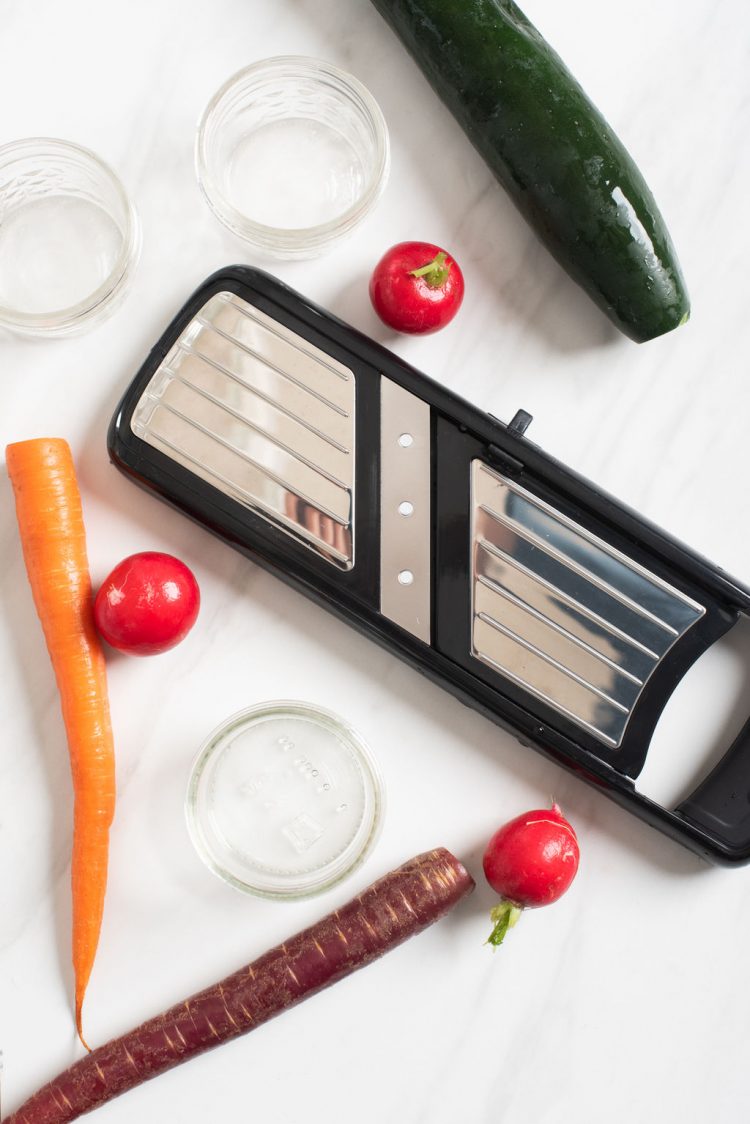
- Mandoline
- Stove
- Saucepan
- Mason jars with lids for quick pickles
- Small, shallow bowls for condiments
- Large charcuterie board, serving board, or cutting board
- Cheese knives and small spoons
- Compostable bamboo or reusable stainless steel toothpicks
How to Make Whimsical, Garden-Inspired Vegetarian Charcuterie Board in Less than 45 Minutes
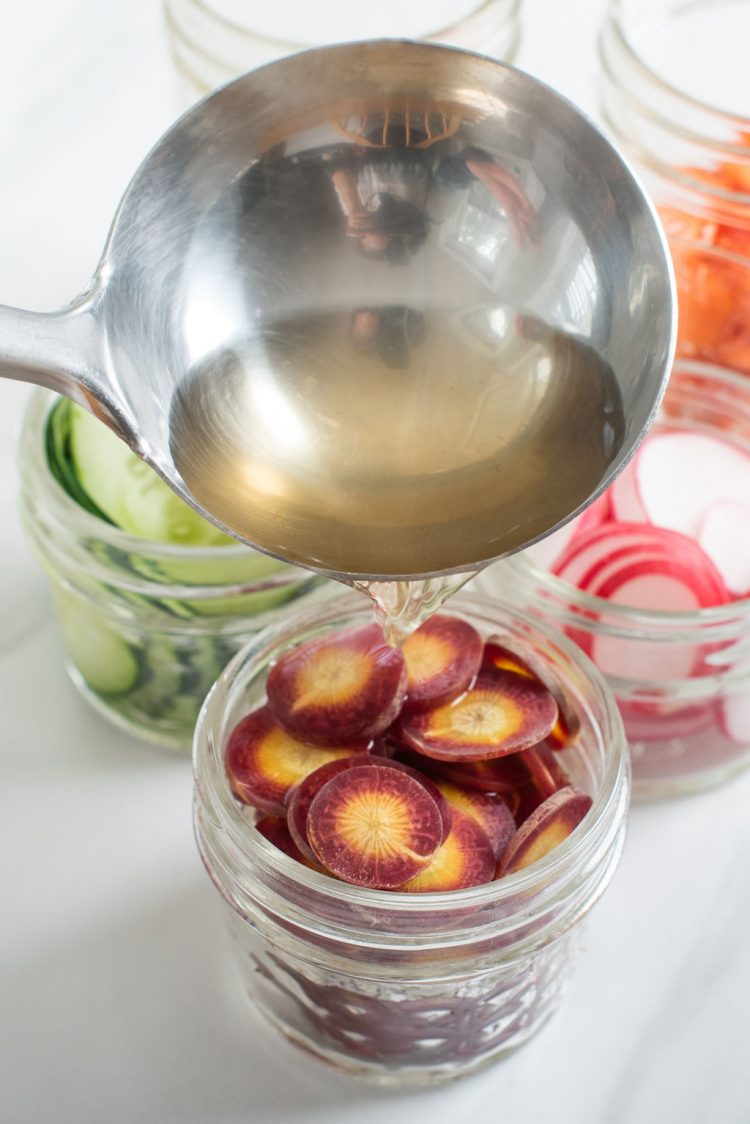
Wash any fresh produce, garnish, or herbs, trim the edges off your veggies, and set aside. Combine the vinegar, water, salt, and sweetener in your saucepan, and bring to a simmer (not boil).
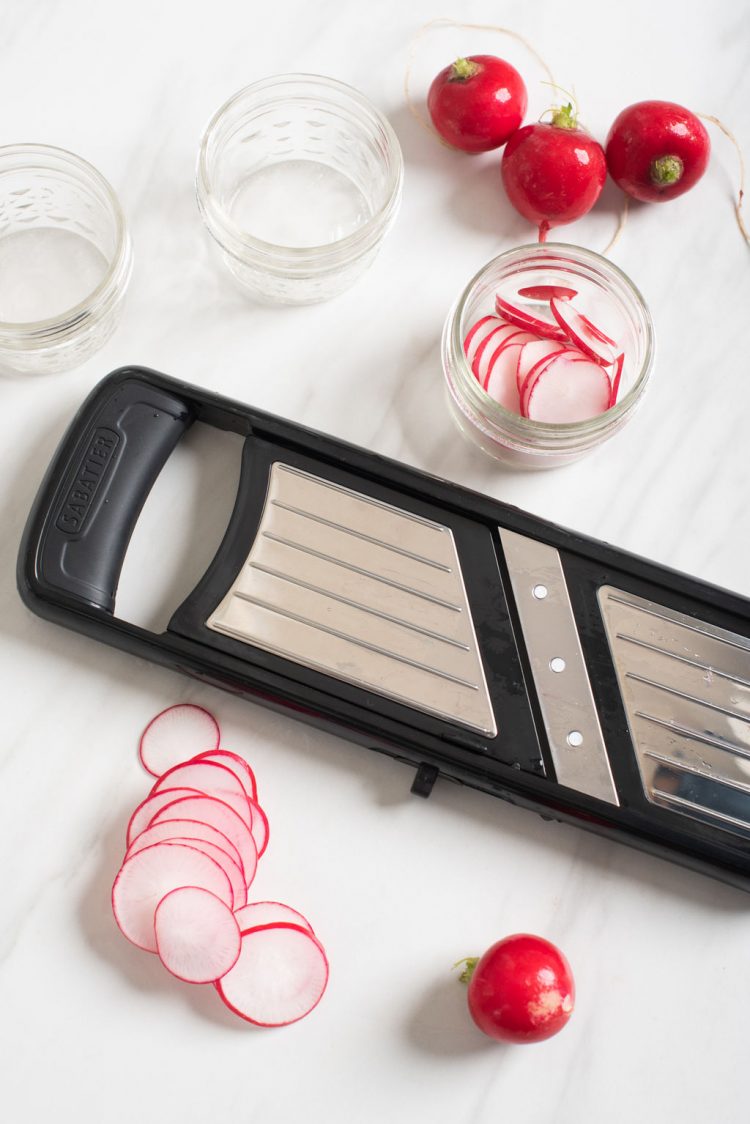
While the brine heats, slice your cucumber, carrots, and radishes for pickling using your mandoline on a medium setting. Note: Be very careful! This tool is notorious for catching fingers if you’re distracted or move too quickly. They also make safety-conscious mandolines.
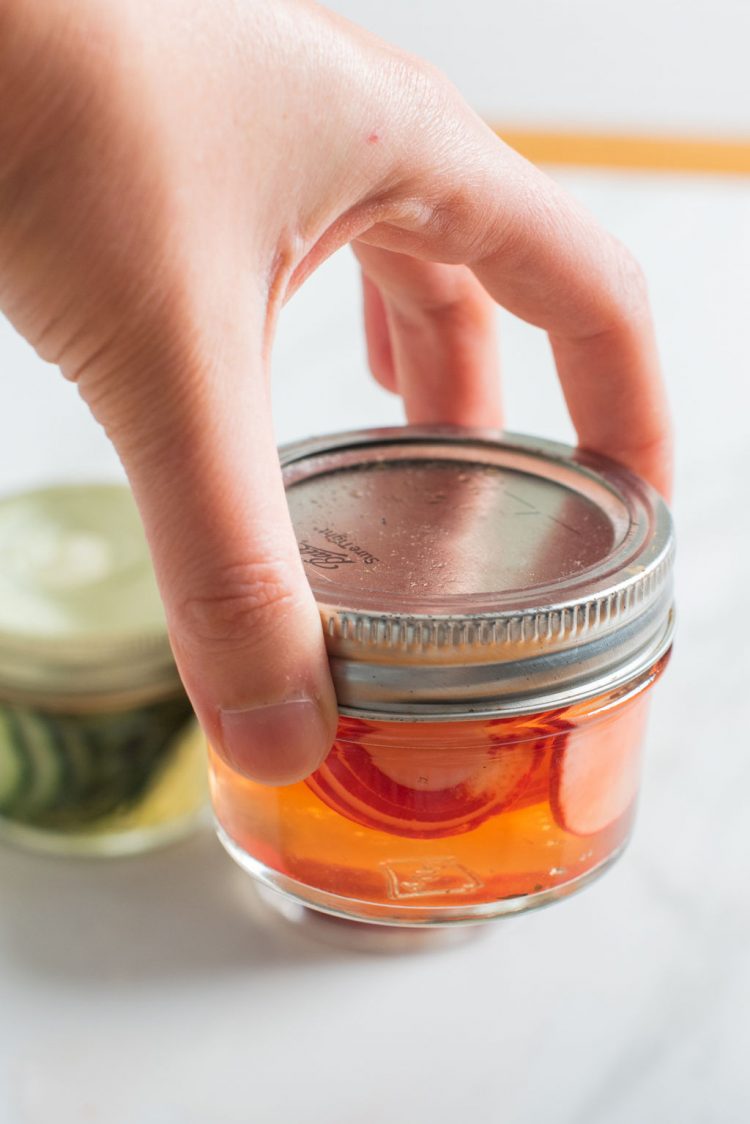
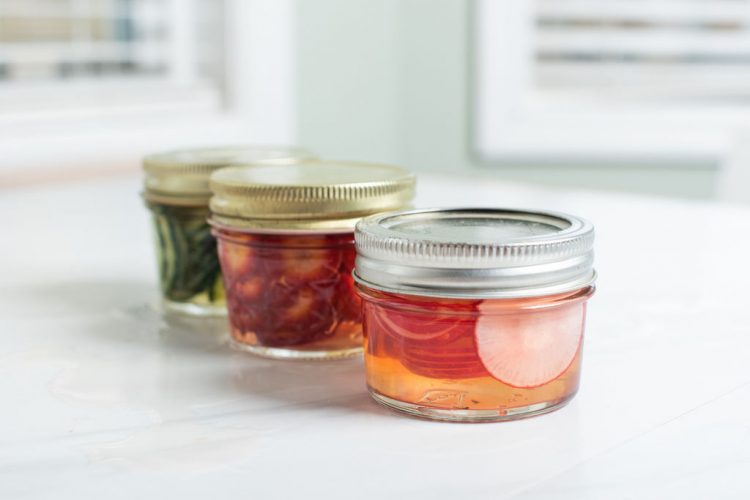
Place the vegetables for quick pickling into separate non-reactive and heat-safe containers, such as Mason jars. Pour enough hot brine over the vegtables so that they’re fully covered, and cover or secure the lids. Let them sit for 30 minutes.
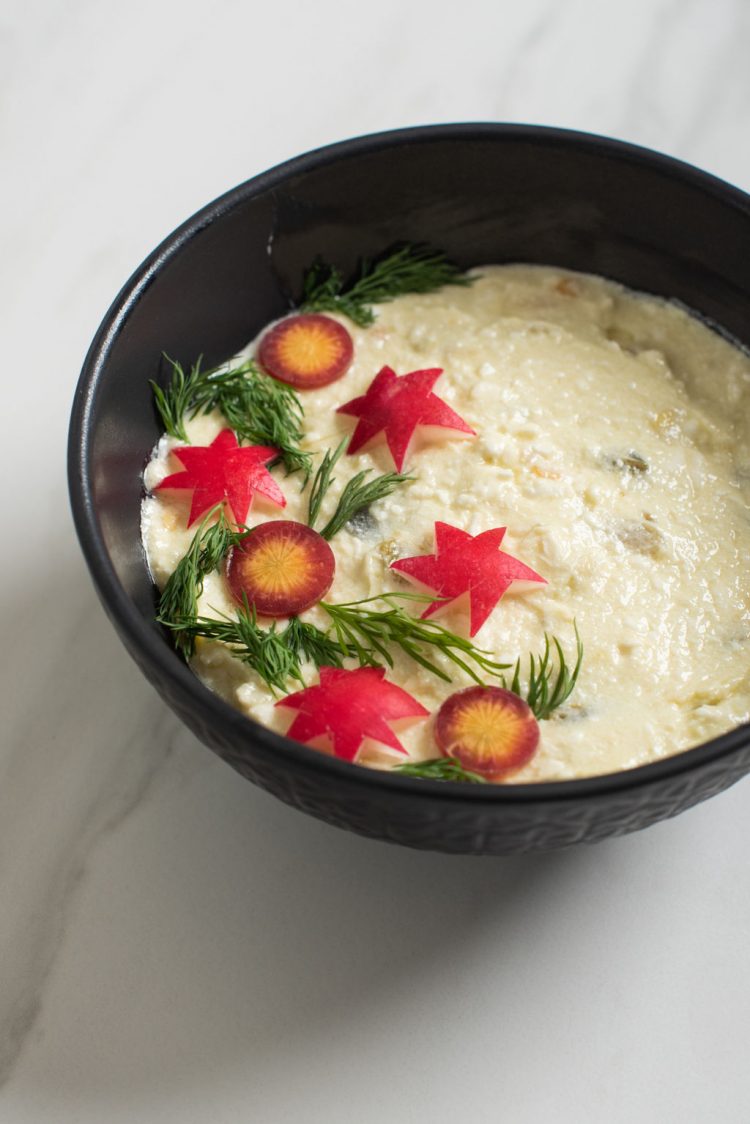
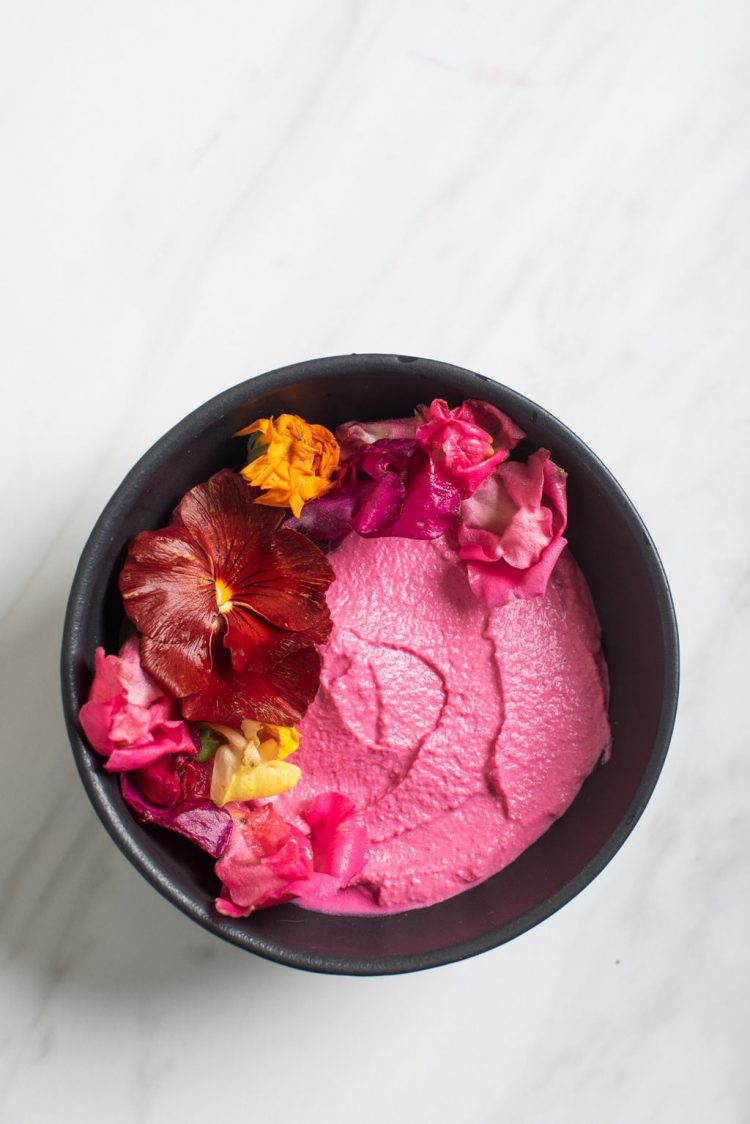
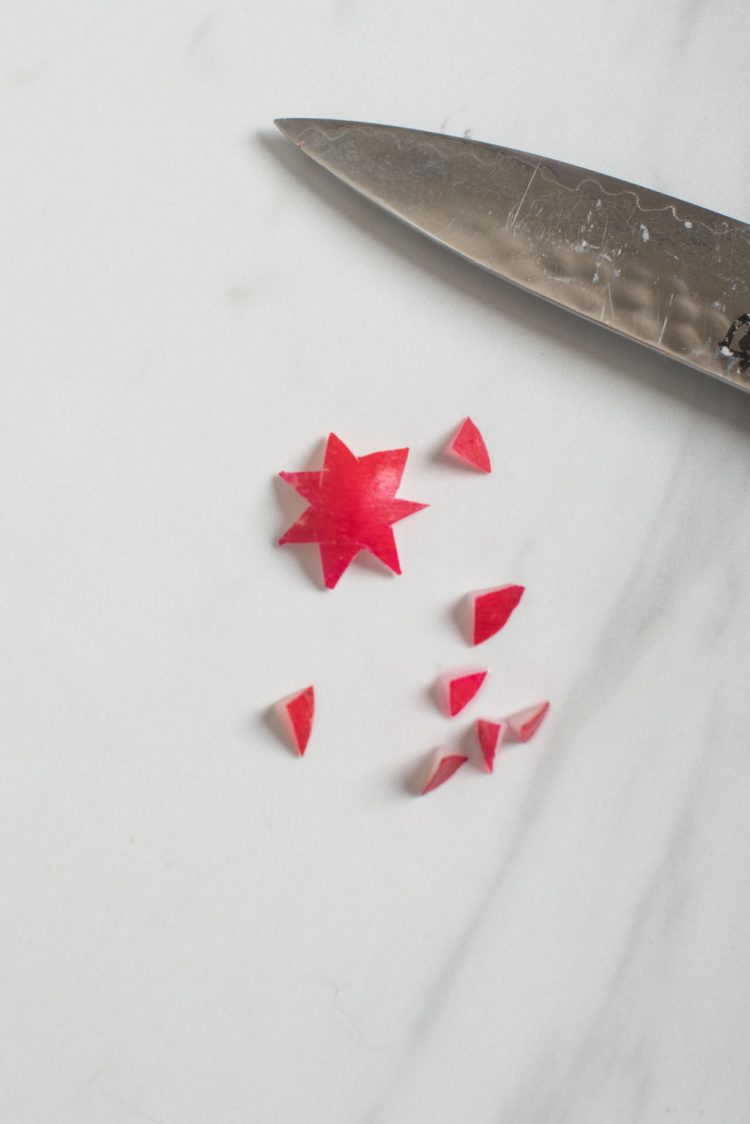
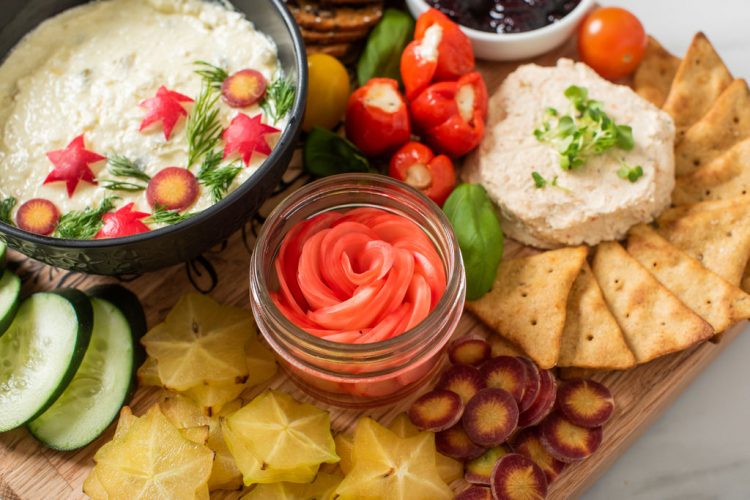
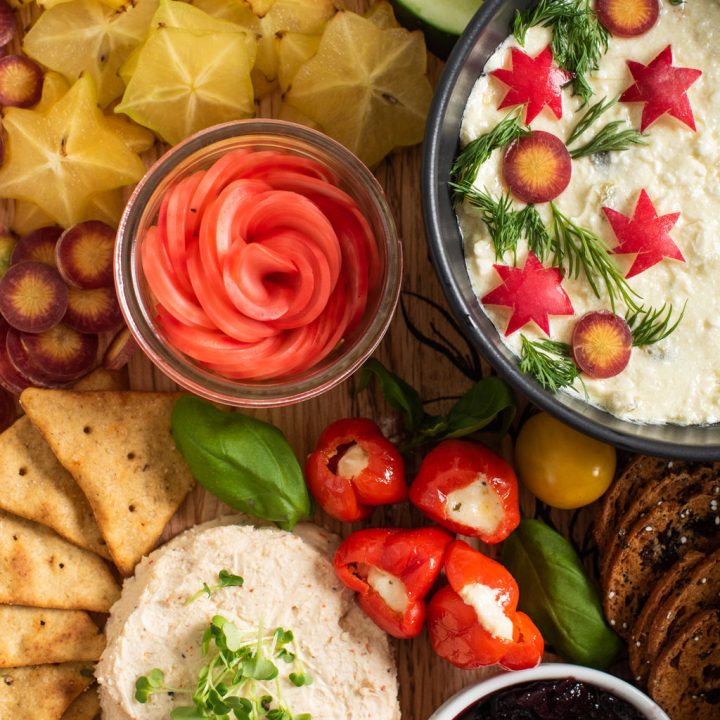
While your pickles marinate, transfer your hummus and white dip to small to medium-sized bowls. Smooth the surface with a spatula. Top each dip with edible flowers, or alternately, cut some veggie slices into star shapes to emulate flowers, and add sprigs of dill, parsley, or carrot greens as the “leaves”. Use tweezers if you’re a perfectionist.
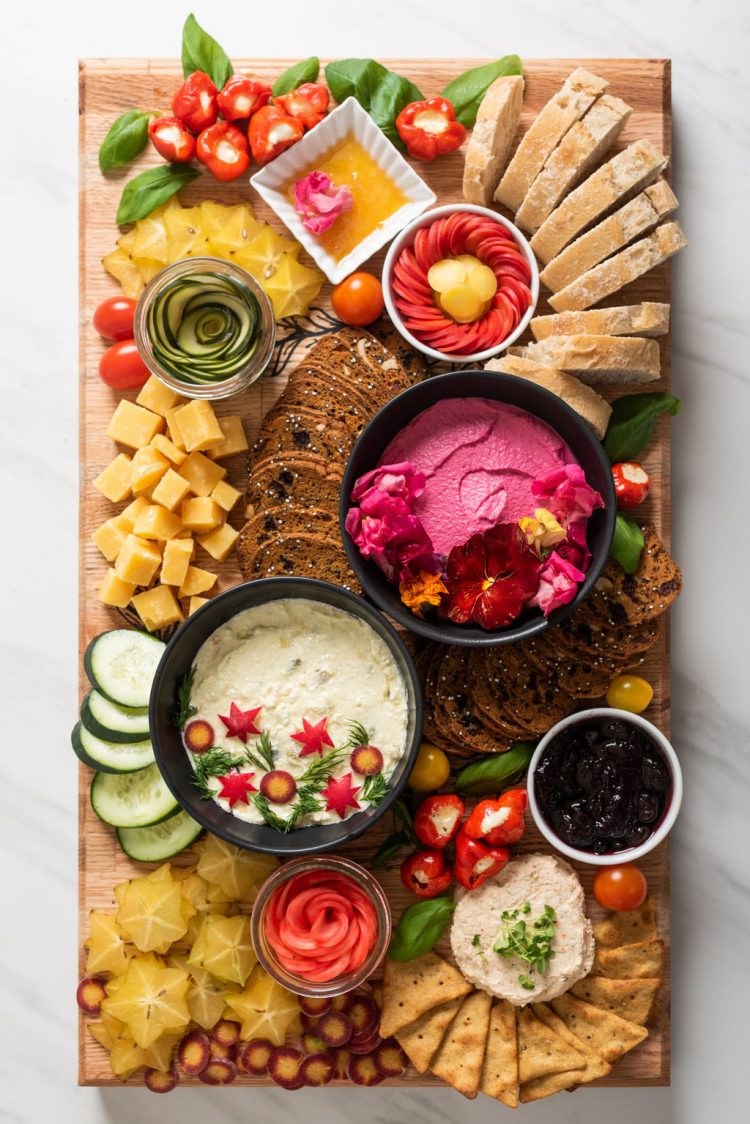
Since the bowls of dip are likely the biggest, heaviest items on your charcuterie board, place them first and in the middle. (This makes transporting your board easier.)
Spoon out the other condiments, such as honey, mustard, or jam, into small bowls and set aside.
Slice your star fruit and remaining fresh vegetables on the mandoline, using the thickest setting, since these will be eaten like crackers.
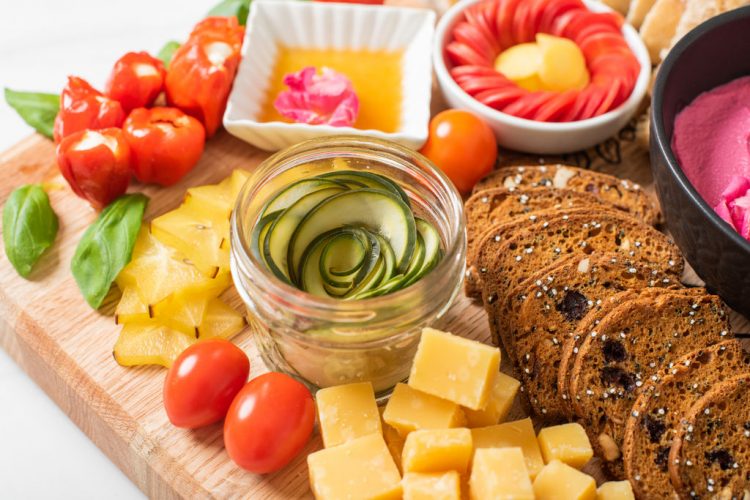
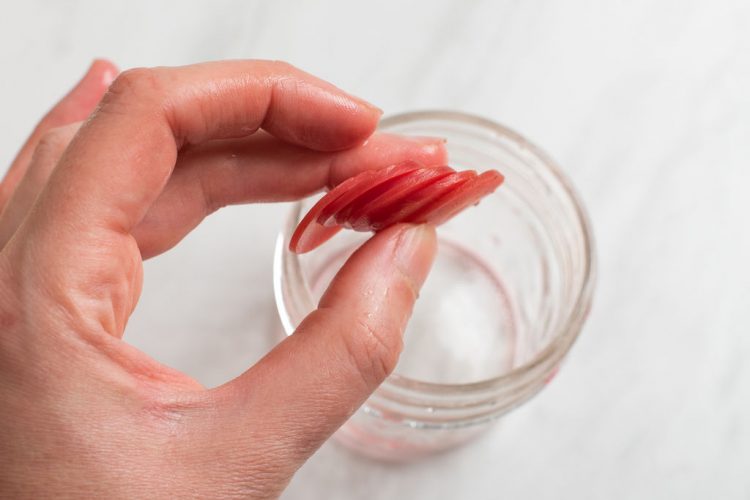
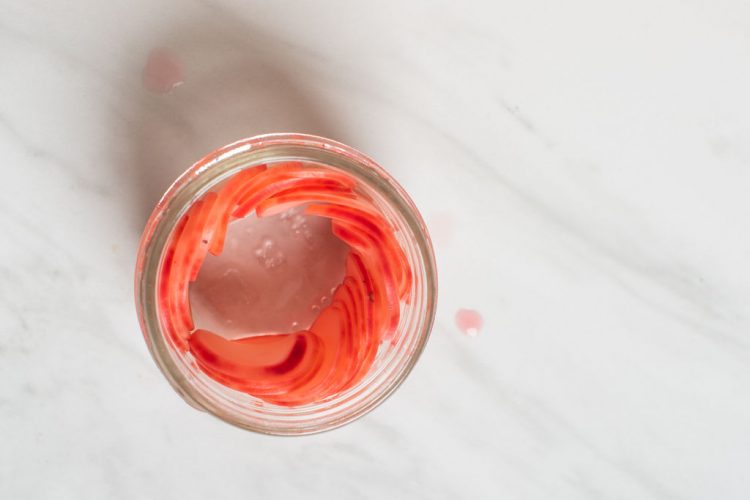
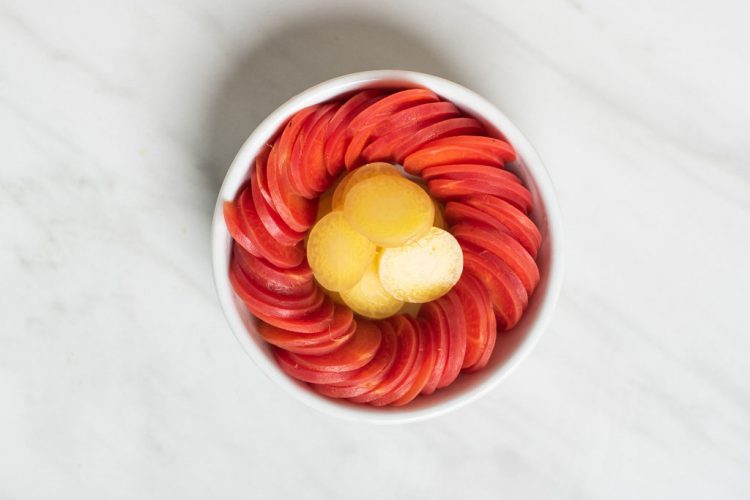
Using a fork, remove your pickle slices from the brine, arrange them to overlap in a row, and press them into the edges of your shallow bowls as pictured. Continue working inward until your roses are complete. You can play with color here; I put the yellow pickled carrots inside the orange like the center of a flower.
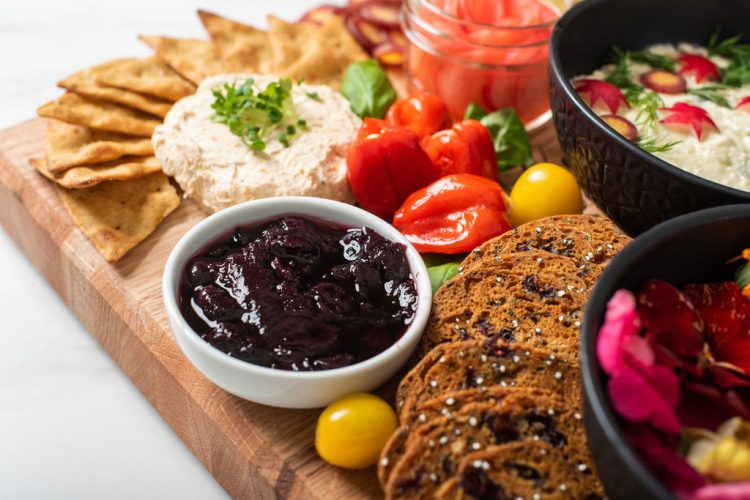
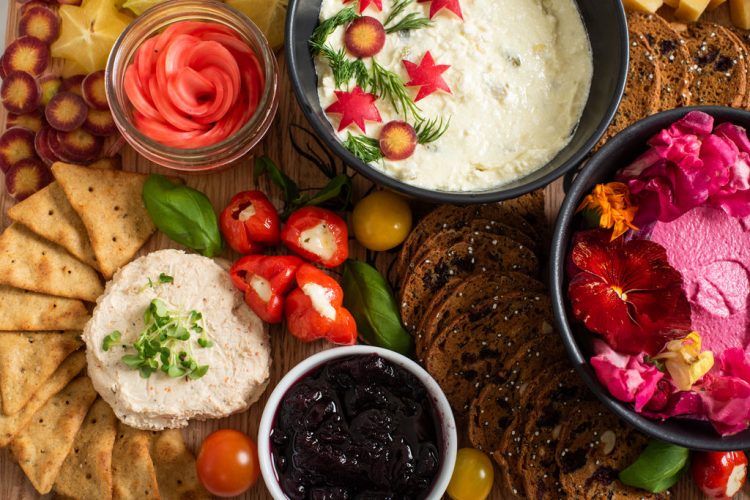
Place your wheel of cheese, cheese cubes, and bowls on your charcuterie board, keeping an eye on color and leaving room for crackers, snacks, and garnishes. Top your cheese wheel with edible flowers, microgreens, or herbs for a fresh-from-the-garden feel.
Then add your crackers, baguette slices, and cucumber slices, displaying them in a fan-like arrangement.
Place your star fruit and any other colorful vegetable slices flat on the board to capitalize on their natural “flower-like” shape and color.
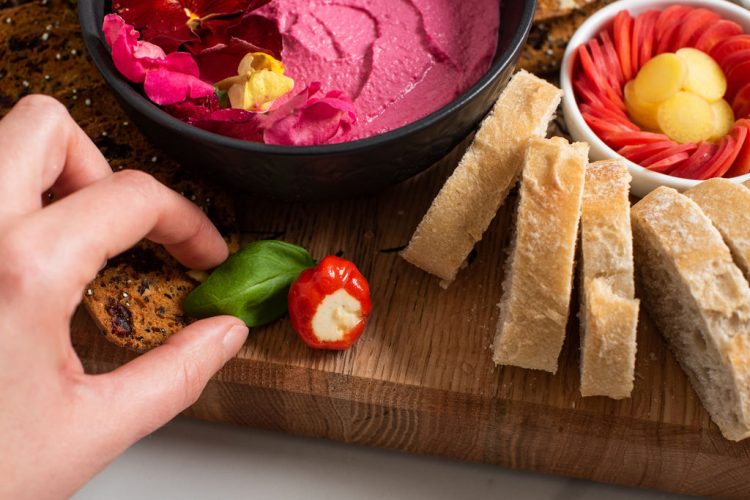
Fill in any “holes” on your board by sitting the stuffed peppers upright to look like bright red blooms, and flank them with basil leaves. Finish out any gaps on your board with cherry tomatoes, carrot slices, olives, or cheese cubes. Bon appetit!
All photos from Reese Moore Photography.
You Might Also Like
6 Easy Tips To Make A Charcuterie Board
How To Make A Plant-Based Christmas Charcuterie Board
15 Plant-Based Thanksgiving Recipes For Families
About the Author

Reese Moore
Reese Moore is a photographer, content creator, and pickle connoisseur who divides time between Charleston and Lake Lure. When she’s not behind the lens shooting stunning images for Reese Moore Photography, Reese loves to spend her time wandering the woods with her dog Gatsby or adventuring with her husband Logan in their Airstream Basecamp.
How to Make Whimsical, Garden-Inspired Vegetarian Charcuterie Board in Less than 45 Minutes
Are you looking to elevate your plant-based charcuterie board skills? Are you ready to make a colorful charcuterie board that’s so beautiful no one will even notice it’s vegetarian? Read on to learn how to make your own whimsical, garden-inspired vegetarian charcuterie board, complete with quick pickle roses, in less than 45 minutes.
Materials
- Food For the Board:
- Honey (Exclude for a vegan board.)
- 2 whole star fruit (Substitute: strawberries, raspberries, or something else colorful that can easily be made to look like a flower.)
- Jam, chutney, or lemon curd
- 1 box each of cranberry cashew crackers and herb and sea salt crackers (Pick something with pretty textural elements, and remember bags of crackers are often smashed to bits!)
- One small wheel of cheese (Consider color, if there’s a cranberry encrusted or red pepper infused option, and olive tapenade is a vegan substitute.)
- Stuffed cherry peppers (Mine were pre-stuffed in the olive section at Whole Foods.)
- 1 tub of spreadable light-colored dip (Opt for a white bean dip for a vegan option.)
- 1 tub of beet hummus (Substitute: red pepper or chipotle hummus)
- Cheese cubes
- 2 cucumbers
- 1 bunch multicolored carrots
- 1 bunch radishes
- 1 small baguette
- Ingredients for the quick pickles:
- 1 medium cucumber, 1 carrot, and several radishes from the list above
- ¾ cup vinegar (I used tarragon and champagne vinegar, but apple cider or rice vinegar work great, too.)
- ¼ cup of water
- 1 tsp sea salt
- 1-2 tablespoons of sugar or maple syrup
Tools
- Mandoline
- Stove
- Saucepan
- Mason jars with lids for quick pickles
- Small, shallow bowls for condiments
- Large charcuterie board, serving board, or cutting board
- Cheese knives and small spoons
- Compostable bamboo or reusable stainless steel toothpicks
Instructions
- Wash any fresh produce, garnish, or herbs, trim the edges off your veggies, and set aside.
- Combine the vinegar, water, salt, and sweetener in your saucepan, and bring to a simmer (not boil).
- While the brine heats, slice your cucumber, carrots, and radishes for pickling using your mandoline on a medium setting. Note: Be very careful! This tool is notorious for catching fingers if you’re distracted or move too quickly. They also make safety-conscious mandolines.
- Place the vegetables for quick pickling into separate non-reactive and heat-safe containers, such as Mason jars, pour enough hot brine over so that they’re fully covered, and cover or secure the lids. Let them sit for 30 minutes.
- While your pickles marinate, transfer your hummus and white dip to small to medium-sized bowls. Smooth the surface with a spatula. Top each dip with edible flowers, or alternately, cut some veggie slices into star shapes to emulate flowers, and add sprigs of dill, parsley, or carrot greens as the “leaves”. Use tweezers if you’re a perfectionist.
- Since the bowls of dip are likely the biggest, heaviest items on your charcuterie board, place them first and in the middle. (This makes transporting your board easier.)
- Spoon out the other condiments, such as honey, mustard, or jam, into small bowls and set aside.
- Slice your star fruit and remaining fresh vegetables on the mandoline, using the thickest setting, since these will be eaten like crackers.
- Using a fork, remove your pickle slices from the brine, arrange them to overlap in a row, and press them into the edges of your shallow bowls as pictured. Continue working inward until your roses are complete. You can play with color here; I put the yellow pickled carrots inside the orange like the center of a flower.
- Place your wheel of cheese, cheese cubes, and bowls on your charcuterie board, keeping an eye on color and leaving room for crackers, snacks, and garnishes. Top your cheese wheel with edible flowers, microgreens, or herbs for a fresh-from-the-garden feel.
- Then add your crackers, baguette slices, and cucumber slices, displaying them in a fan-like arrangement.
- Place your star fruit and any other colorful vegetable slices flat on the board to capitalize on their natural “flower-like” shape and color.
- Fill in any “holes” on your board by sitting the stuffed peppers upright to look like bright red blooms, and flank them with basil leaves. Finish out any gaps on your board with cherry tomatoes, carrot slices, olives, or cheese cubes. Bon appetit!