23 National Park Trip Planning Tips for Beginners
Getting ready for your first trip to a National Park? After you’ve chosen which park to visit, check out these national park trip planning tips for beginners to make sure you’re on the right track and will fully enjoy your adventure.
I took my first trip to a national park in June of 2019, visiting Zion and Bryce Canyon National Parks in Utah. My in-laws planned the entire trip, something for which I was very grateful. I had no idea how to go about planning such a vacation. I remember asking my brother-in-law the most basic questions like “How do you even find a path to hike?”
Now, I’ve got a bunch of resources to find hiking trails near where we are visiting. I even know where to find secondhand hiking and outdoor gear! But that definitely wasn’t always the case.
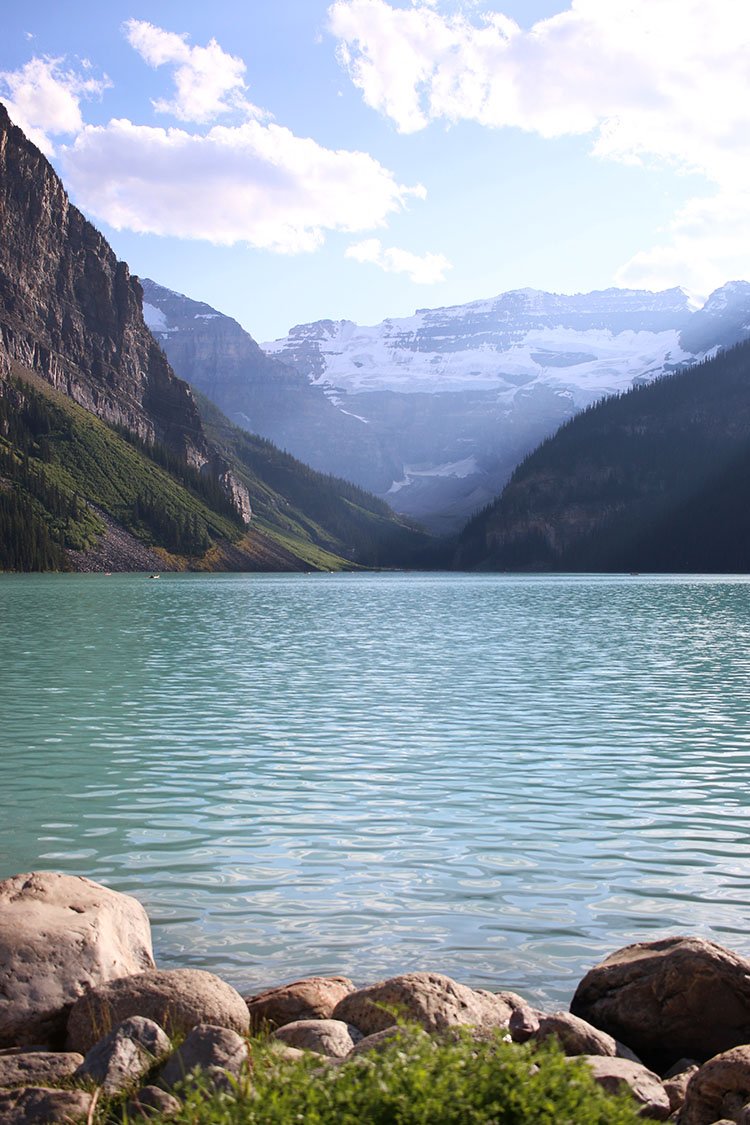
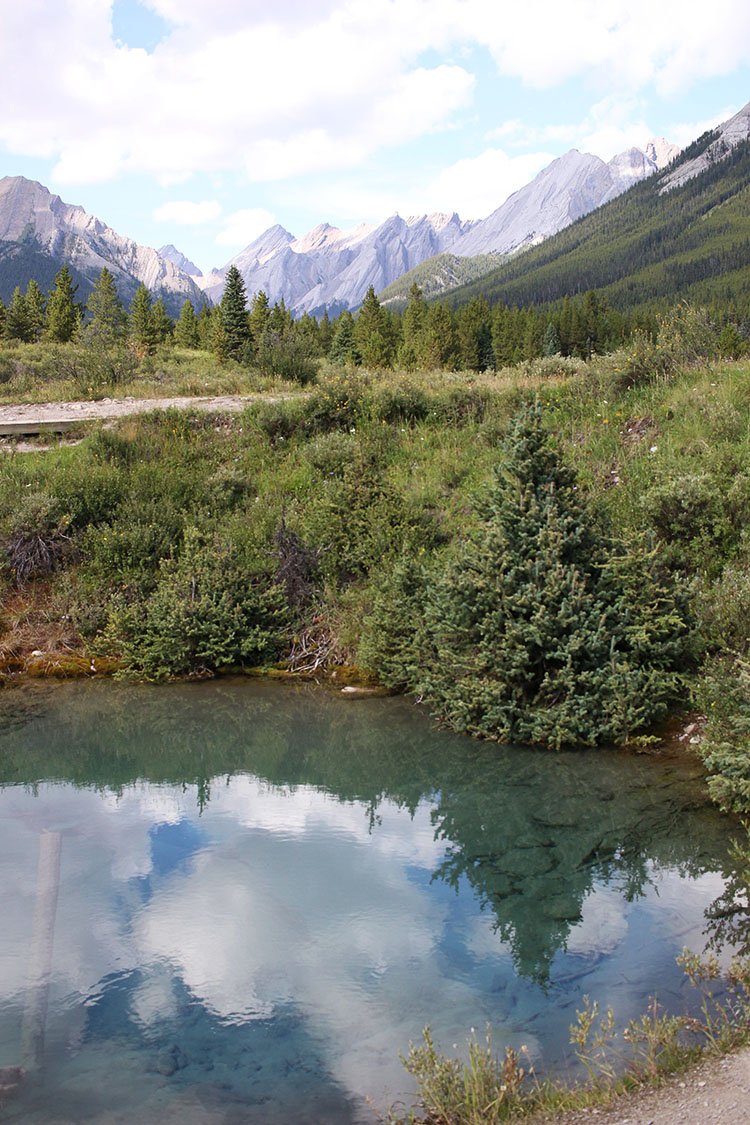
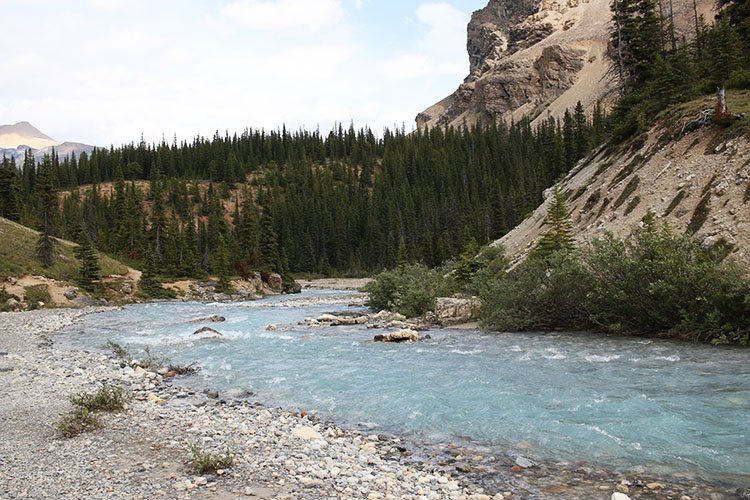
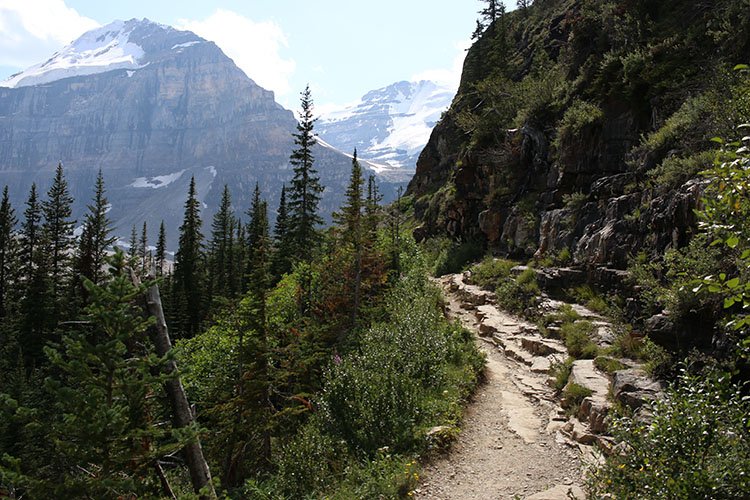
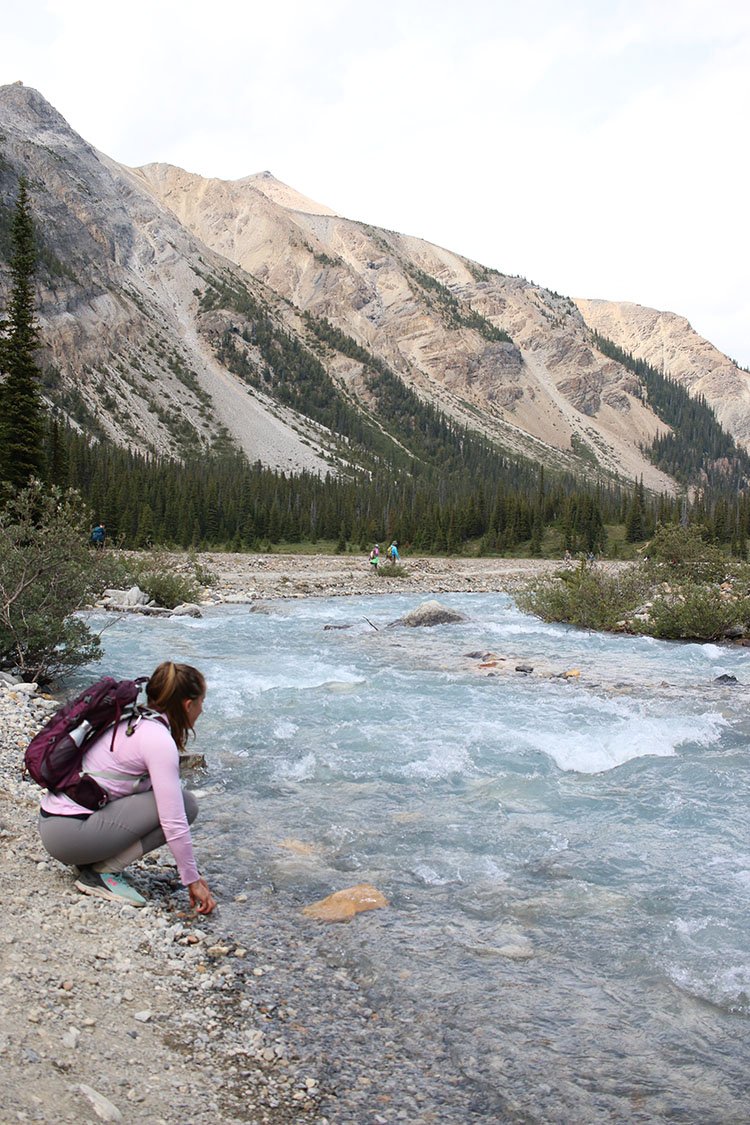
Six weeks after our Zion and Bryce trip, my family and I met up in Banff National Park near Calgary in Canada for our own outdoor adventure. I used my experience in Zion and Bryce Canyon National Parks to inform my planning for our Banff trip.
At first, planning a trip to a national park seemed very overwhelming. What did we need to bring? What should we wear? Do we need special skills? Did I need to buy tickets or passes in advance? Could I die? (That last question is a legitimate one, and the answer is yes if you’re not careful. Mother Nature reigns supreme forever and her national parks are some of the best reminders of that.)
Since then, I’ve visited a bunch of national parks (some of the 63 main parks and a few of the historical sites and monuments) including:
- Shenandoah National Park with my husband
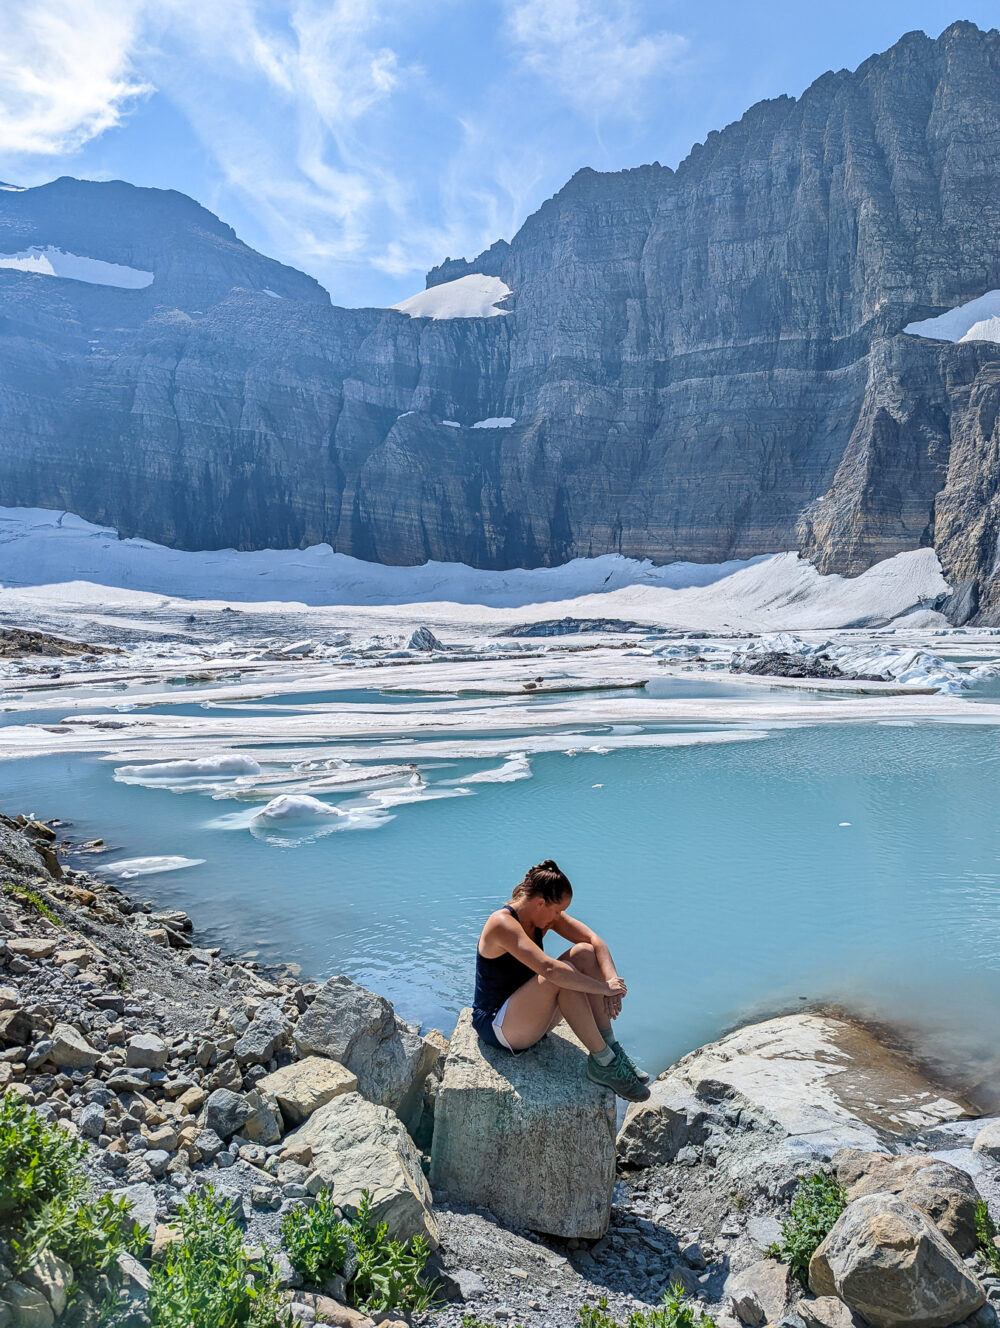
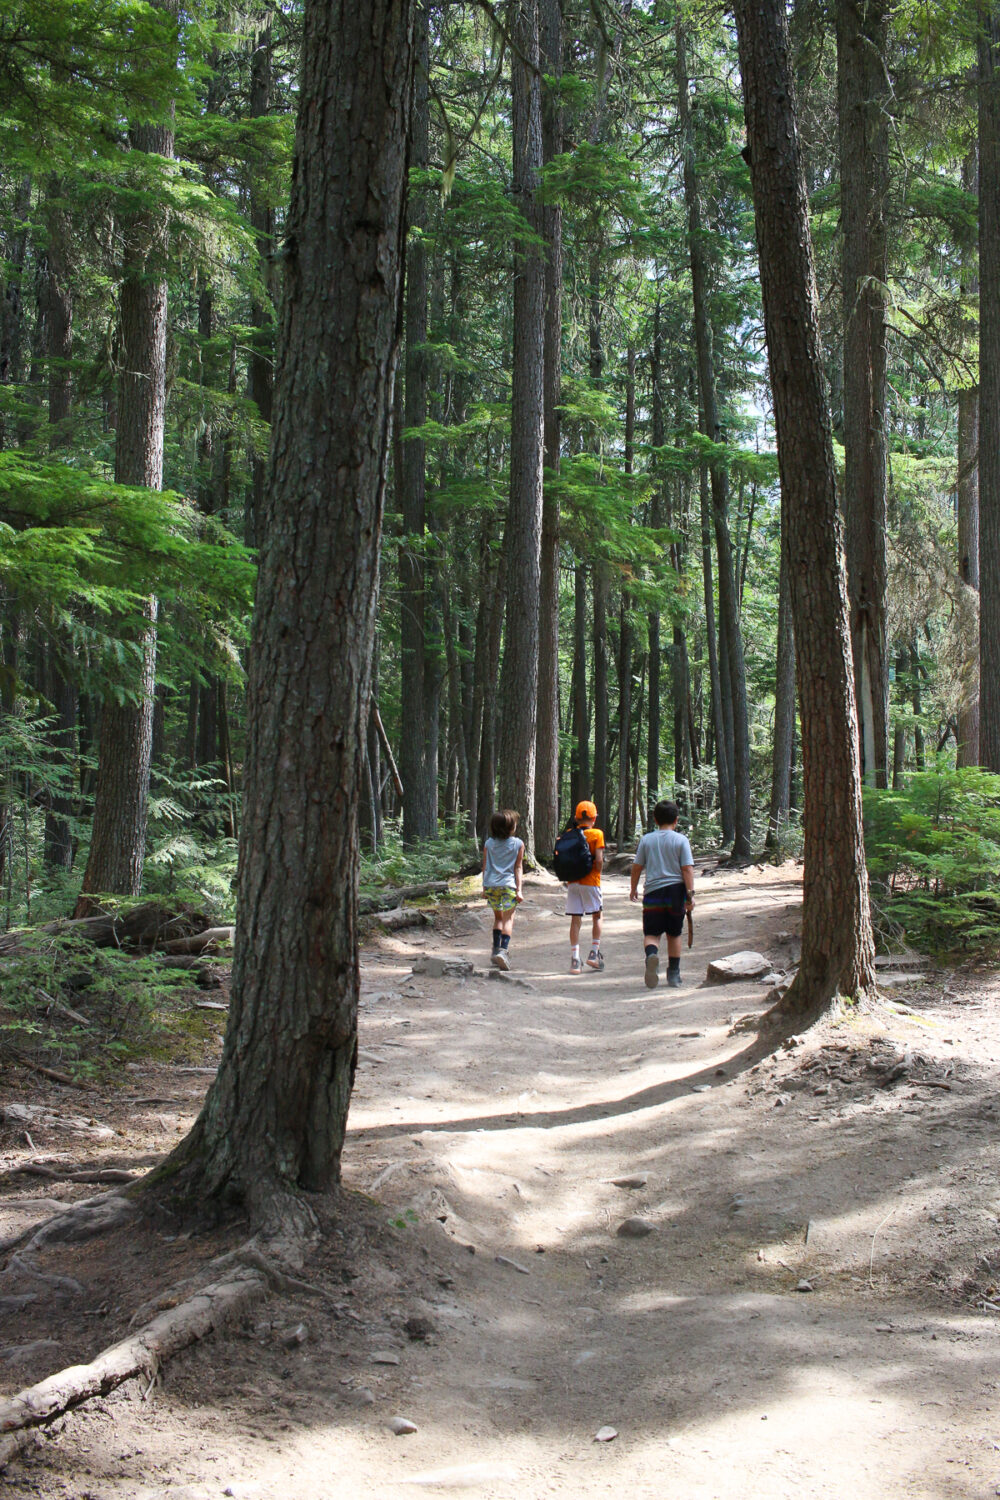
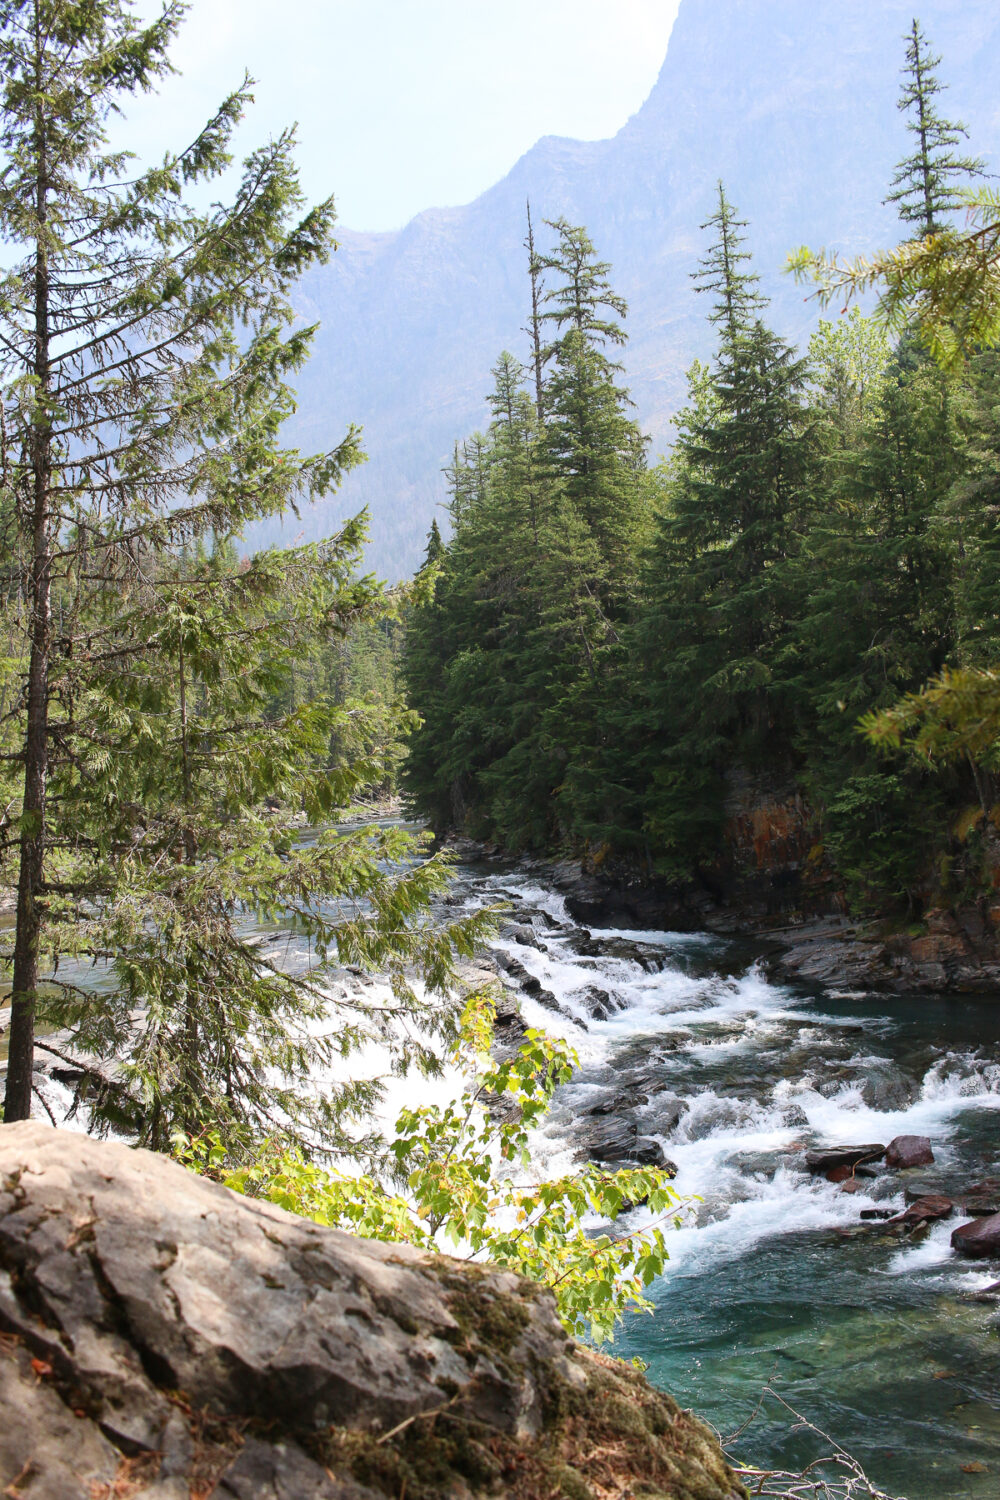
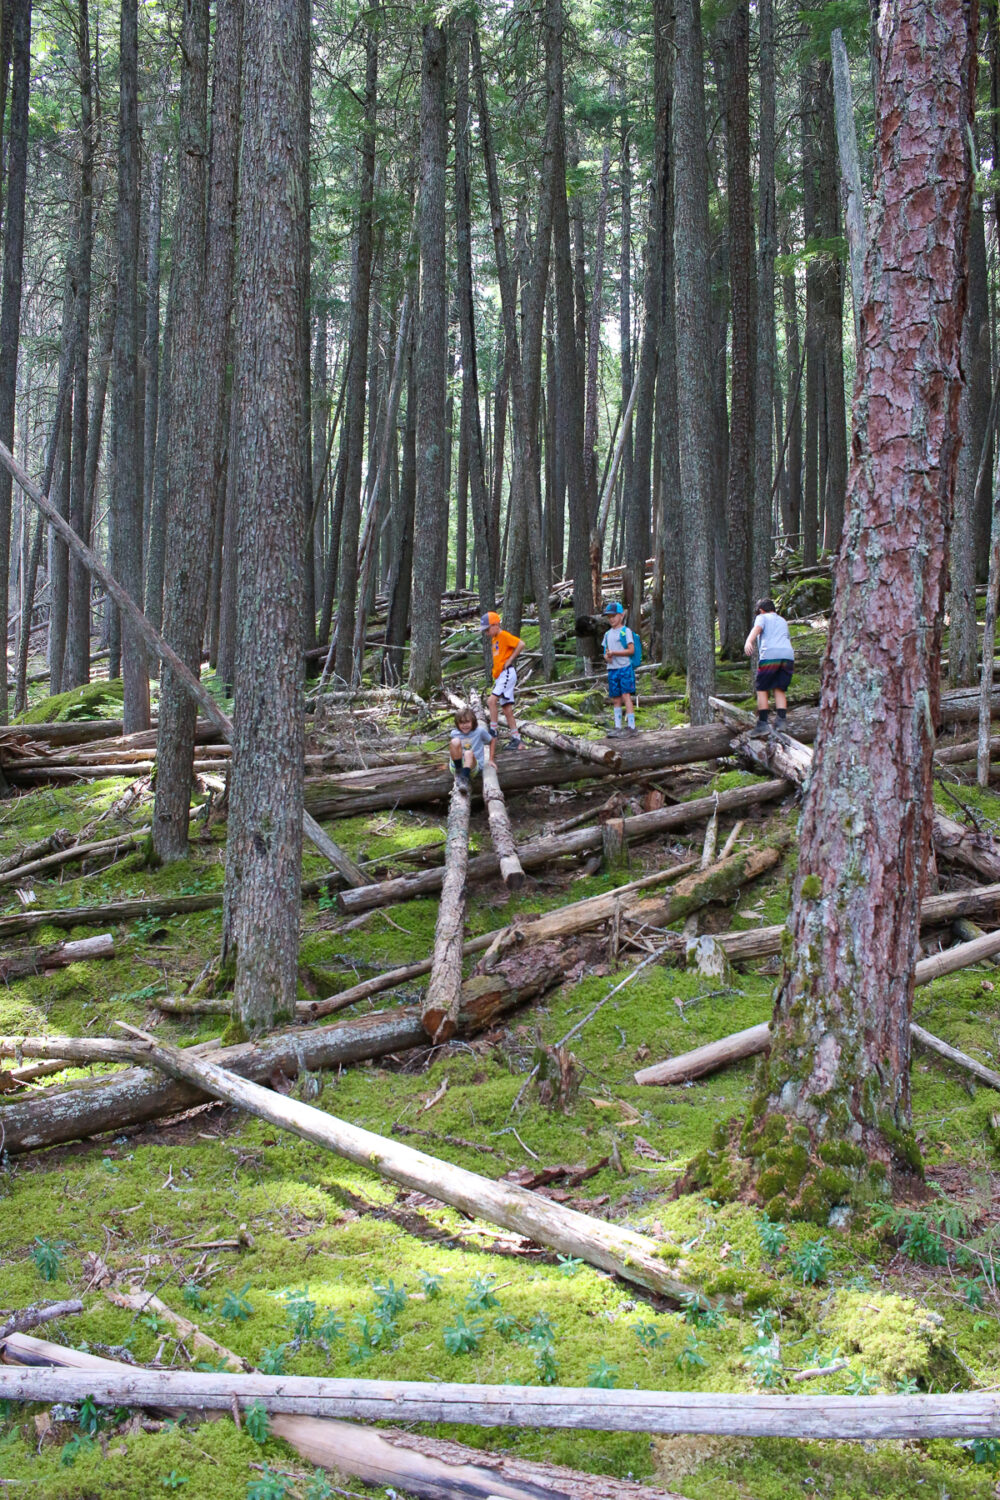
- Glacier National Park with our family and another family (four adults and four kids).
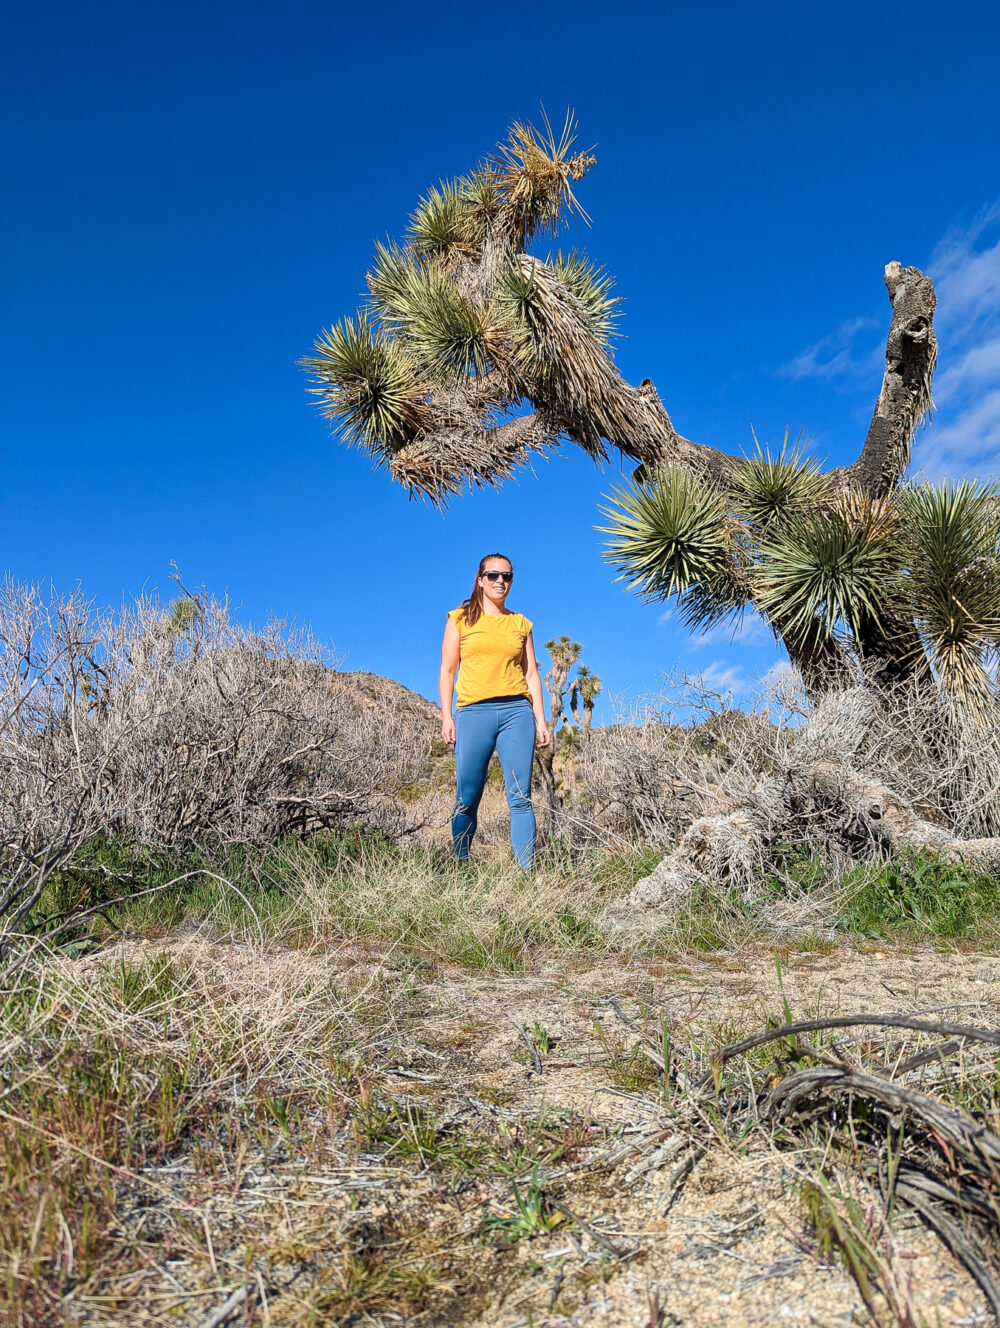
- Joshua Tree National Park by myself
- First State National Park with family
- Valley Forge National Historic Park with family
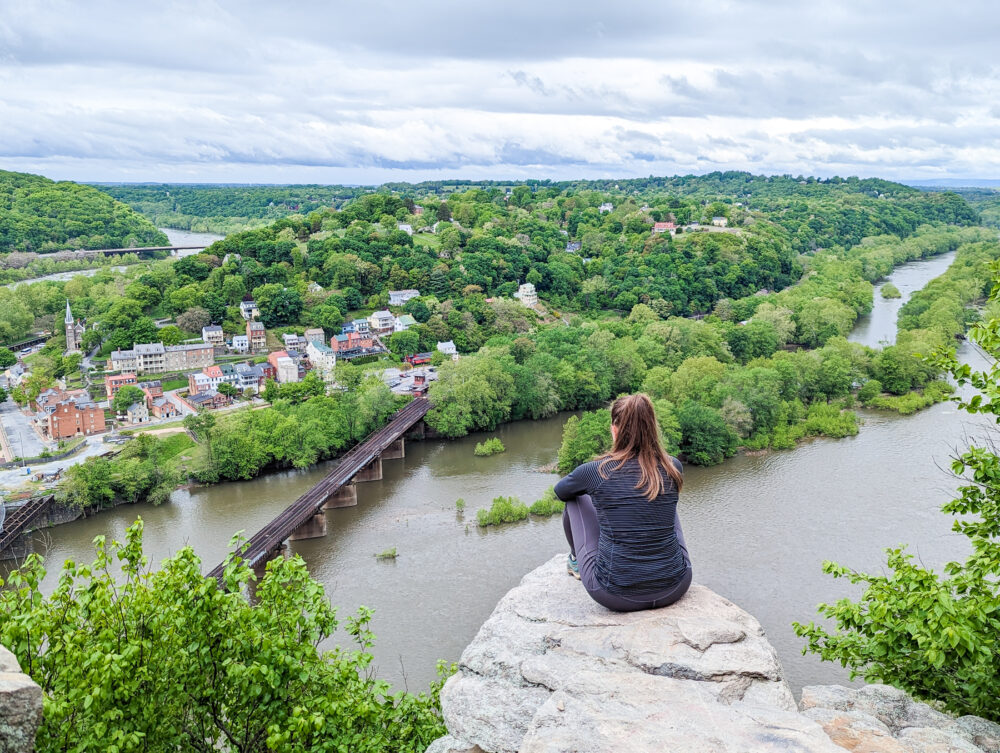
- Harper’s Ferry National Historic Site with friends
We’ve also visited several state parks, local parks, and nature preserves. We’ve come a long way from our beginner days in 2019. While I still remember being beginner national park visitors, we’ve got a few trips under our belt to share our experience and hopefully help your first national park visit feel more accessible and exciting.
23 National Park Trip Planning Tips for Beginners
If you haven’t decided yet which park to visit, consider checking out these beginner tips for choosing which national park to visit (consider things like the best time of year to visit, types of activities you enjoy, and more). Once you’ve settled on which national park or state park to visit, consider the following national park trip planning tips for beginners before finalizing your itinerary and heading out of town.
Choose Your Park Destination Wisely
While each of the national parks is beautiful and amazing year-round, there are definitely some important considerations to keep in mind when choosing which parks to visit based on the time of year, your personal interests, and the types of activities you want to do.
For example, we visited Glacier National Park in August, a perfect time of year to visit this northern park at a relatively high elevation. However, it’s not for the faint of heart if you choose to visit in the winter. It’s buried deep in snow and the main highway through the park, Going to the Sun Road, isn’t even open until sometime in June each year when the snowplows can finally get all the way through the drifted snow to clear the road.
Before settling on which park you want to visit, consider the following:
- Seasonal Weather: Each park experiences different weather patterns. Some national parks, like Death Valley and Joshua Tree, have intense heat in the summer months. National parks in Alaska experience heavy snowfall and cold temperatures during winter. Be sure to pick a time when the weather at your park of choice fits the needs and preferences of your family.
- Crowd Levels: Crowd levels can have a significant impact on your experience when visiting a national park. Summer months generally see more tourists as it’s a busier time of year for vacation. This can lead to increased congestion on trails, long waits at points of interest, and difficulties in securing reservations for lodgings and campsites. Visit a national park outside of the summer months if possible to avoid the crowds. Alternatively, visit less popular parks that are not quite as busy even during peak season. Keep in mind that days like weekends and holidays, such as the Fourth of July or Labor Day, are likely to be busier and more crowded.
- Desired Activities: Each park has a variety of activities to try. Choose a park that offers activities that will best match your preferences and abilities. The National Park Services website includes a list of activities for each park page so you can get an idea of what is available before you go. We always spend some time hiking and have also tried white water rafting, horseback riding, and more.
As your get started, this list of national parks to visit by month might be helpful once you’ve decided when you can schedule your travel.
Gathering National Park Information
Follow the Specific National Park’s Social Media Channels
It might seem silly to start here, but the National Park Service does a really great job of using social media to provide visitors with information and updates about the parks. I primarily use Instagram, but I’m sure they have a formidable presence on all the major social media platforms. The main National Park Service account is quite funny actually!
Each national park has its own social media channel where they provide information about closures, permit requirements, significant weather conditions, and so much more. As you’re planning your national park trip, be sure to follow along with the park’s social media channels on the platforms you use most.
Before traveling to Zion National Park, we followed the Zion National Park Instagram account to help us plan our trip. We really wanted to do The Narrows hike in Zion. But due to high water levels and rushing rapids, The Narrows hike was closed as late as 48 hours before our visit. We had all but thrown in the towel, expecting we wouldn’t be able to traverse the gorgeous waters.
The night before we hopped on the plane to Utah, my brother-in-law found out The Narrows hike was open after the NPS announced the update on its Zion National Park Instagram account. Consequently, we brought our gear to hike the Narrows, and it ended up being the unanimous highlight of our trip. I shared all about our hike previously.

Review National Park Websites
Governmental websites aren’t known for being the best, but the resources on the National Parks sites were really helpful. They aren’t the “be all, end all” for information, but they’re perfect for starting to build an itinerary, getting a lay of the land, and understanding what passes and permits are required. We used the National Park Service site in the US and the Parks Canada site in Canada.
Use “Best Of” Lists from Blogs
There are many hiking trails and various activities to try in national parks. Search online for “best of” lists for the specific park you plan to visit. The lists might include a lot of tourist spots, but it’s a great starting point if you don’t know what to do or expect.
Install the National Park App and Download the Specific Park Information
The National Park System has a bunch of useful information on their National Park smartphone app. Most importantly, you can download the park information, including maps, hiking guides, and more, to your phone so you don’t need the internet to access them.
Many national parks do not have cell service. The GPS will work on the map while you’re moving throughout the park. But you won’t be able to access the information on the app unless you download it prior to entering the park.
Use the National Park Service Trip Planning Guide
It only took me four years to stumble on this gem, but it’s super helpful. I wonder if it even existed when I first started visiting national parks. Regardless, the National Park Service put together a full series of informational articles, infographics, and checklists called the Trip Planning Guide to help ensure your visits to national parks are safe and fun.
They offer sections including:
- Know Before You Go
- Arrival at the Park
- During the Trip
- After the Trip
Each of the sections has a variety of Frequently Asked Questions and tips to help you plan appropriately before you head out into the gorgeous parks.
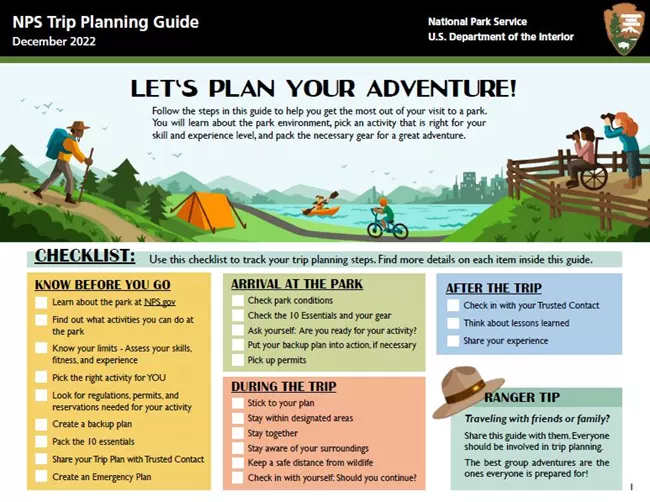
You can also:
- Download the NPS Trip Planning Guide (a helpful checklist about what to know before you go, what to bring, and more)
- Fill out a Trip Plan Template (information about your trip to leave with a trusted contact who is not traveling with you in case of an emergency)
- Practice the Outdoor Emergency Plan
- View a list of the 10 Essentials (a list of ten items to be sure you pack for a safe and successful outdoor adventure. Most of these are important no matter your level of intensity and few are especially important if you’re traveling away from highly-trafficked trails or long periods of time.)
Understand Park Passes, Permits, and Reservations
Getting the lay of the land about passes, permits, and reservations requires a whole section for itself. There are different types of passes, and different rates for 4th graders, seniors, military personnel, and more. And there are various requirements for passes, permits, and reservations depending on where you are going and when.
I would love to tell you this is easy (and it’s not hard), but it’s always one of the most stressful parts of planning for me. I don’t want to mess up the passes and permits after we’ve spent so much time and money enjoying an entire vacation built around visiting the park.
Some parks require passes and permits. At times, the parks limit the number of permits or passes they issue for seasonal reasons or to limit the number of visitors, for example. Review the national park websites prior to visiting to know what to expect.
In the United States, for example, some specific hikes and activities in the parks require permits that are claimed many months in advance and of which there is a limited number (more on this below). Alternatively, we were able to buy general admission park passes upon arrival in both the US and Canada for many of our trips.
Buy Park Passes in Advance
If possible, buy your park passes in advance. While not always required, I think it’s helpful (and the National Park Service recommends it). It helps speed up the lines to get into the national parks. You can buy them online, and the National Park Service has a chart to help you figure out which pass is best for you.
America the Beautiful Pass
If you’re planning to visit multiple parks in one year that require a pass to enter, it might make sense to buy an America the Beautiful pass. For a flat fee, you can enter hundreds of national park sites for one year from the time you buy the pass.
Every Kid Outdoors Pass (Free 4th Grade National Park Pass)
The year we went to Glacier National Park with our boys and family friends, two of the boys were in 4th grade. We signed up for the Every Kid Outdoors Pass (i.e. commonly known as the free 4th-grade annual pass) and used that to cover our park entrance fee.
Obtain Permits, if needed
You may need a specific permit for a particular hike, outdoor activity, or entrance to a particular area of the park, even if you have a general admission pass for the park. The National Park Service website provides this information so be sure to check the site and understand what you need. In some cases, you have to get them far in advance, and they are not always easy to obtain.

Make Reservations, if needed
Separate from a park entrance pass or permit, you may need to make a reservation. The National Park Service requires reservations through their Recreation.gov site or app for certain activities to limit excessive crowds in popular places.
For example, we needed a reservation to enter Glacier National Park and could only request it 48 hours before our planned visit. My friend and I were anxiously refreshing the app during a flight layover in Chicago hoping to get reservations. Luckily, we both got reservations and could enjoy the rest of our travels! Can you imagine how disappointing the trip would have been had we not been able to get into the park?!
I later learned that were some reservation slots that opened up several weeks before our trip. But those were limited, and I missed the chance to reserve that early because I didn’t realize I needed a reservation in addition to the Every Kid Outdoors annual park entrance pass. Live and learn, and thank goodness it all worked out!
Plan Activities and Itineraries
Crowdsourced Trail Information Websites
There are many crowdsourced hiking and trail websites, similar to Trip Advisor but just for hiking. Alltrails is a great example. You can find information on all sorts of trails including difficulty, elevation changes, courses, and current conditions. Be sure to read the comments; there were lots of helpful snippets that gave context to the descriptions.

Mix Activity Types
Choose different types of activities for consecutive days. Particularly if you aren’t used to hiking and exploring this terrain, your body and muscles will get tired after a day of adventure. The variety not only gives your body a break but also lets you see the park from different perspectives (like trains and shuttles, bikes, and on foot). We’ve found this to be especially helpful when we visit national parks with kids; our boys are less than thrilled about hiking multiple days in a row.
Consider Rest Days
I’m not suggesting you “waste” a beloved vacation day doing absolutely nothing, but include a day without a lot of plans. You’ll probably find some simple activities you want to try that weren’t on the planned itinerary. You might even just lay by the pool at your hotel.
At least for me, a vacation isn’t very relaxing if we’re slaves to the schedule. Make sure to save time to rest and enjoy the time away from the everyday grind.
Do Popular Activities on Weekdays
Many parks and sites are busy all week, but they are especially busy on the weekends. To the extent possible, do the most popular activities on weekdays. You’ll probably enjoy the experience more and avoid some of the crowds. Save the more remote or less-trafficked activities for the weekends.
Hike in the Afternoon (or SUPER early)
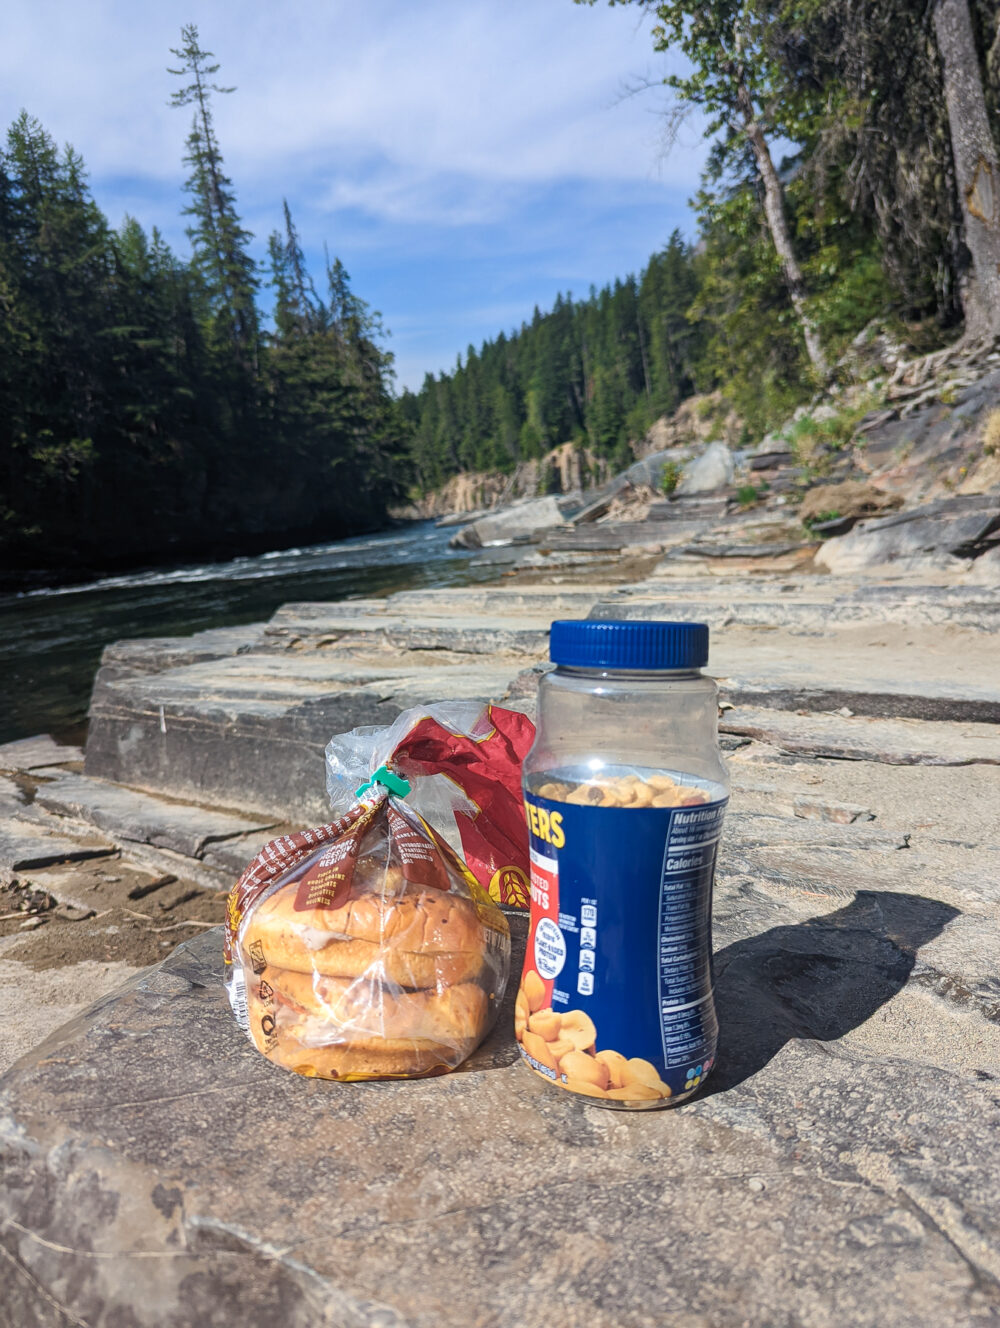
So many sites and guides suggest hiking in the morning to “beat the crowds”, but we found this wasn’t really effective when everyone follows this advice. We started some of our hikes around 2 or 2:30 in the afternoon and finished around 7 or 8 at night. We brought snacks and ate a late dinner. Much of the traffic died down by 5 or 6 pm as we hiked back to our cars.
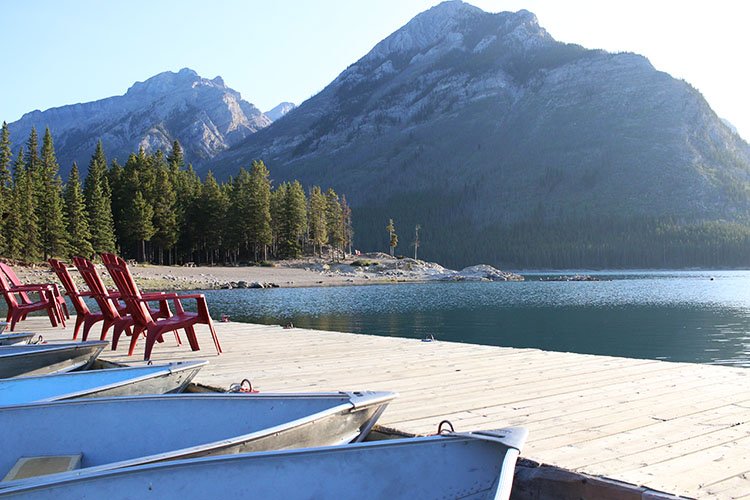
If you get up really early, you probably can beat the crowds. We arrived at Lake Minnewanka in Banff for our fishing outing and had the lake entirely to ourselves, but we also woke up at 6 am and were at the lake by 7:30 am.
Follow Local Social Media Accounts
I already mentioned the value of the National Park Service’s social media account. Similar social media accounts for tourism bureaus in the local area can offer mountains of information too. They provide details about a variety of local things to do as well as current conditions like safety warnings and weather updates.
Dig through the accounts and you’ll find the expected tourist hotspots as well as a few diamonds in the rough. They might be a little off the beaten path but well worth the walk.
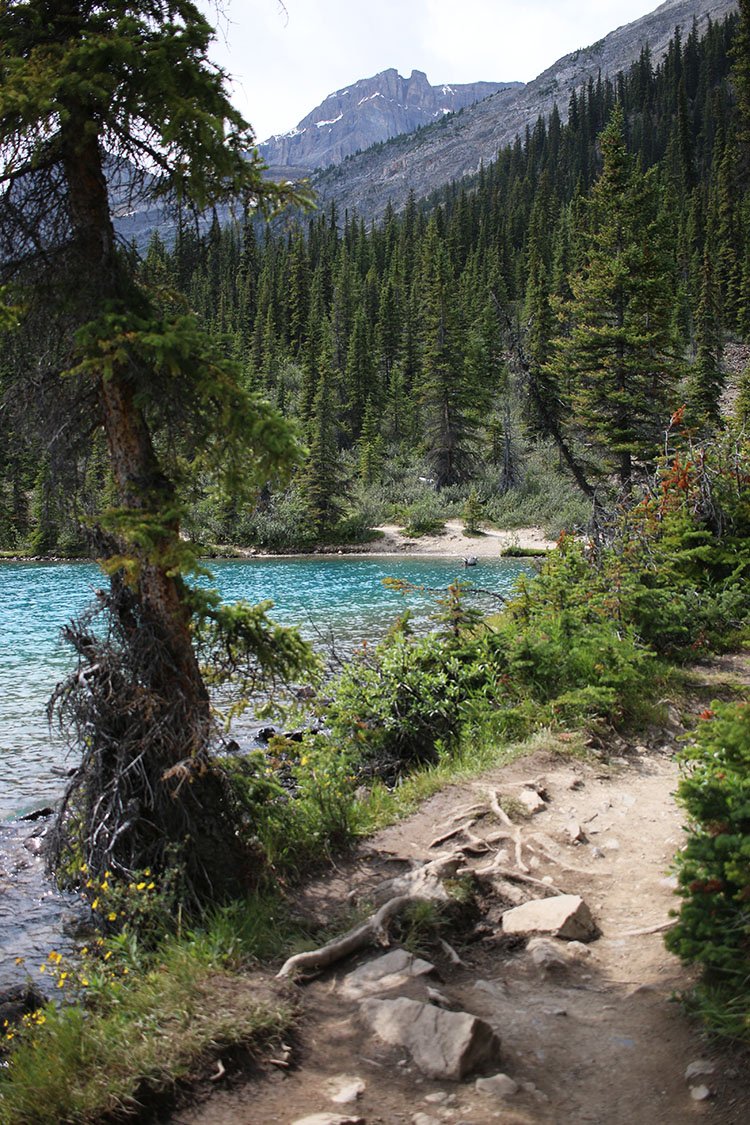
The Banff Lake Louise Instagram account, for example, shared lots of ideas about things to do. At one point, they highlighted Emerald Lake, a beautiful lake that’s just as gorgeous as many of the hot tourist spots but far less crowded and a bit less well-known. We learned about Emerald Lake too late to visit, but you better believe it’s already on my itinerary for our return trip.
Bring the Right Gear + Food
In a nutshell, when you plan a national park trip, essentials for comfort include weather-appropriate clothing, sturdy footwear, water, snacks, sunscreen, insect repellent, maps, and a first-aid kit. I’ve been pretty good about bringing all of these things with me when we travel in national parks (minus the sunscreen… I need to do better about that).
Also consider bringing a hat, sunglasses, binoculars, camping gear (if needed), and a camera. Depending on the weather and type of activity you’re doing, bring extra layers, rain protection, a flashlight, and extra batteries. You may even find a solar charger helpful if you’re in an area where you can charge the solar battery while you’re out.
The Ten Essentials
For more detailed guidance, the National Park Service created a list of The Ten Essentials to get you started on what to bring. To be honest, I don’t bring all of these things on our hikes through national parks. But our visits are generally low risk. We stick mostly to pretty well-traveled day hikes (3-6 hours long), and we haven’t camped in a national park yet.
When you’re packing for your national park trips, use your discretion and do what you think works best for you. I mean… let’s be real – the National Park Service is more expert than me about what to bring into the parks when you visit. You can check out more details about each one, but the Ten Essentials are as follows:
- NAVIGATION – Map, compass, and GPS system: You definitely want a map when going through the parks. Even if the trails are well-marked, a map is a must! We have always downloaded a map from the NPS app for the specific park we are visiting. I also download the map from Alltrails. As long as the maps are downloaded, they will work even when you don’t have internet service (which is the case for most parks).
- SUN PROTECTION – Sunglasses, sunscreen, and hat: Even if it’s not super hot, don’t forget sun protection. you might not need it quite as much in a forested area, but I forgot to bring sunscreen on my hike in Joshua Tree because it was off-season and not that hot. But “hot” and “sunny” are not the same (duh!), so I wore my long-sleeve shirt over my head for a while to protect my face from the sun.
- FIRST-AID SUPPLIES – First Aid Kit: What’s in your first aid kit will depend on how far and how long you’re traveling and the nature of the activity. We always bring simple things like band-aids and antibiotic cream, but you may want something more substantial for more intense adventures.
- HYDRATION – Water and water treatment supplies: No matter the activity, don’t forget the water! This is so important even for shorter and seemingly simpler hikes.
- NUTRITION – Food: Did snacks ever hurt anyone? Ha. Pack enough food based on how long you’ll be out and about.
- INSULATION – Jacket, hat, gloves, rain shell, and thermal underwear: More on packing layers below. Layers are legit.
- ILLUMINATION – Flashlight, lanterns, and headlamp: As a beginner, use your judgment on this. It certainly doesn’t hurt to have these items (and I won’t be the one to tell you that you don’t need them, especially when the NPS recommends them). But I’ve never carried them with me on short day hikes when we were only going a few miles out and back from our starting destination. Longer hiking will definitely require illumination.
- FIRE – Matches, lighter and fire starters: Pack at your discretion. This is another thing I haven’t brought with me because we’ve typically stayed on pretty well-traveled trails and not far from the parking lots. But use your judgment.
- REPAIR KIT AND TOOLS – Duct tape, knife, screwdriver, and scissors: Pack at your discretion and consider your activity plans for the trip.
- EMERGENCY SHELTER – Tent, space blanket, tarp, and bivy: Pack at your discretion and consider your activity plans for the trip.
Pack Layers
The weather in national parks can be all over the map, particularly if there are significant elevation changes. You’re also moving around a lot, so you may be cool in the morning and get really hot as you work up a sweat throughout the day.
Pack and wear layers to adjust your clothing for the weather and your energy expenditure as the day progresses. (It doesn’t hurt also to check the weather forecast before packing, but there’s often a big swing in temperatures from morning to night in many of the parks so you’ll need layers in most cases.)
Bring a Backpack & Water Bottle
I got this Osprey hiking backpack and loved it for the trips. You definitely don’t need an expensive backpack unless you’re planning some serious hiking. However, my mom carried my bag at some points and a regular backpack during other parts of our trip. She noticed a big difference in the comfort of her back and shoulders when she used the Osprey hiking backpack.
Don’t forget your reusable water bottle. I almost didn’t include this note because it seems sort of obvious, but bring a reusable water bottle and stay hydrated while hiking and exploring. My favorite water bottle is definitely the Yeti with the Chug Cap… just sayin’.
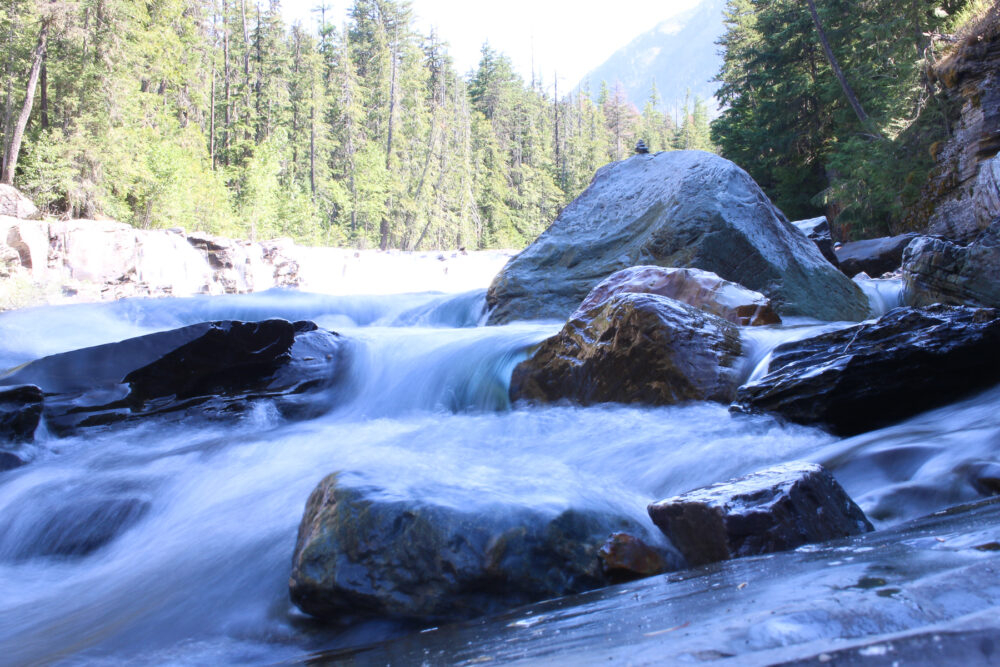
We even filled ours with fresh glacier water a few times. I’m not sure I can recommend it; I’m not an expert on the sanitation of the water. But it tasted delicious and no one got sick. Good enough for us.
Drink water and don’t buy plastic water bottles. Simple but important!
Binoculars Are Cool
I never thought to bring binoculars and haven’t thought about them in years. My parents brought a set though, and we definitely used them. Why didn’t I think of that?
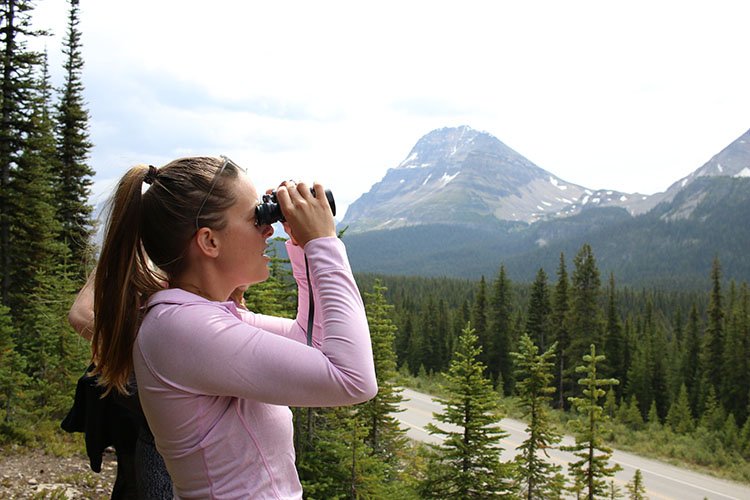
Don’t waste money on an expensive pair. Even our tour guide told us that “binos are binos”, “glass is glass”, and “the set your grandparents had are the same as the newest ones on the market”. I’m sure that’s not exactly true, but don’t waste the money. Simple binoculars will do the job just fine and are super cool in a national park.
The Right Gear Makes a Difference
You don’t need to buy the Rolls-Royce of equipment to have an awesome adventure in a national park. However, a few good-quality pieces of gear that are appropriate for the event can make it much more enjoyable and successful.
A great backpack is super helpful for comfortably carrying snacks, drinks, and layers. A backpack with straps across the front of your torso really helps even out the weight and takes the pressure off your shoulders and lower back while hiking.
When we hiked The Narrows in Zion, we rented water boots and hiking sticks which made the hike so much more comfortable.
Related Reading: Visiting Zion and Bryce Canyons
If you’re hiking on rocky trails or slippery slopes, hiking boots can make the exploration much more comfortable and even a bit safer than standard cross-training shoes.
These are just a few examples where the right gear really added value and was worth the investment on the trips we took over the last few years.
Utilize Park Rangers
When we visited Glacier National Park, we hiked up to Grinnell Glacier, a 10-mile-long hike that gains just over 2,000 feet in elevation. It was an amazing hike but no joke, especially for our 8 and 10-year kiddos. Along the way, we saw mountain goats just a few feet away. And two of the people in our group even saw a bear on their way back down the trail (everyone was safe because they respected the wildlife and gave them plenty of space).
During the hike, we saw two NPS Park Rangers managing the trail throughout the day. They actually hiked the trail up and back twice before we finished it once(!). The Park Rangers can be really useful sources of information, both in emergencies and just to learn about the park. Just as we reached the top of the climb and approached Grinnell Glacier, the Park Rangers were sharing a bunch of information about the glacier, the trail, the park, and the wildlife that call it home.
They were also scolding some visitors who were upset the mountain goats were invading the trail (as if the humans were entitled to the space and not invading the home of the animals). The Park Rangers made it abundantly clear it is our job to respect the animals’ homes and stay out of their way as much as possible, for their safety and ours.
Follow the Leave No Trace Principles
Leave No Trace principles help park and nature visitors remember how to be safe, limit the negative impact human presence can have on natural spaces without due care, and ensure our national parks and green spaces continue to be places future generations can enjoy. You can check out the National Park Service for more information on the Leave No Trace principles, but at a high level, they are as follows:
- Plan ahead and prepare
- Travel and camp on durable surfaces
- Dispose of waste properly
- Leave what you find
- Minimize campfire impacts
- Respect wildlife
- Be considerate of other visitors

Leave the Wildlife Alone
It’s one of the seven Leave No Trace principles, but it’s worth reiterating because there’s been a recent rash of national park visitors getting dangerously and stupidly close to animals. Keep a safe distance from all wildlife and let them feel safe in their own homes.
Leave their homes alone. Don’t feed them. Don’t touch or approach their babies. They’re pretty easy things to remember, but make a note and give wildlife plenty of space to live in their natural habitat. Check out more from the National Park Service about watching wildlife and how to stay safe.
I didn’t learn until our trip to Glacier National Park that leaving the wildlife alone is important for human safety and animal safety. It’s pretty obvious why humans might not want to approach bears; bears can hurt humans.
But when humans approach or feed bears and bears become more accustomed to human interaction, they feel more comfortable coming into human spaces (like parking lots, restaurant areas, and homes). In these cases, bears may be injured by humans or be euthanized because they become a predictable danger to humans when they are willing to approach human spaces regularly.
In short, keeping your distance from wildlife is important for human and animal well-being. Even if you can get the greatest video for social media, stay away. It’s not fair to the wildlife and not worth the endangerment of animals or humans.

Pack In and Pack Out
This popular saying in national parks (and all nature areas) just means to bring your stuff in with you and don’t leave anything behind. Take good care of the natural spaces and leave them better than you found them. No one wants your trash on the forest floor or swimming in the lake.
Just clean up after yourself and you’re golden.
From National Park Newbie to Hike Forty Birthday Adventures
Our trips to national parks over the last several years have been amazing. At first, it all felt pretty overwhelming, and I hadn’t a clue where to start. I’m far from an expert today, but I definitely feel much more comfortable planning trips to national parks these days.
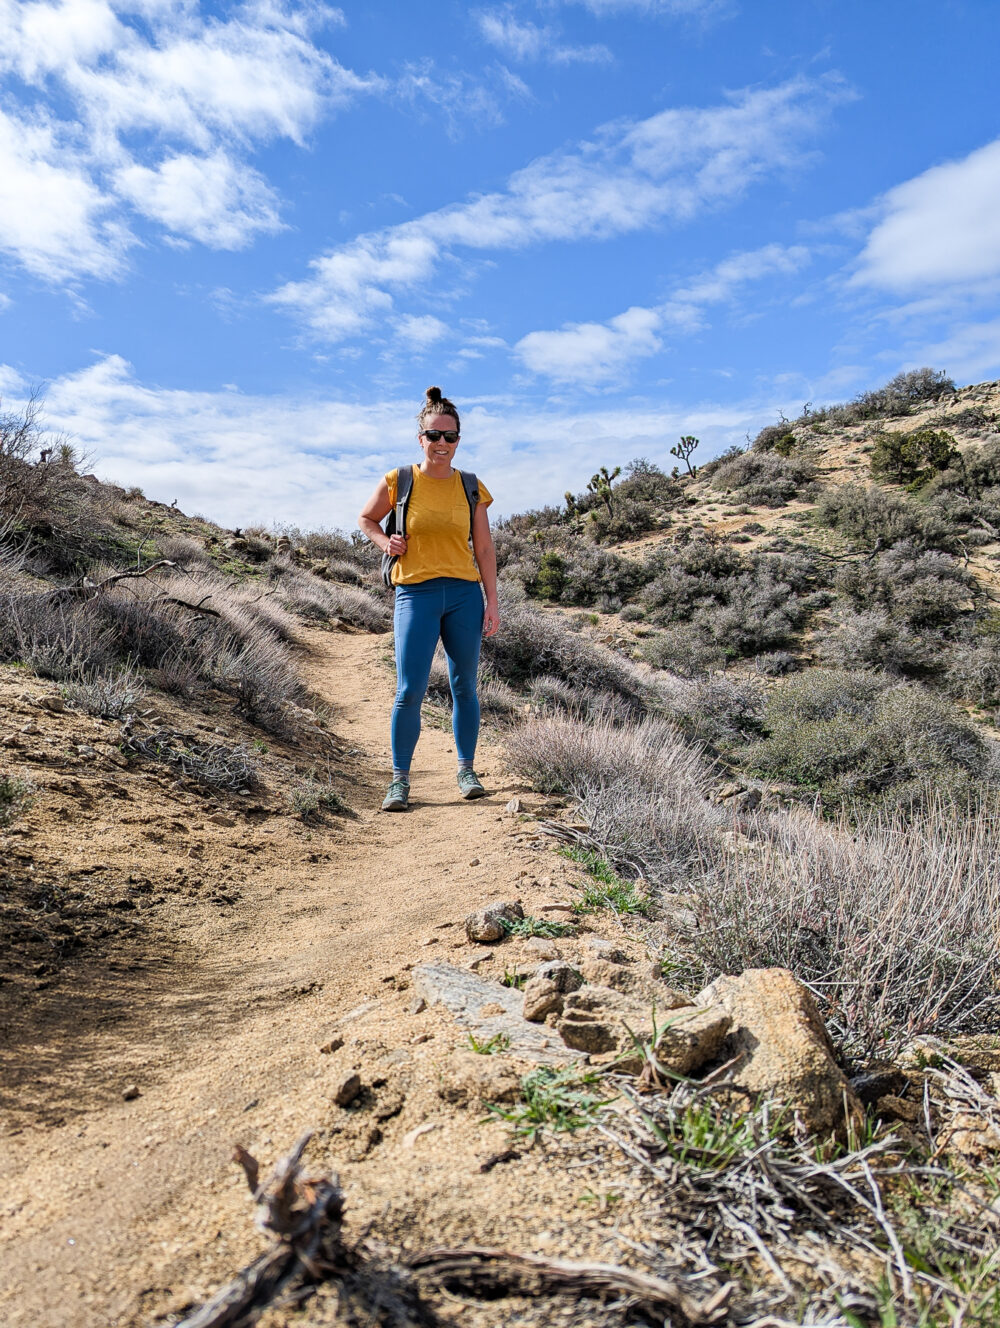
After a few years of getting the lay of the land, I stepped up my hiking game and committed to doing 40 hikes in the next year to celebrate turning 40 years old. You can follow my adventures on my Instagram account if you’re so inclined. Most of them will not be in national parks; I plan to do almost all of the hikes locally or in state and regional parks.
But I’ve come a long way in just a few years from not knowing how to find a hiking trail to incorporating the adventures into my milestone birthday celebrations. I even hiked Joshua Tree National Park by myself as part of that goal. And I promise you can learn how to navigate the national parks too even if you’re a national park trip beginner!
What National Parks have you visited? Do you have any great National Park trip planning tips for beginners? Share in the comments!

If you like national park planning tips, you might also like:
6 Travel Tips for Kids Who Love Sports
Fun and Easy Non-Screen Kids Activities for Road Trips
5 Fun Activities for Kids in Salem Oregon

Jen Panaro
Jen Panaro, founder and editor-in-chief of Honestly Modern, is a self-proclaimed composting nerd and advocate for sustainable living for modern families. To find her latest work, subscribe to her newsletter, Sage Neighbor.
In her spare time, she’s a serial library book borrower, a messy gardener, and a mom of two boys who spends a lot of time in hockey rinks and on baseball fields.