Elegant Winter Wonderland Tablescape for a Sustainable Christmas Party
Are you looking for sustainable Christmas tablescape ideas? Use a few household items and a little creativity to create this winter wonderland tablescape!
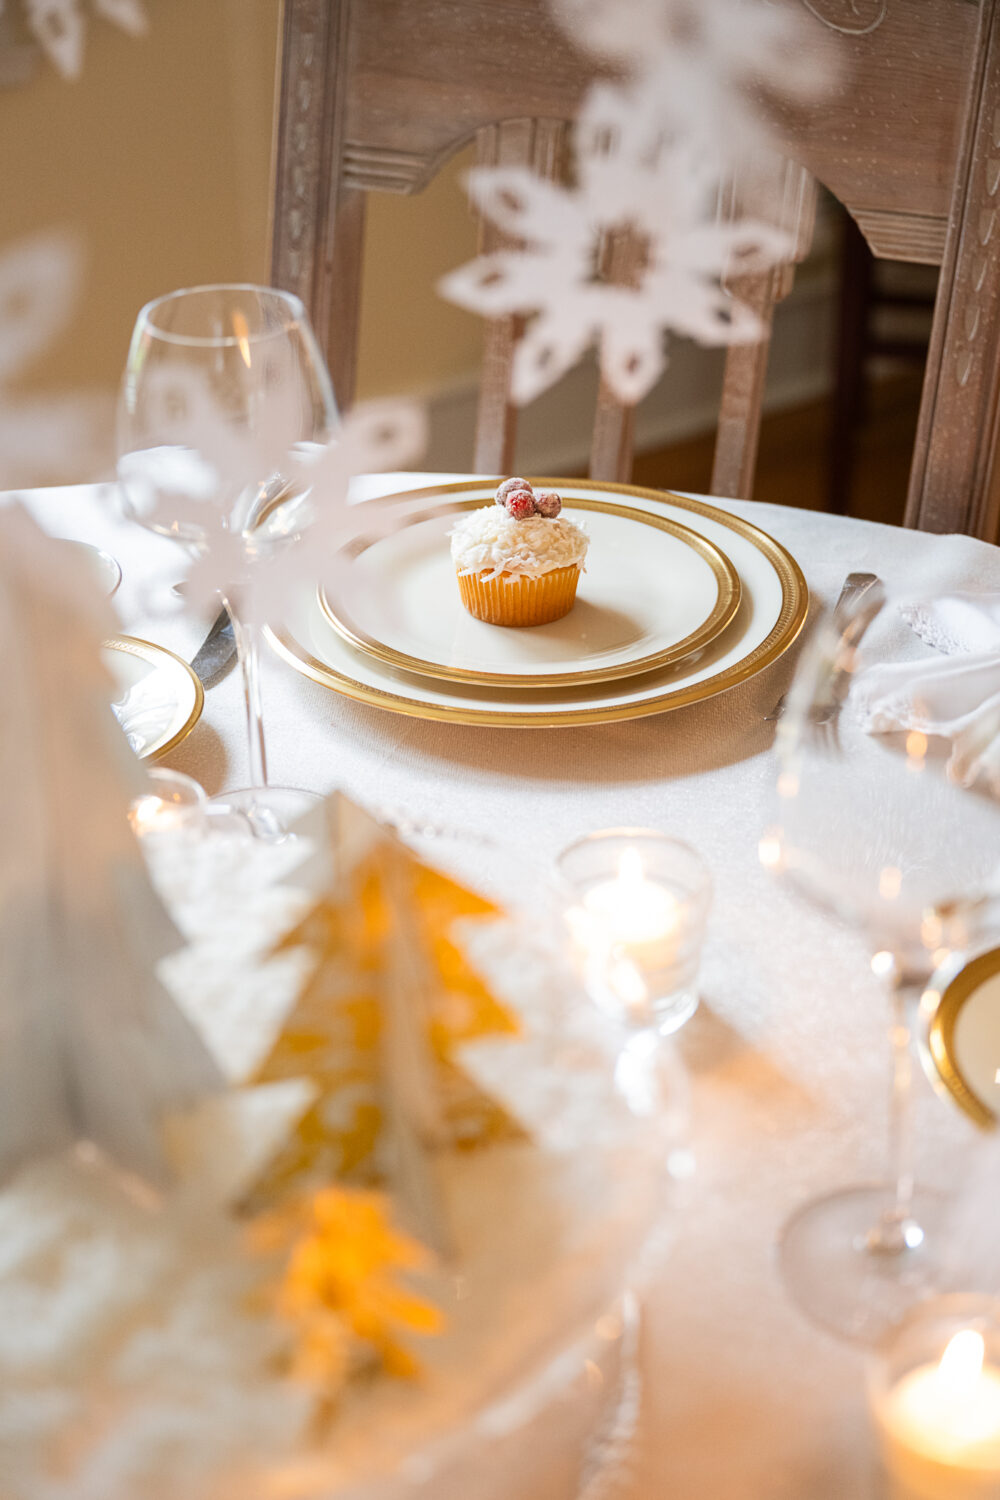
Who doesn’t need a little extra magic and whimsy this holiday season? Amidst the festive hustle and bustle, it is more important than ever to hit pause and be present, and my favorite place to clock some family time is around a beautifully set dinner table.
That being said, all of Santa’s reindeer couldn’t drag me into a craft or party store during this time of year in search of decorations. I dared to step into our local Target last week, and it looked like a zombie horde had passed through; there was stuff everywhere but on the shelves and racks, literally. (Be kind to anyone working in the retail industry, y’all.)
So, for my most recent sustainable tablescape, I challenged myself to create an elegant, whimsical tablescape using a few basic items from around the house! Why get your tinsel in a tangle braving the lines and traffic when you’ve probably got everything you need for a gorgeous tablescape right at your fingertips… or in your recycling bin?
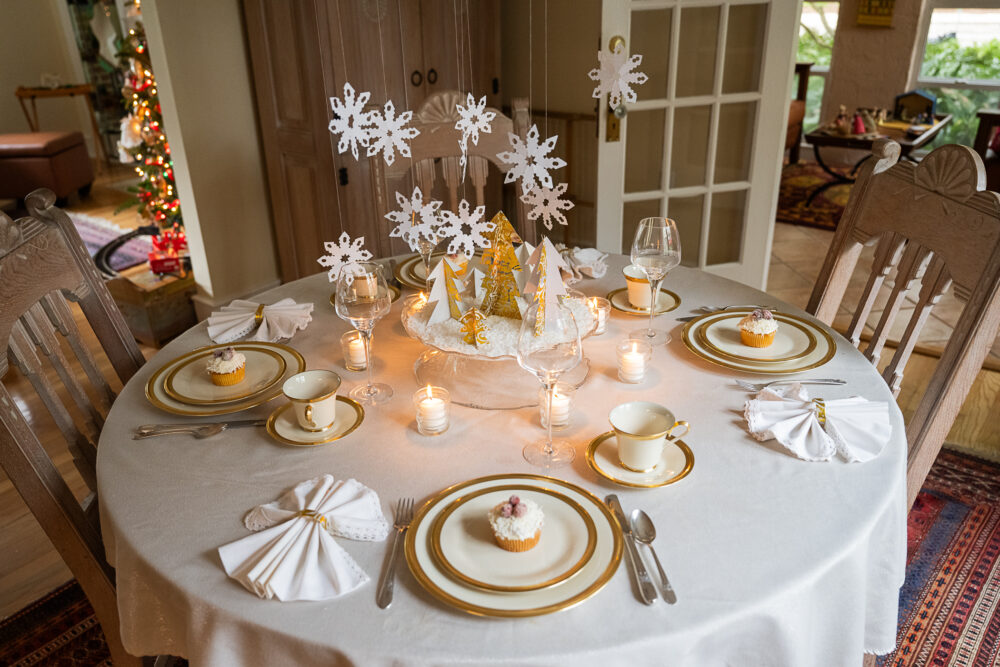
What makes this winter wonderland tablescape a sustainable Christmas party idea?
- The snowflakes are made from scrap paper.
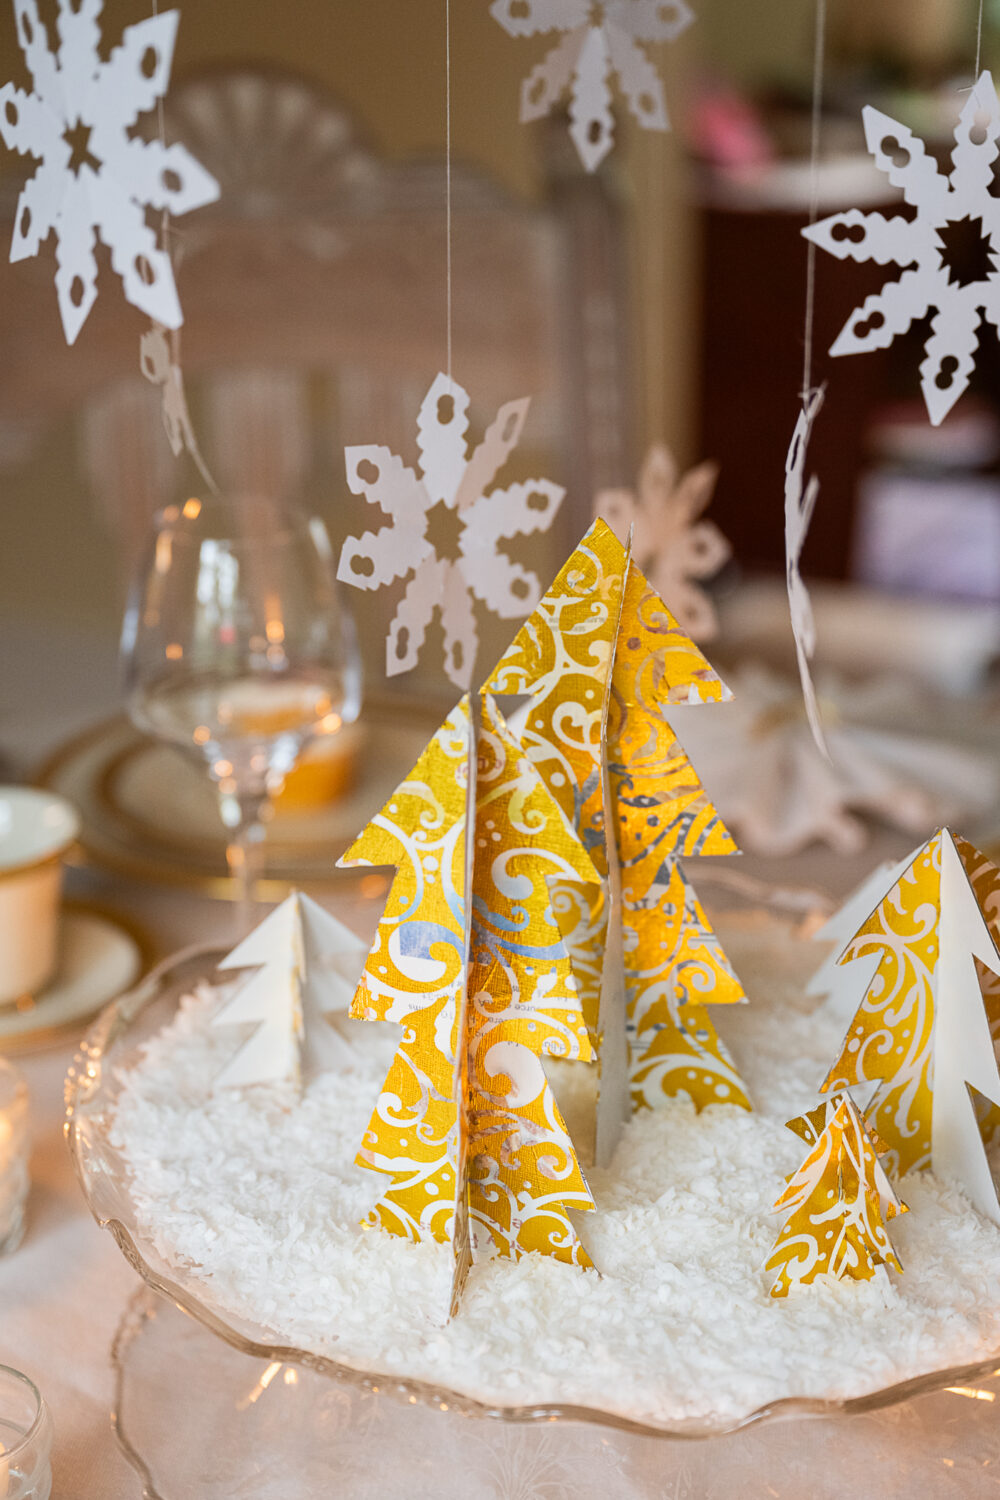
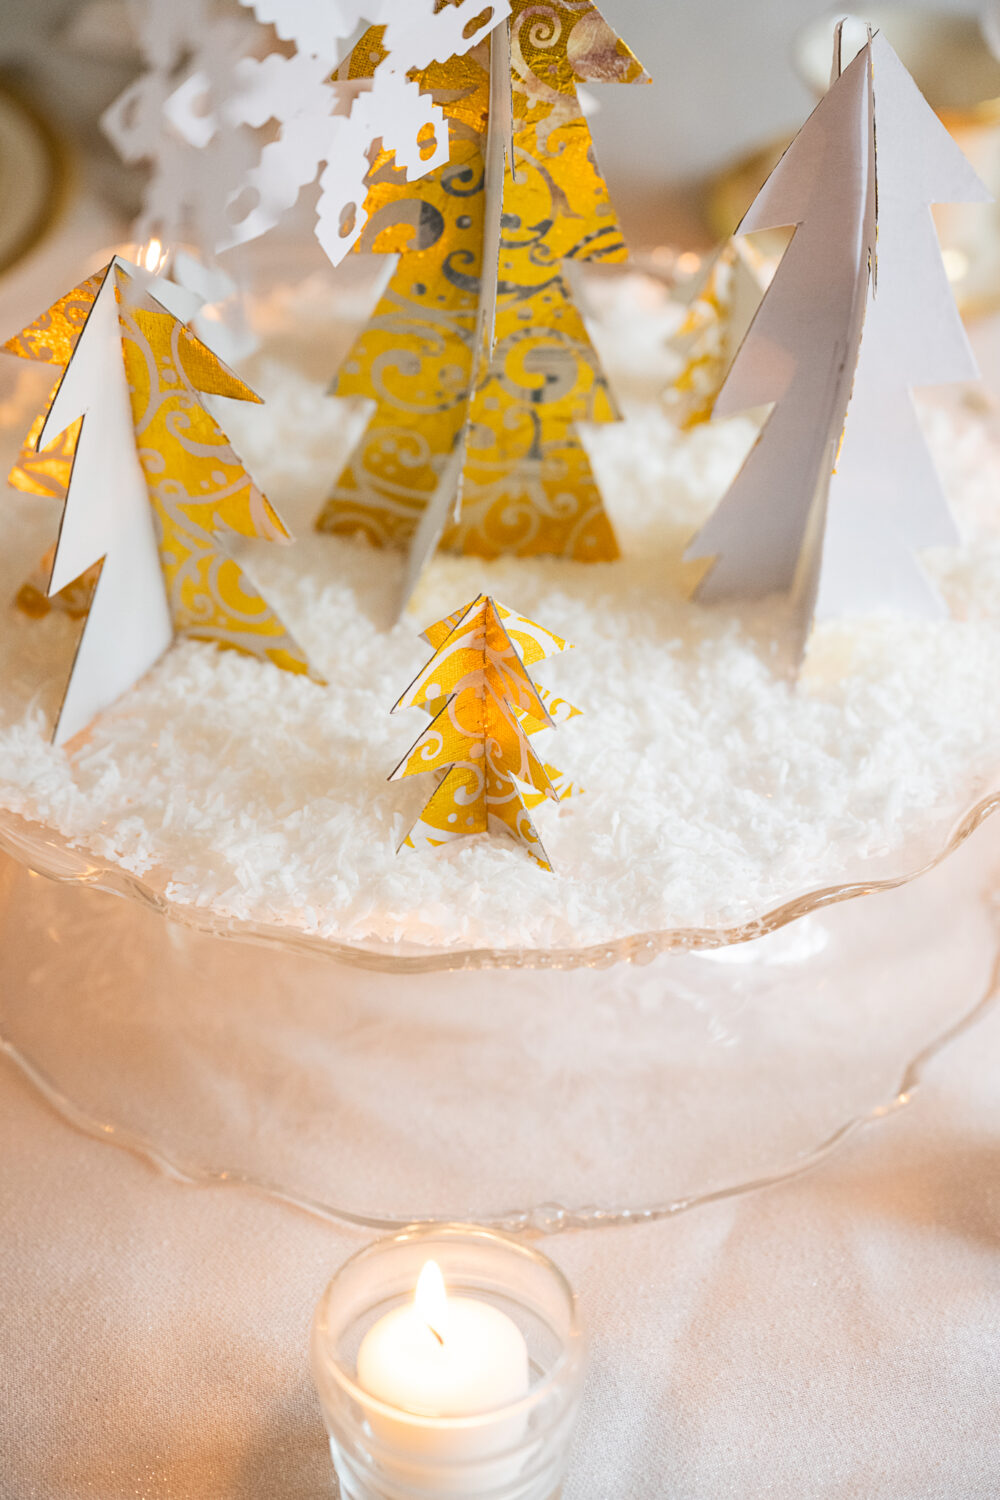
- The trees are made from a cardboard gift box and cardboard food containers.
- The gold trees are covered in used metallic tissue paper, which is neither compostable nor recyclable, giving the paper another use before being thrown out.
- It uses vintage China, silverware, and serving pieces.
- The “snow” is compostable and can be repurposed.
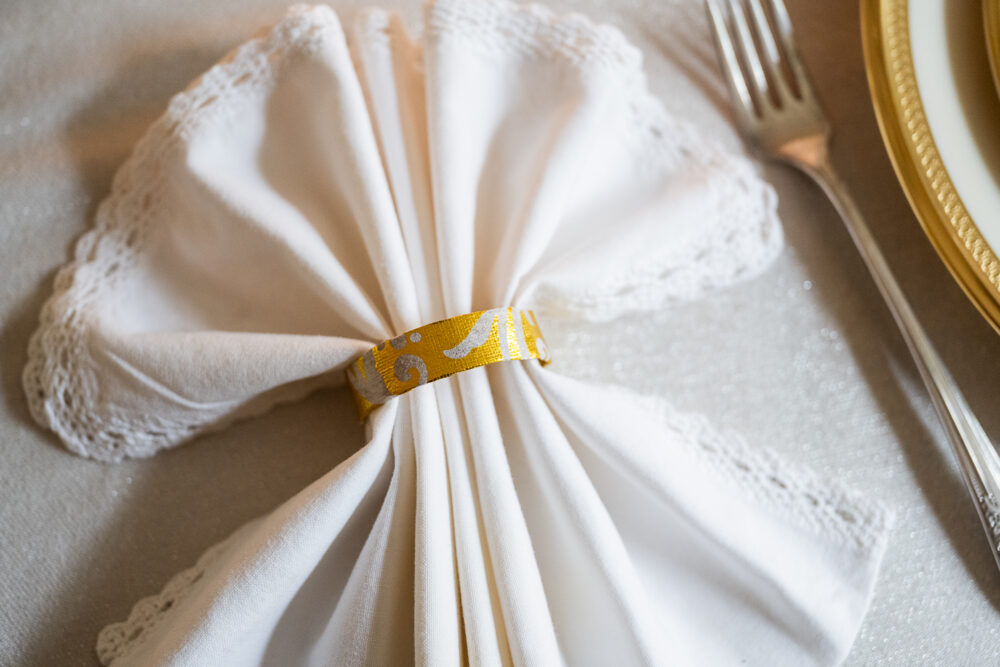
- The napkin rings are made from empty toilet paper rolls and more landfill-bound metallic gift paper.
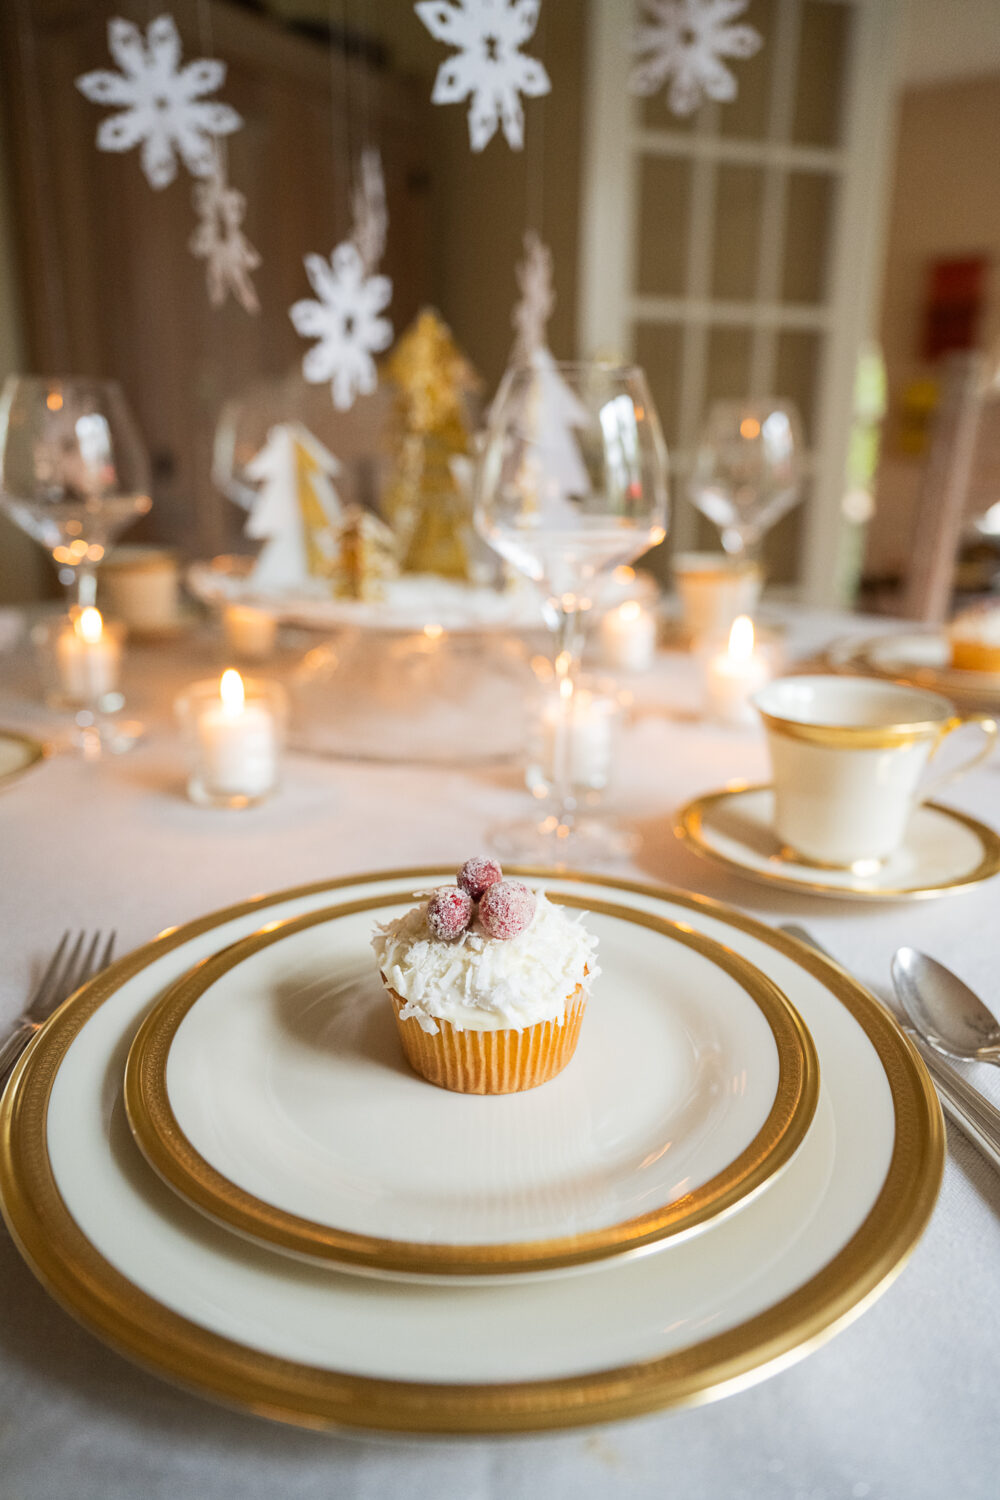
- The dessert doubles as a decorative element during the evening.
Before we get started, please remember to read the “notes” sections, as well as the suggestions for disposing of your tablescape properly at the end. The former will save you oodles of time and frustration, and the latter will land you on the nice list this Christmas!
If you follow the notes for this tablescape, you’ll quickly realize that it can be executed quickly and for very little money, despite how long the suggested materials list appears at first glance.

Suggested Materials for a Sustainable Winter Wonderland Tablescape
Note: It can be helpful to pick a color palette to create a cohesive look when upcycling or working with vintage materials. You may find yourself drawn to bright whites or white and silver or white and blue, for instance. I went with cream and gold because that was the color of the china and tissue paper we had on hand!
- Vintage china (If you don’t have china accessible, you can use everyday white plates or source gorgeous new-to-you plates from the thrift store.)
- Silverware
- Glasses (Again, try shopping for eye-catching glassware at your local secondhand market for a sustainable and affordable option.)
- Cloth tablecloth or runner
- Cloth napkins
- Cake stand OR glass bowl and tray (If you look closely, you’ll see that I’ve flipped a heavy vintage bowl upside down and stacked a matching serving piece on top.)
- Sweetened and unsweetened shredded coconut (Unsweetened is best if you intend to repurpose the coconut.)
- Votives and votive holders
- 2-3 cardboard food packaging boxes or gift boxes* broken down and cut into panels
- White acrylic paint (optional)
- Mod Podge
- Scissors and Xacto knife for cutting the cardboard
- Scrap paper for snowflakes and tree templates
- Pencils for tracing trees
- Used decorative tissue paper
- Decorative scissors and hole punch for snowflakes (optional, but saves time)
- Cotton thread for hanging snowflakes
- Empty toilet paper roll
- Ruler
- Cupcakes in compostable cupcake liners with white icing
- Sugared Cranberries and edible glitter (optional)
*Note: Your choice of boxes will determine how much energy and time you’ll need to put in. You want cardstock-weight boxes, not corrugated cardboard. I did try making the trees with corrugated cardboard, and it was a nightmare. If you need to save time or are picky about printing showing through your tissue paper, pick boxes that are uncoated on one side and white on the other.
Instructions for a Sustainable Winter Wonderland Tablescape
Cardboard Christmas Trees
For a more in-depth look at how to cut cardboard trees, you may find this tutorial helpful. I’m going to walk you through the basic instructions for making these cardboard trees, and you can decide how many trees you’d like to make and what sizes you’d like to make them. I did seven trees using three different height templates.
- Fold 2-3 pieces of scrap paper in half lengthwise, and trace half a Christmas tree along the fold, like you would a paper heart. Keep the paper folded, and cut out the tree. This will be your tracing template.
- Trace two trees on your cardboard and cut them out. Use your scissors to cut away a sliver halfway up the length of one tree and halfway down the other. You should be able to fit your trees together by sliding the bottom slit on one tree over the top slit on the other. Trim your slits as needed to ensure an easy fit.
- Next, lay each cardboard tree flat. It’s time to decide which side will be which color.*
*Note: If you are in a hurry, use white gift boxes and put your tissue paper on the plain side of the box. You can also use metallic gold spray paint to cover your cardboard boxes, but white did NOT cover well for me. Also, do keep in mind the increase in condensation at sunset in humid climates at this time of year. I tried to spray paint my trees this way at sunset, and everything became a soggy mess and had to be thrown out.
I left one side white and covered the brown side with tissue paper for the white cardboard boxes. For the cardboard food boxes, I didn’t mind some of the writing showing through. It added a fun hint of color. I did a quick, thin layer of acrylic white paint, which dried almost immediately.
- Lay your tissue paper pretty-side-down and smooth it as flat as possible. To apply your tissue paper, quickly paint a thin layer of Mod Podge on your tree and slap that sucker onto the tissue paper. Repeat with the other matching tree. Cut your trees free of the rest of the sheet of tissue paper by following along the cardboard edges and retrim the slits.
- Let your trees dry (it shouldn’t take long, especially not if you put them in a room with the fan on), and assemble them.
Upcycled Toilet Paper Roll Napkin Rings
- Use the ruler to divide your toilet paper roll into as many ½-inch rings as you’ll have place settings. Mark the sections with a pen, and use a Xacto knife to follow the lines around the toilet paper roll to cut your rings free.
- Cut your tissue paper into 1.25-inch by 6.25-inch-long strips. Working one at a time, apply a thin layer of Mod Podge to the outside of your cardboard ring, rest it in the center of one end of your tissue paper, and roll it along the length of your tissue paper. It should stick immediately. Then, brush a quick coat of Mod Podge to the inside of the ring and fold the loose ends of paper around to cover the entire napkin ring.

Paper Snowflakes
If you somehow missed this craft in kindergarten, you’ll pick up the jist of it pretty quickly with this paper snowflake tutorial.
- Trace a circle on your scrap paper using a water glass. Cut it out and fold it lengthwise several times to form a wedge.
- Make decorative cuts around the curved and folded side of your snowflakes. If you’re short on time, you can fly through this step by using decorative scissors and/or a hole punch.
- Iron your snowflakes to help them lay flat (optional). Hang them from your lighting fixture at various lengths using the cotton string. If you don’t have a lighting fixture, you can scatter them at the base of your centerpiece at the end.

Winter Wonderland Cupcakes
- Spread a cup of sweetened shredded coconut onto a small plate and dunk each iced cupcake into the coconut, icing side down. Turn your cupcakes right side up, shake off any excess coconut, and lightly dust them with edible glitter.
- Press three sugared cranberries into the top of each cupcake.
Assemble Your Sustainable Winter Wonderland Tablescape
- Put the tablecloth or table runner on the table. Then, set each place setting with your plates, silverware, and glassware.
- Fold your napkins into one pleated fold, pull them through the napkin rings, and fan them out at each end to emulate a snowflake. Display one napkin by each place setting.
- Place your cake stand or bowl and tray combination in the center of your table.
- Fill the top with unsweetened shredded coconut. Nestle your trees among the coconut.
- Place your cupcakes at each place setting, light your votive candles, and enjoy!
I hope the seats at your table are filled with loved ones this holiday season. For tips on how to dispose of your sustainable tablescape responsibly after the party, please check out the tips below!
Breaking Down Your Sustainable Winter Wonderland Tablescape
- Wash and reuse your table linens, china, glassware, and cake stand (or bowl and tray combination), or donate them to a secondhand store.
- Compost your cupcake liners if possible.
- Compost the unsweetened shredded coconut, or use it in a DIY body scrub.
- Save your trees for next year, or use them as decorative gift wrap elements.
- Recycle or compost your snowflakes, or use them as gift tags or decorative accents.
All photos via Reese Moore Photography

If you enjoyed Winter Wonderland Tablescape for a Sustainable Christmas Party, you may also enjoy:
Easy DIY Christmas Table Decorations: Upcycling Ideas for an Eco-friendly Holiday
DIY Christmas Table Runner: Repurpose Old Greeting Cards
How to Repurpose Old Christmas Trees into DIY Fire Starters
About the Author

Reese Moore
Reese Moore is a photographer, content creator, and pickle connoisseur who divides time between Charleston and Lake Lure. When she’s not behind the lens shooting stunning images for Reese Moore Photography, Reese loves to spend her time wandering the woods with her dog Gatsby or adventuring with her husband Logan in their Airstream Basecamp.
