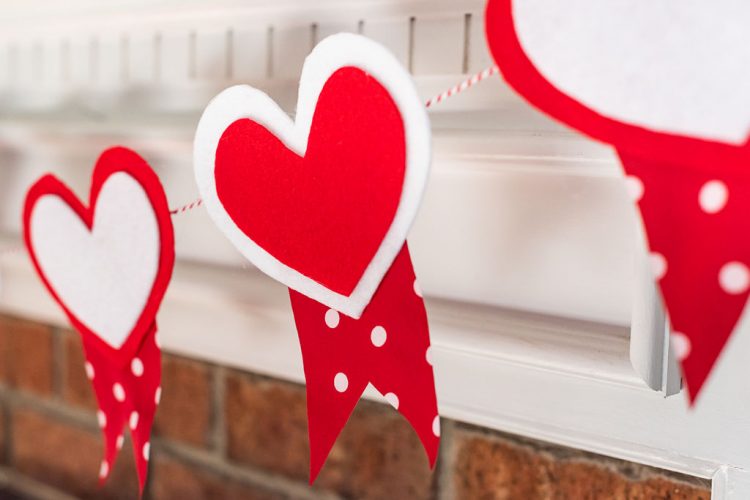
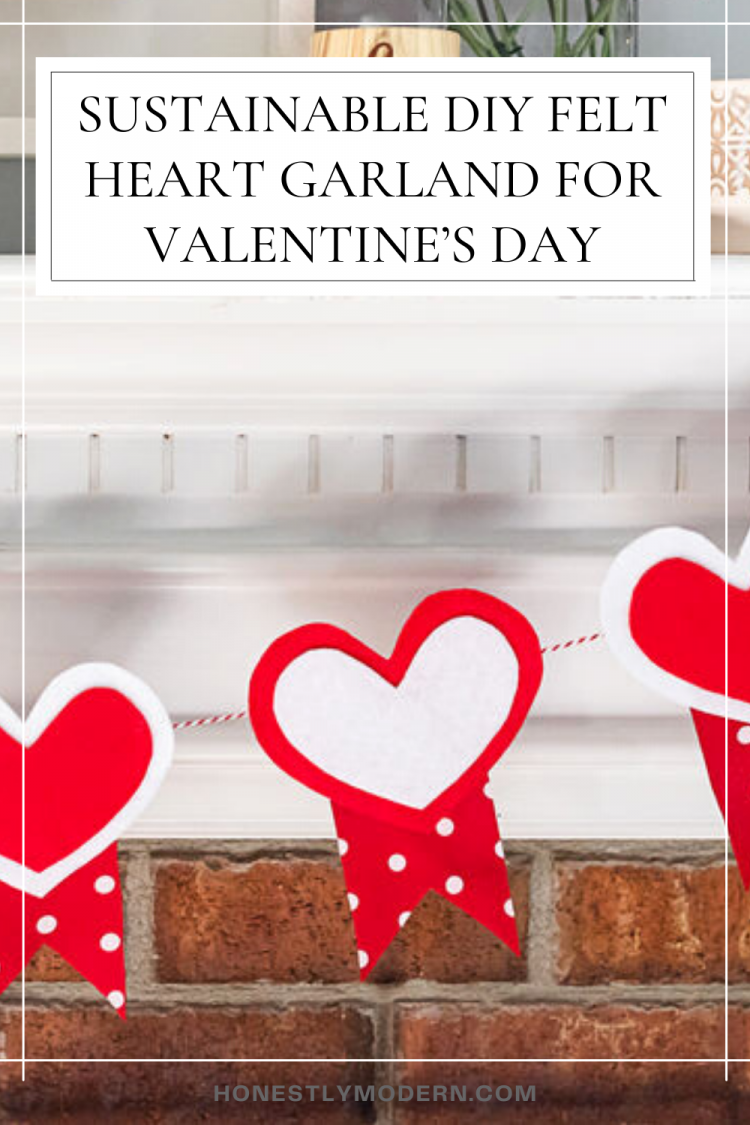
Sustainable DIY Felt Heart Garland for Valentine’s Day
Are you wondering what to do with old clothes? Are you looking for a fun, sustainable DIY this Valentine’s Day? Learn how to make your own adorable felt heart garland using old clothes in this simple DIY.
Everyone has that one neighbor who goes full Clark Griswold on their house for every single holiday. While I’m not saying that’s me, I’m also about to surprise the heck out of my husband with a 9-foot tall Valentine’s Day inflatable in our yard when he comes home from his ski trip.
My love of outrageous inflatables aside, we strive to keep our holiday decor eco-friendly and homemade whenever possible. This year, I’ve been making DIY felt heart garlands for our home using felt made from recycled water bottles and a couple of thrift store finds! Why, you ask?
Let’s answer that by going over the numbers:
- 1.3 billion: plastic water bottles produced per year
- 23%: plastic bottles are recycled annually
- 50%: what you put in your recycling bin that actually gets recycled
- 100 billion tons: clothing produced annually
- 21 billion tons: clothing landfilled annually
Additionally, a whopping 84% of clothing donated to charities still ends up in landfills or incinerators.
So, if you’re wondering what to do with your old clothes, my answer will always be: GET CREATIVE!
Now that the heavy stuff is out of the way, let’s have some fun with this easy, adorable, sustainable DIY felt heart garland. This is the perfect craft for a Sunday afternoon, rainy day, or after-school project for kiddos old enough to wield scissors and a glue gun, though you can use fabric glue if you’ve got little littles and some patience.

How to Make a Sustainable DIY Felt Heart Garland
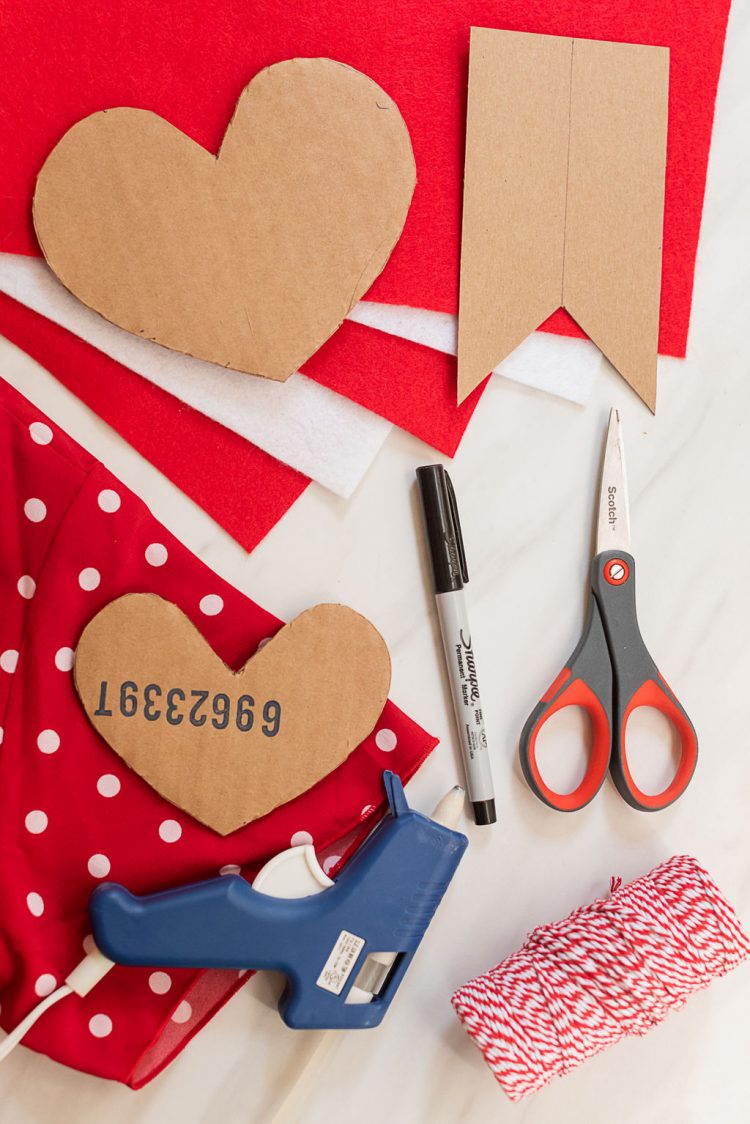
Materials:
- Iron and ironing board (optional)
- Garment made from non-knit fabric to prevent fraying: think activewear, fleece, velvet, anything produced in a solid sheet versus woven strands, like a cotton sweater. You can also pick a finely woven fabric if you’re committed to sealing the edges with clear nail polish to prevent fraying.
- Sharp scissors
- Pieces of junk mail for creating templates
- Two pieces of a used cardboard box for creating templates
- Hot glue gun
- Baker’s twine, hemp, yarn, or ribbon for stringing the garland
- Eco-friendly felt made from recycled plastic in colors that complement your garment
- Scotch tape (optional)
- Ballpoint pen and Sharpie pen
- A good soundtrack
Instructions for Making a Sustainable DIY Felt Heart Garland
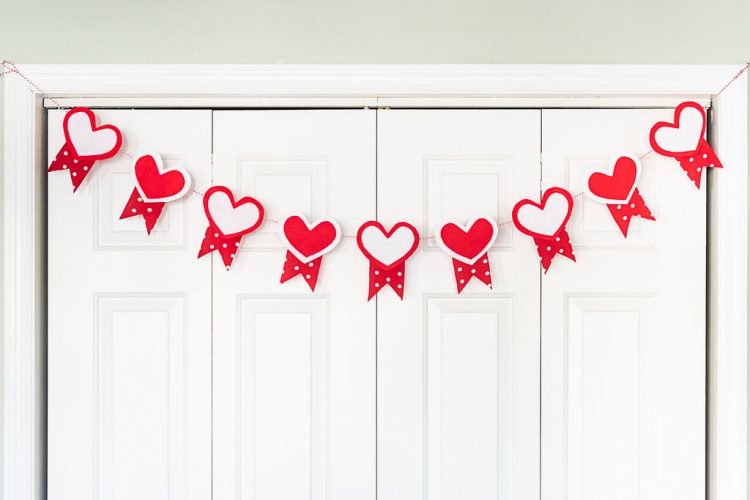
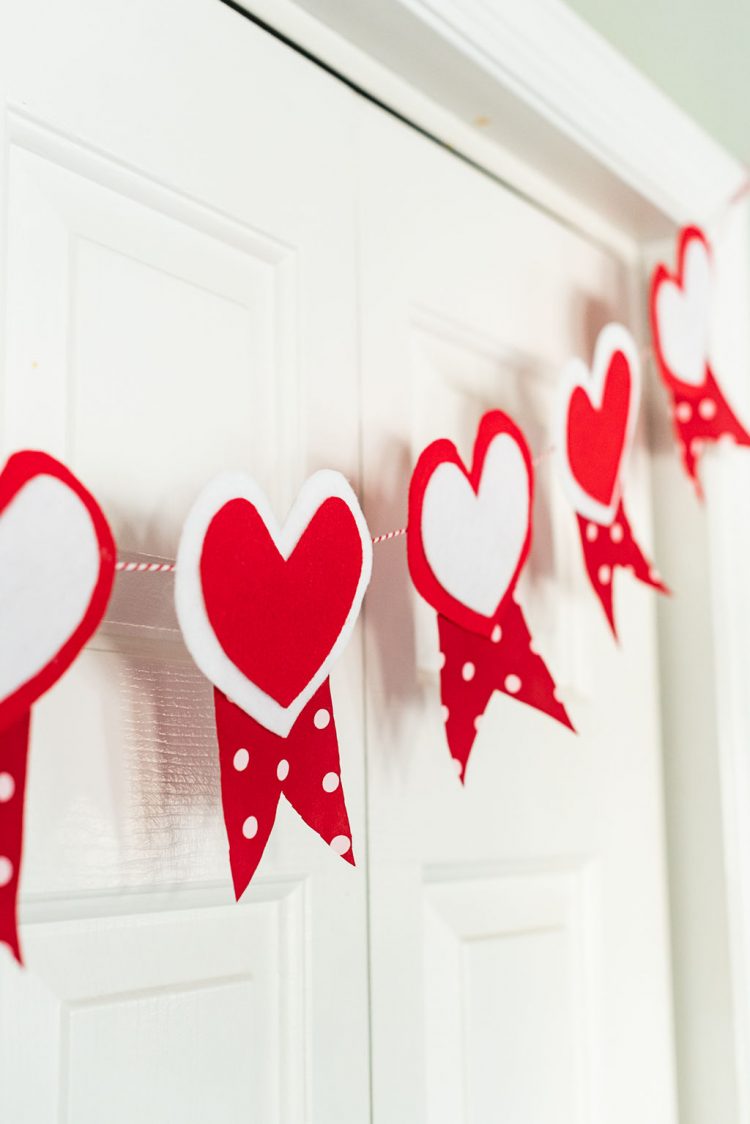
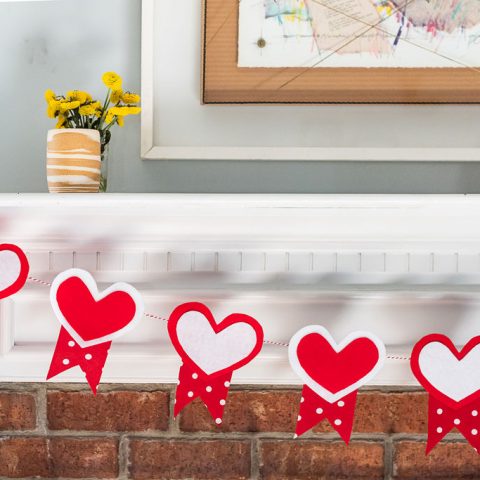
Note: I made a 7-foot long felt heart garland that used 9 sets of 5.5-inch wide layered felt hearts spaced 1.5 inches apart. Are you in a hurry? Use one felt heart and one flag per decorative piece and increase your spacing.

First, if needed, wash, dry, and iron your thrift store garment according to the tag instructions.
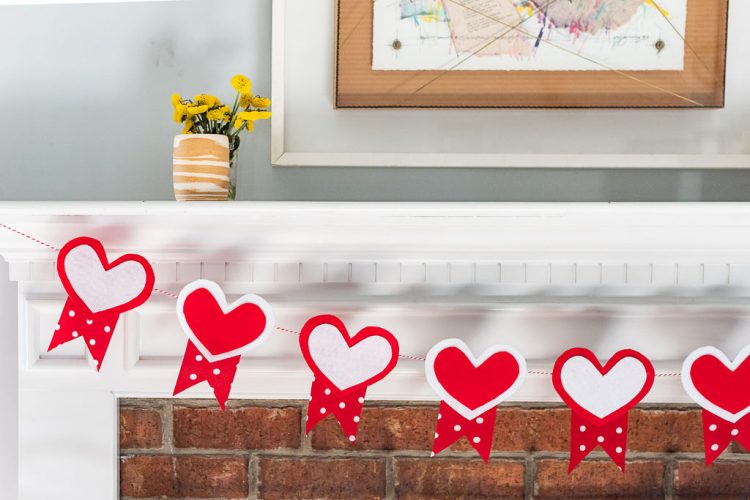
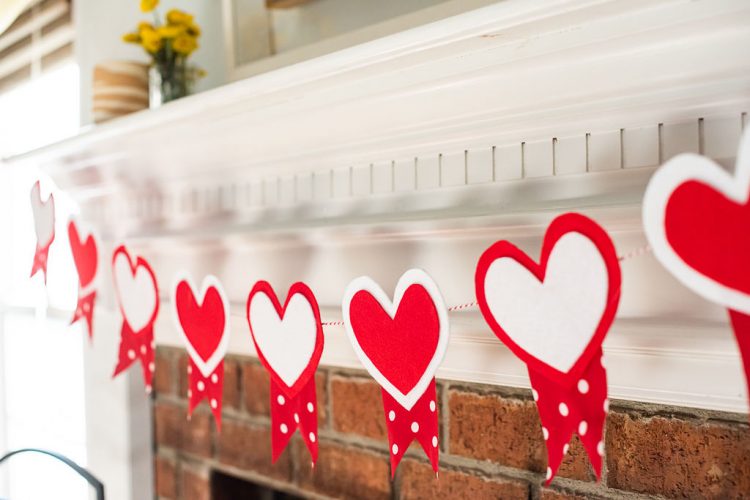
2. Measure out your thread as the backbone of your garland. I wanted a gentle curve on my mantle, so mine was 7 feet long, including the 12 inches of “breathing room” on either end.
3. Decide what felt colors you’ll use for your hearts! Since the garment material is likely more flimsy than the felt, I recommend using the garment material as the flag so it hangs gracefully and doesn’t create “floppy” hearts. The felt material is a bit sturdier and will create stronger hearts.
4. Create your templates for tracing the hearts and flags on your felt and garment material, respectively, using steps 5-10.
5. Fold your sheet of junk mail in half, and then trace half of your largest heart template so that the inner V and lowest point of the heart aligns with the crease (like you did when making Valentines during kindergarten!) so your finished product will be symmetrical. I made my ‘half heart’ 5.5 inches wide.
6. Cut out your folded heart from your piece of junk mail.
7. Then fold another piece of junk mail to make the smaller heart template. If you don’t care if the two shapes match exactly, you can freehand the second, smaller heart.
8. If you do care if they “match”, then tuck your folded heart over the crease, trace the edges of your current template, and then create your smaller heart by measuring ½ inch inside your traced line and marking it with dots. Connect the dots, and then cut along the smaller half heart.
9. Draw your flags the same way, making sure the width is smaller than that of your smaller heart to avoid overlap. You can do rectangles with or without flared edges or triangles.
10. Lay each heart and flag made from junk mail flat on your cardboard. Trace them, and then cut out the full (not folded) shapes. These cardboard heart and flag pieces are your “real” templates for making your felt hearts. They’re sturdier and will stay flat when you trace them.
11. Break your garment down into flat fabric panels by cutting along the seams.
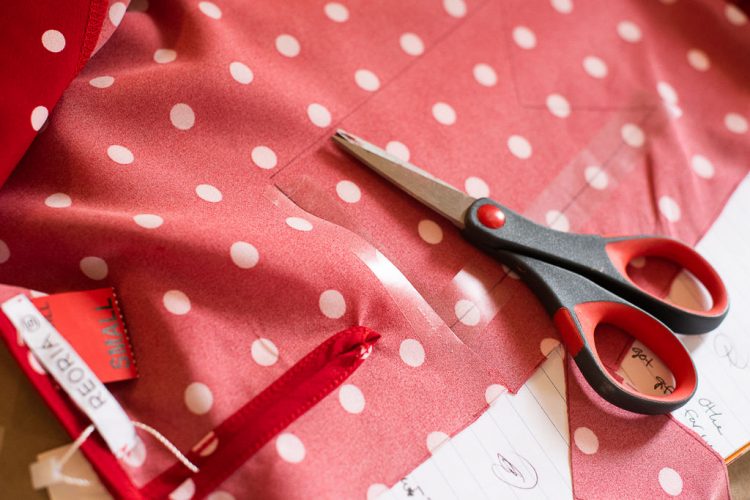
12. Trace your flags on the “inside out” side of your garment using the ballpoint pen, so there’s no ink bleeding through.
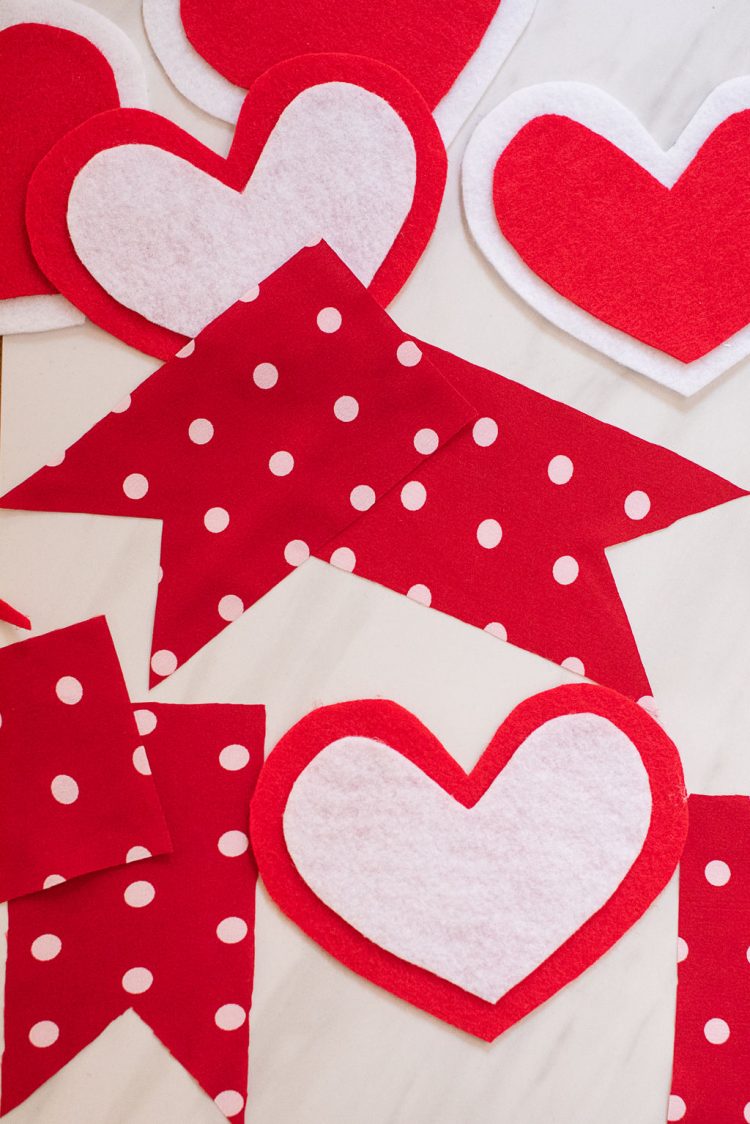
13. Cut out your flags. Pro tip: Are you in a hurry or worried about keeping even edges? Lay Scotch tape over the ballpoint pen marks to stiffen the material and speed up the cutting process. I even left mine on since it’s only visible on the back side.
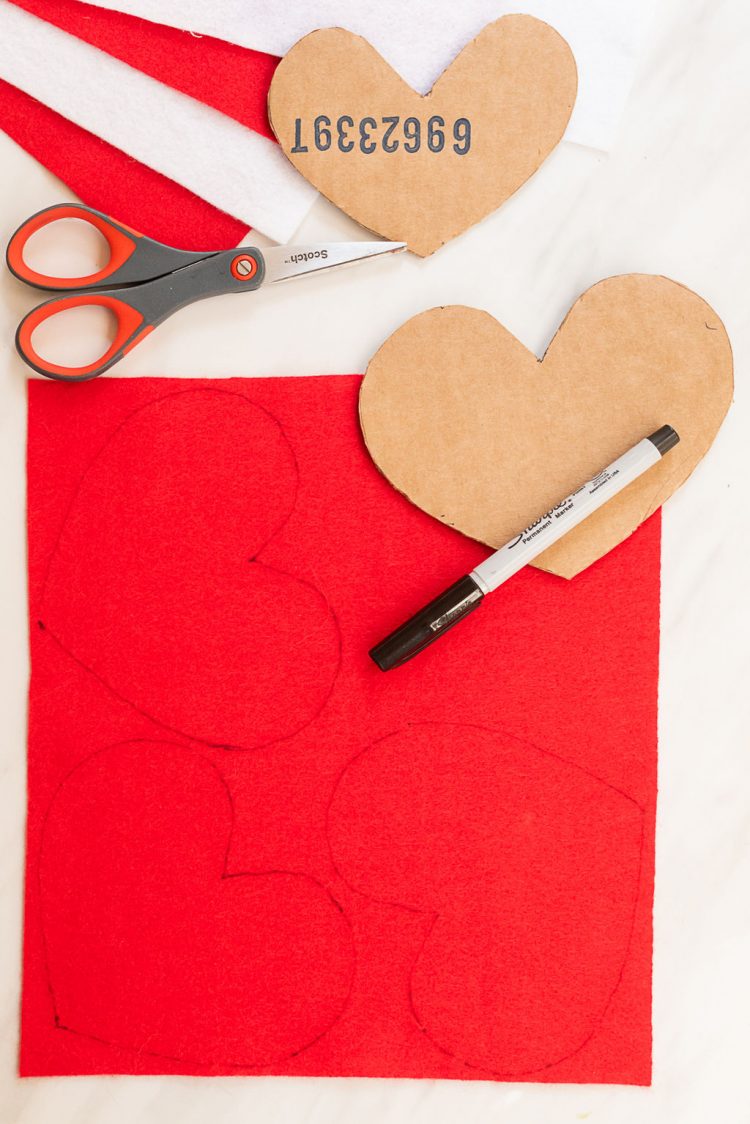
14. Trace your hearts on the felt sheets with the Sharpie and cut them out, keeping to the inside of your ink.
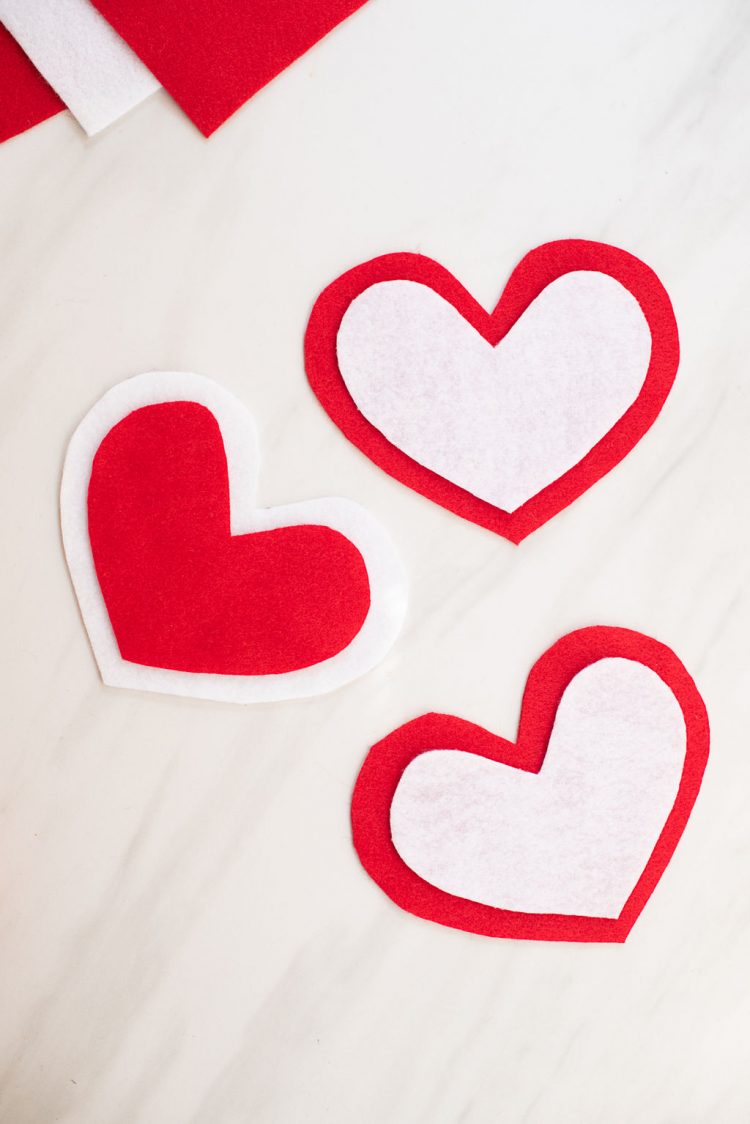
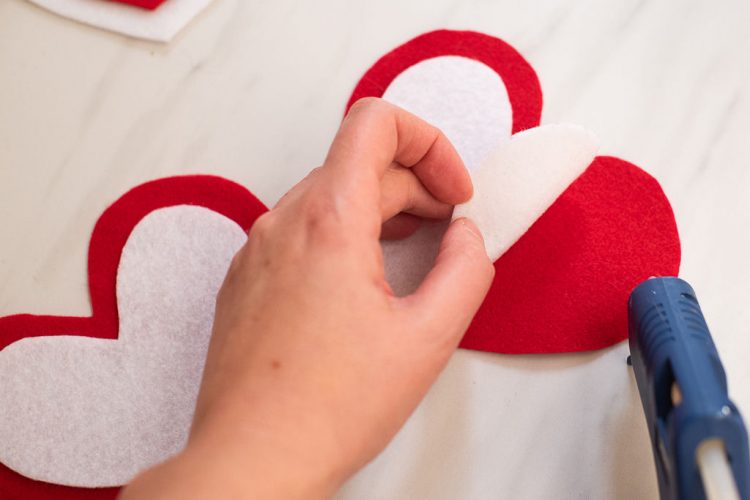
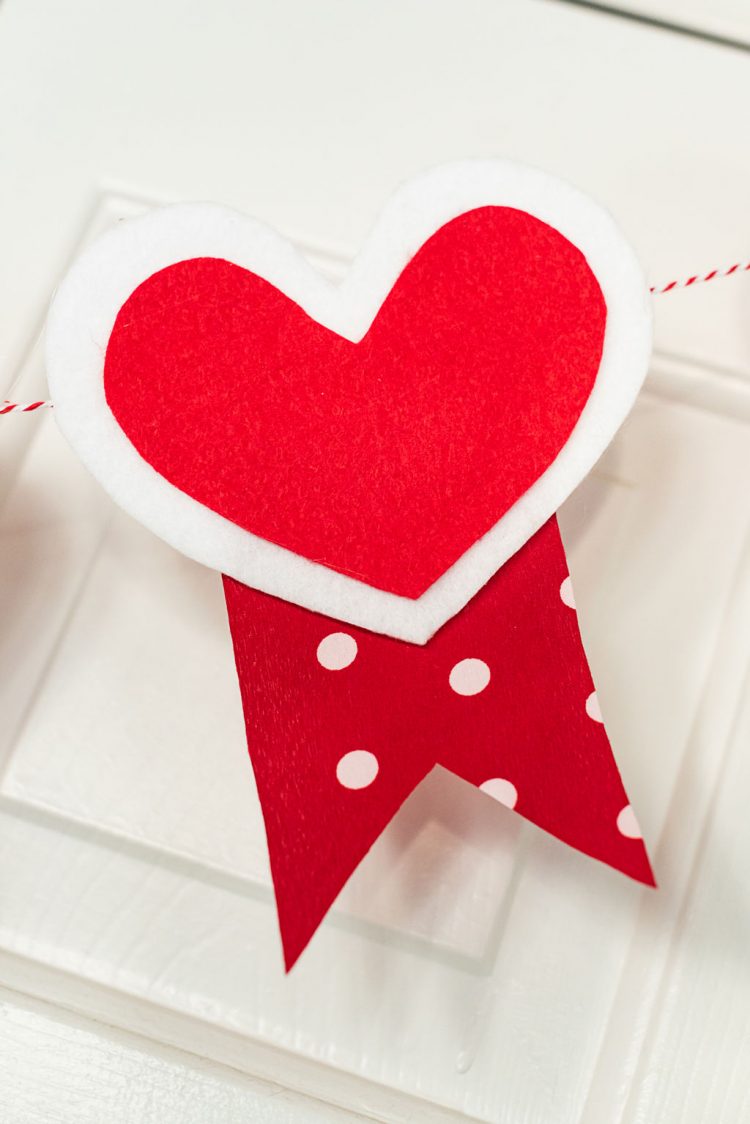
15. Layer your hearts and secure them with your glue gun by running lines or dots of glue around the edges of the smaller pieces (mainly the highest curves and the bottom V of the heart). Gently press them against the larger hearts.
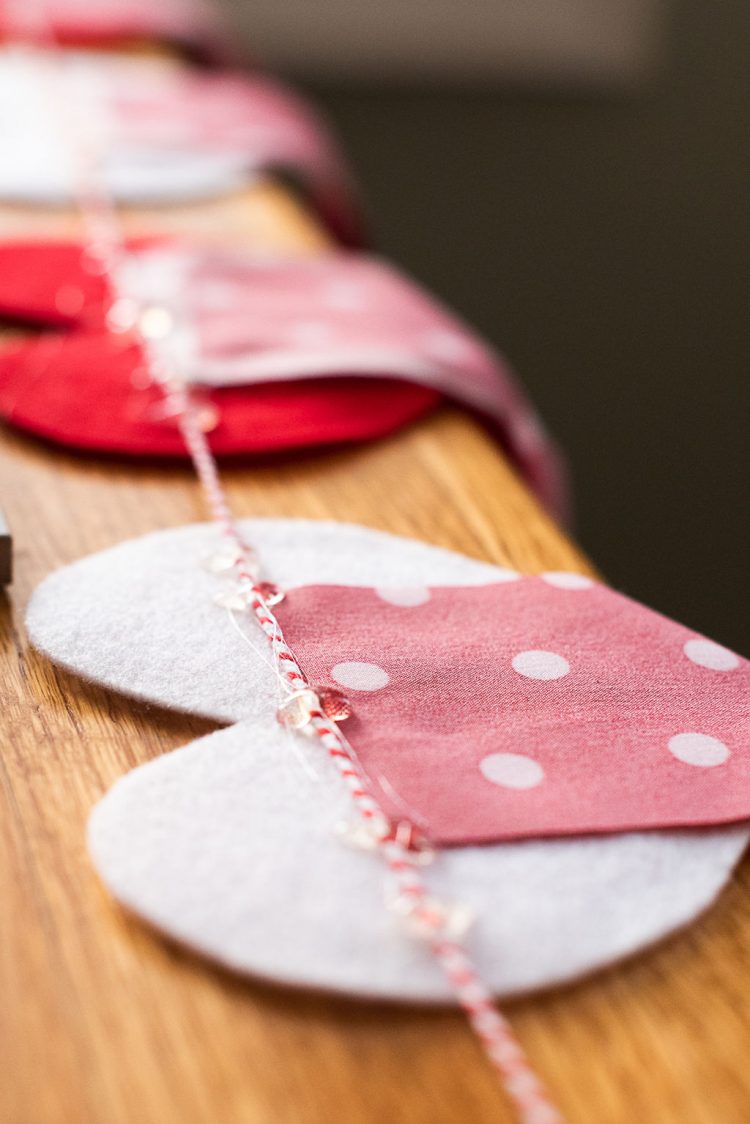
16. Lay out your thread and arrange your hearts underneath so that the thread falls about a half-inch below the dip in the heart. (You want to weight the hearts with more fabric toward the bottom so that they won’t spin, flop, or fall thanks to gravity.) Center your flags along the thread with the backside facing you, then secure the pieces with generous dots of glue, as pictured.
17. Let your glue fully cool, then tie loops on either end for easy hanging. Enjoy!
Are you doing this DIY with kids? Let them write Valentine’s Day messages or draw on the felt hearts with fabric pens!
All photos from Reese Moore Photography.

If You Liked Sustainable DIY Felt Heart Garland for Valentine’s Day, You Might Also Like
10 Date Ideas For Parents That Don’t Require a Babysitter
How To Build Your Own Plant-Based Charcuterie Boards
Capture Kids Art Without the Clutter
About the Author

Reese Moore
Reese Moore is a photographer, content creator, and pickle connoisseur who divides time between Charleston and Lake Lure. When she’s not behind the lens shooting stunning images for Reese Moore Photography, Reese loves to spend her time wandering the woods with her dog Gatsby or adventuring with her husband Logan in their Airstream Basecamp.
Easy DIY Heart Felt Garland
Are you wondering what to do with old clothes? Are you looking for a fun, sustainable DIY this Valentine’s Day? Learn how to make your own adorable felt heart garland using old clothes in this simple DIY.
Materials
- Garment made from non-knit fabric to prevent fraying: think activewear, fleece, velvet, anything produced in a solid sheet. You can also pick a finely woven fabric if you’re committed to sealing the edges with clear nail polish to prevent fraying.
- Pieces of junk mail for creating templates
- Two pieces of a used cardboard box for creating templates
- Baker’s twine, hemp, yarn, or ribbon for stringing the garland
- Eco-friendly felt made from recycled plastic in colors that complement your garment
- Scotch tape (optional)
Tools
- Iron and ironing board (optional)
- Sharp scissors
- Hot glue gun
- Ballpoint pen and Sharpie pen
- A good soundtrack
Instructions
- If needed, wash, dry, and iron your thrift store garment according to the tag instructions.
- Measure out your thread as the backbone of your garland. I wanted a gentle curve on my mantle, so mine was 7 feet long, including the 12 inches of “breathing room” on either end.
- Decide what felt colors you’ll use for your hearts! Since the garment material is likely more flimsy than the felt, I recommend using the garment material as the flag so it hangs gracefully and doesn’t create “floppy” hearts. The felt material is a bit sturdier and will create stronger hearts.
- Create your templates for tracing the hearts and flags on your felt using steps 5-10.
- Fold your sheet of junk mail in half, and then trace half of your largest heart template so that the inner V and lowest point of the heart aligns with the crease (like you did when making Valentines during kindergarten!) so your finished product will be symmetrical. I made mine 5.5 inches wide.
- Cut out your folded heart from your piece of junk mail.
- Then fold another piece of junk mail to make the smaller heart template. If you don’t care if the two shapes match exactly, you can freehand the second, smaller heart.
- If you do care if they “match”, then tuck your folded heart over the crease, trace the edges of your current template, and then create your smaller heart by measuring ½ inch inside your traced line and marking it with dots. Connect the dots, and then cut along the smaller half heart.
- Draw your flags the same way, making sure the width is smaller than that of your smaller heart to avoid overlap. You can do rectangles with or without flared edges or triangles.
- Lay each heart and your flag flat on your cardboard, trace them, and then cut out the full (not folded) shapes. These are your “real” templates for making your felt hearts. They’re sturdier and will stay flat when you trace them.
- Break your garment down into flat fabric panels by cutting along the seams.
- Trace your flags on the “inside out” side of your garment using the ballpoint pen, so there’s no ink bleeding through.
- Cut out your flags. Pro tip: Are you in a hurry or worried about keeping even edges? Lay Scotch tape over the ballpoint pen marks to stiffen the material and speed up the cutting process. I even left mine on since it’s only visible on the back side.
- Trace your hearts on the felt sheets with the Sharpie and cut them out, keeping to the inside of your ink.
- Layer your hearts and secure them with your glue gun by running lines or dots of glue around the edges of the smaller pieces (mainly the highest curves and the bottom V of the heart) and gently pressing them against the larger hearts.
- Lay out your thread and arrange your hearts underneath so that the thread falls about a half-inch below the dip in the heart. (You want to weight the hearts with more fabric toward the bottom so that they won’t spin, flop, or fall thanks to gravity.) Center your flags along the thread with the backside facing you, then secure the pieces with generous dots of glue, as pictured.
- Let your glue fully cool, then tie loops on either end for easy hanging. Enjoy!
Notes
I made a 7-foot long felt heart garland that used 9 sets of 5.5-inch wide layered felt hearts spaced 1.5 inches apart. In a hurry? Use one felt heart and one flag per decorative piece and increase your spacing.