Refashioned Knit Tank Top to Maxi Dress ~ Tutorial

You know I love a good refashion (and here’s a whole bunch of proof). As I cleaned out my closet and piled up all the clothes I wouldn’t be needing any more, I had several tanks tops that I no longer needed. I loved the soft and comfortable cotton fabric but also didn’t think they would survive the selection process at a thrift store if I donated them.
Shortly after I posted my maxi skirt tutorial, my lovely sister informed me that she wanted me to make her a maxi skirt and wanted a few new maxi dresses for her new job she would be starting this fall as a fourth grade teacher. I connected the dots and a mental picture of this maxi dress popped into my creative brain. For those who may have missed it, I styled it with a cardigan not long ago which would be much more appropriate for a classroom than the dress by itself. And if you just stopped by because you love maxis, check out the recent maxi remix I put together.
My sewing skills don’t often result in great sleeve and armhole hems (those curved edges don’t do me any favors). So I loved that I could use a manufactured top, add a simple maxi skirt, and have a brand-new-to-me maxi dress… that ultimately found a new home in my sister’s closet as a birthday gift after I made it sweaty and gross photographing it on one of the four hot and humid days we had over the course of the entire Chicago summer. (Some of you may be thinking “but summer’s not over yet, maybe you’ll have more” and those of you who live in Chicago know there’s not a chance that’s true. We’ll be freezing our butts off in more negative forty degree weather again before we know it. Ugh!)
Enough of the back story behind the visit from my creative genius, let’s get down to business.
Materials:
- Tank top in knit jersey fabric (with similar stretch to the skirt so the two fabrics work together well)
- 1.5 yards of knit jersey fabric (2 yards if you’re much taller than 5’6″)
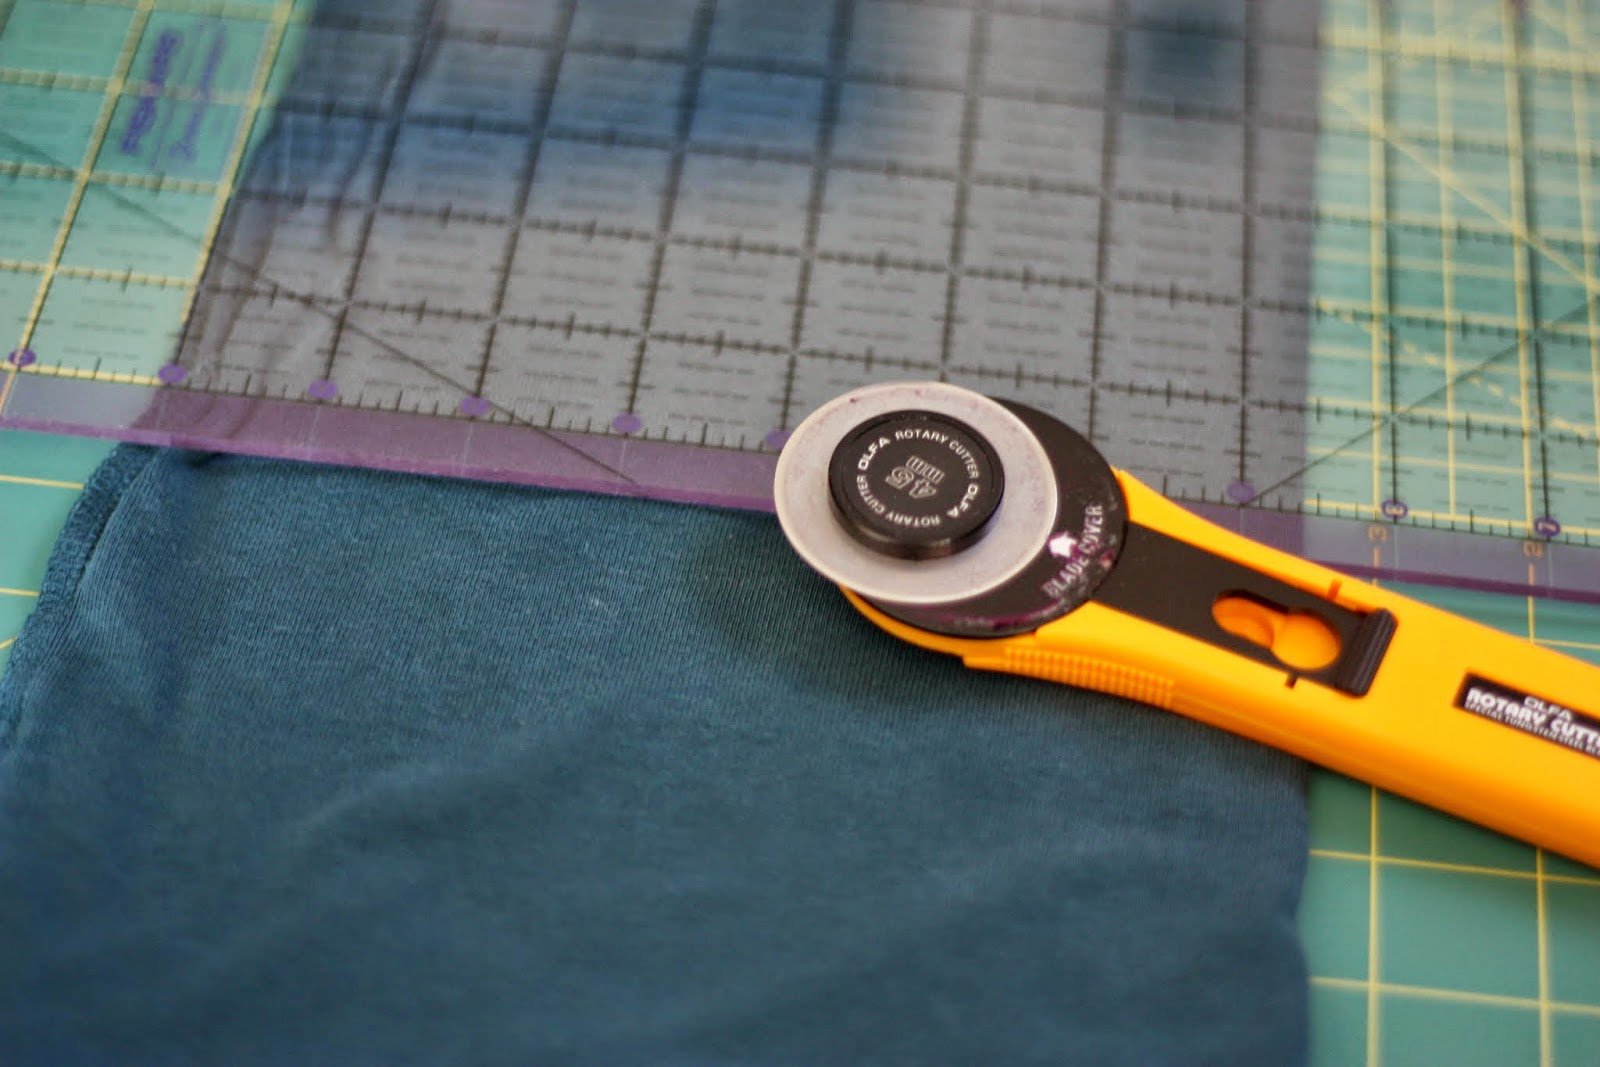
- Scissors or a rotary cutter
- Thread, needle, pins and sewing machine
- Wrapping paper (optional)
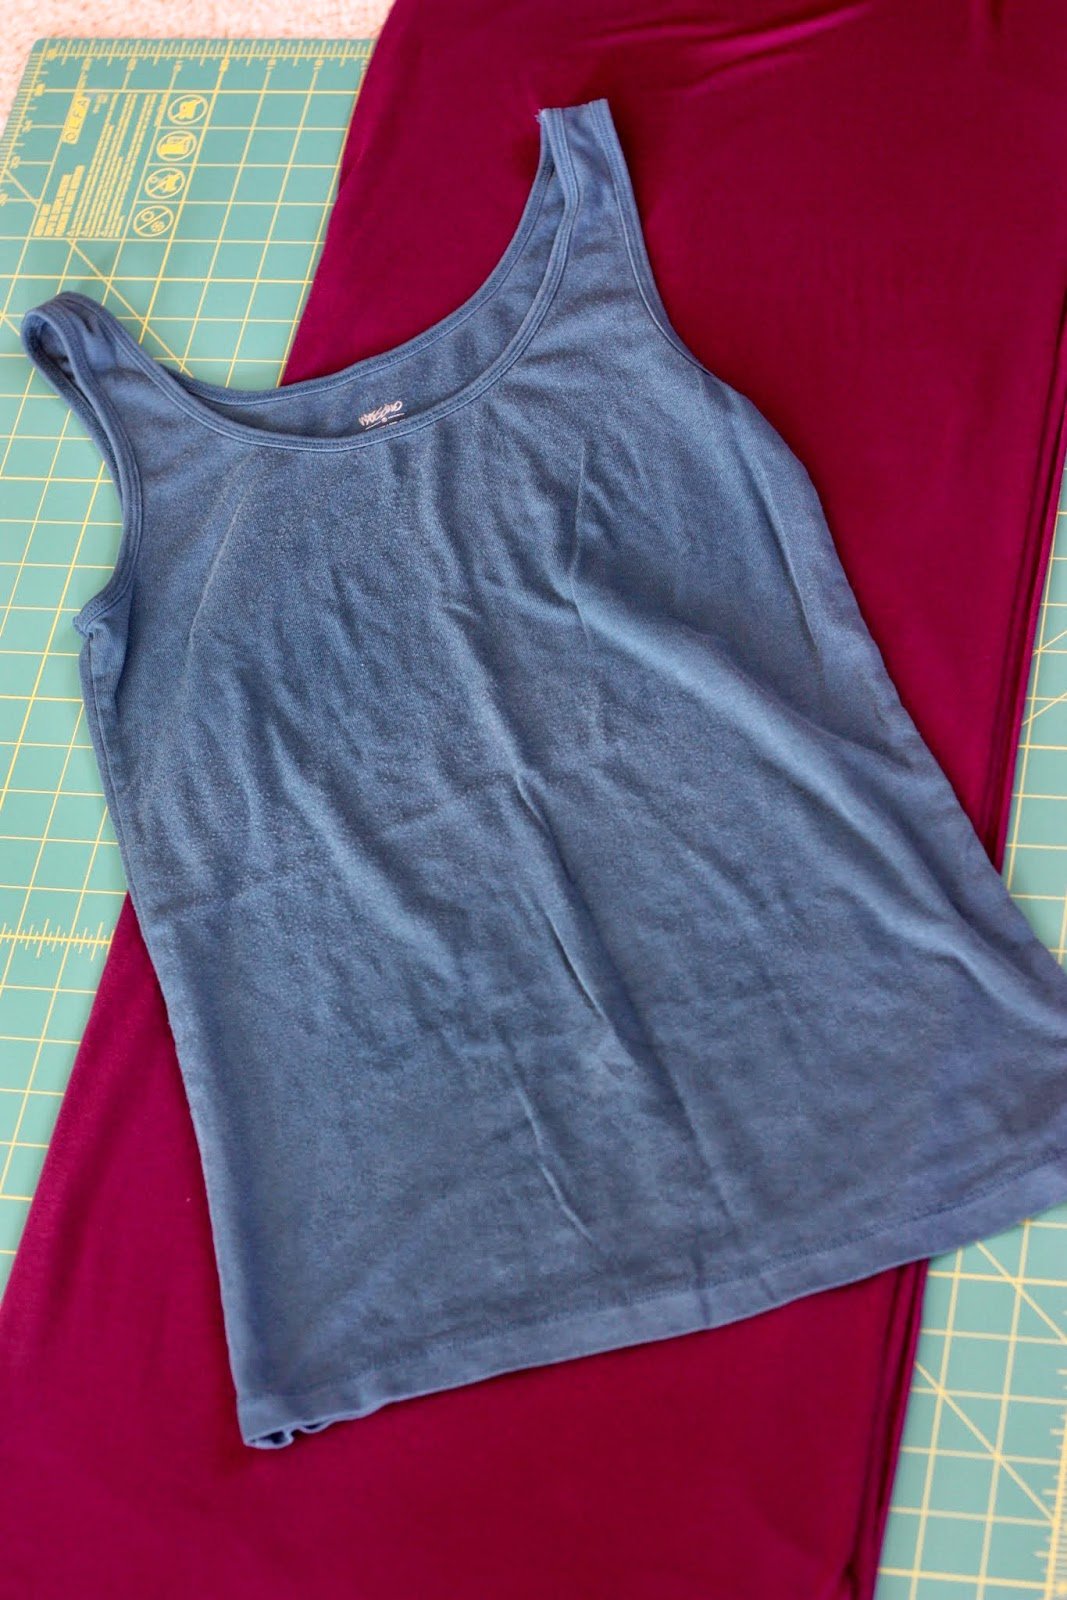
Step 1: Dig through your dresser drawers to find the perfect, worn in tank top for the top of the dress. Add 1.5 yards of the softest, knit jersey fabric that you’ll love to death and will make the dress as comfortable as you’re imagining it will be. (Disclaimer: Any jersey knit will do. I bought mine at JoAnn’s and, of course, purchased it during one of the weeks when all their knits were 50% off. If not, I most certainly would have used a coupon!)
Step 2: Create a pattern.
Collect the following measurements:
- Around your waist (or wherever you want the skirt to sit) – for this refashion, the circumference of the waist of the skirt should be approximately the same as the circumference of the tank top so, when sewed together in Step 6 below, the two fabric pieces match together well
- Around your hips
- Length from waist to hips
- Length from waist to ankles (or desired length of skirt)
Using these measurements, cut out a pattern from the wrapping paper. (Lucky me, I already had my pattern from making my first maxi skirt!) The fabric will be folded in half when you cut and you will have two matching fabric panels (front and back) to create the skirt.
Thus, the measurements for the pattern should be as follows:
- Waist – 1/4 of your waist measurement from above + 1/2 inch for a seam allowance (although because this is a dress and not a skirt, it can be a bit larger, if needed, to match up with the bottom of the tank top as described above)
- Hips – 1/4 of your hip measurement from above + 1/2 inch for a seam allowance (use measurement #3 from above to figure out how far this should be from your waist measurement on your pattern)
- Length – Length from above plus + about 3.5 inches for the waistband. (This will be the measurement down the straight side of the pattern that is perpendicular to the waistband and bottom of the skirt.)
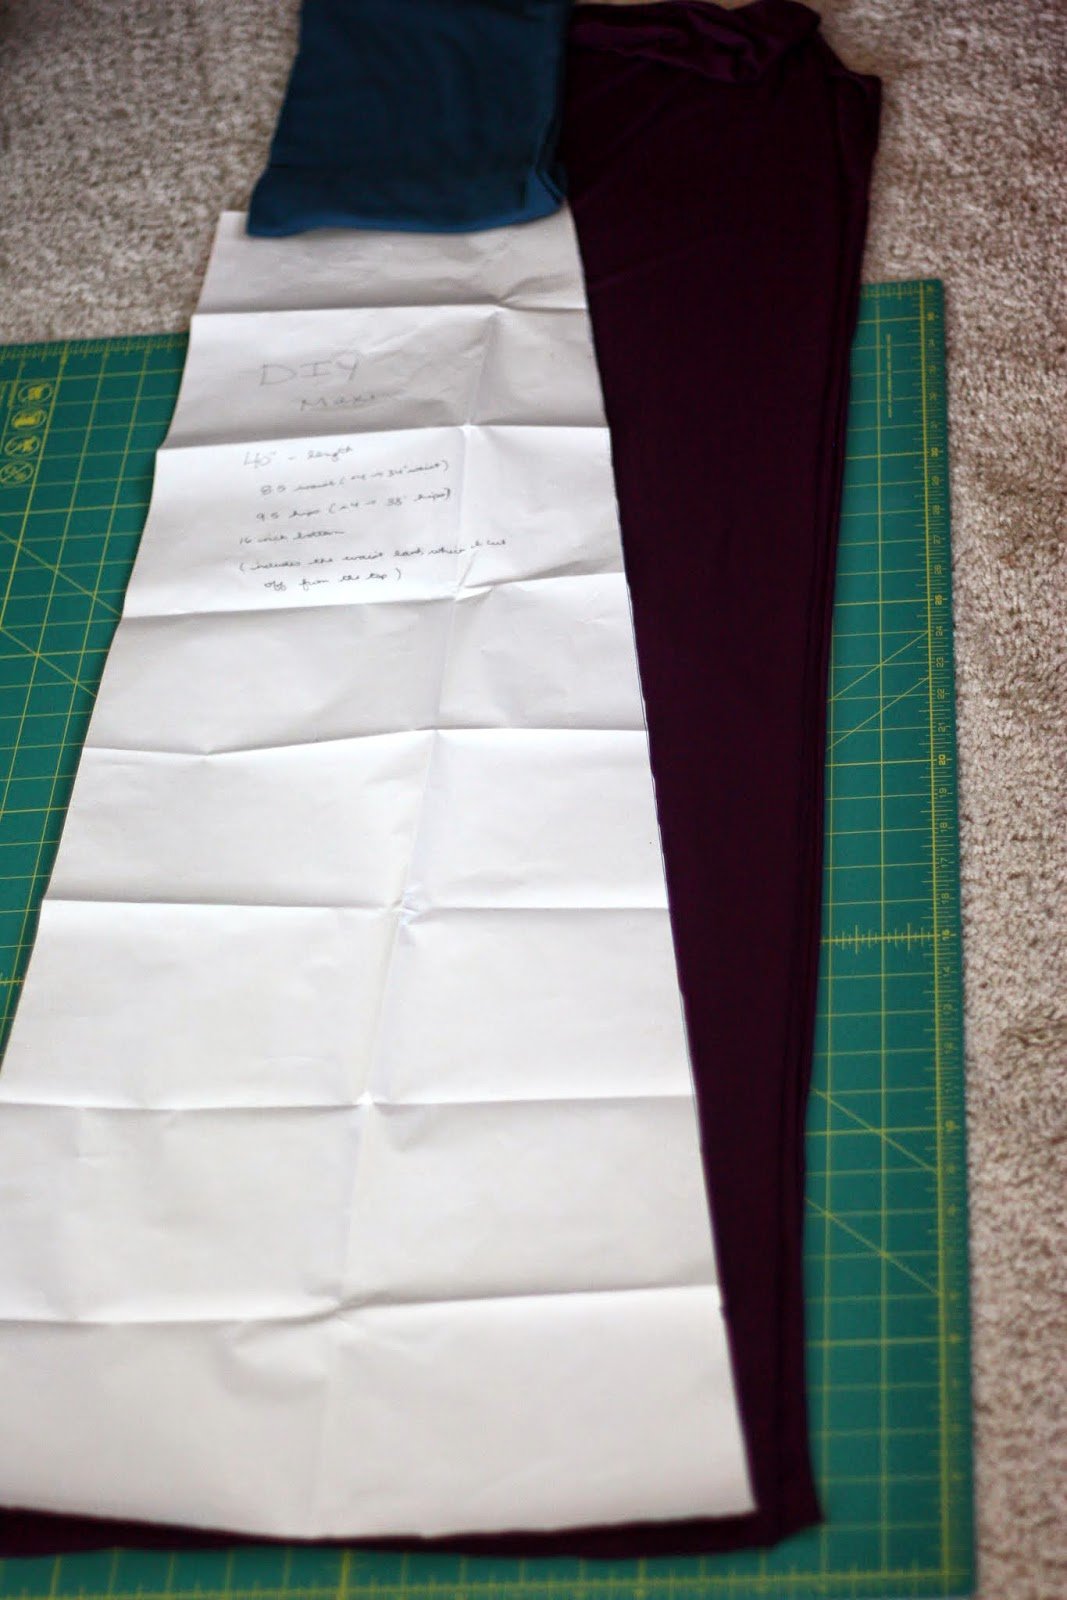
The pattern will be the shape of a trapezoid. In the image below , you can see a straight line along the top (the waist) and the bottom (near the ankle). There is also a straight line (perpendicular to the top and bottom) along the left. The right side is slightly angled. This will be the outside of the skirt. You can angle this as much or as little as you’d like. The more angled out it is, the fuller the skirt will be when you wear it.
It definitely helps to use a pattern because the soft knit fabric moves around quite a bit, and I never would have had straight lines had I cut the fabric directly using just the measurements.
Step 3: Line up the pattern on the fabric so the long straight side on the left lines up with the folded fabric edge. Use the pattern to cut the front and back pieces of your skirt. You will have identical front and back pieces that meet along the outside of each of your legs.
Step 4: With right sides of the skirt fabric together, pin the front and back fabric pieces of the skirt together and sew up the side seams. I used a straight stitch but a zigzag stitch or a serger would work as well. (not pictured)
Step 5: Determine where on your body you’d like the waist of the dress to fall (i.e. the line where the top meets the skirt). Mark that spot with a pin, add an inch or so for seam allowance, and cut off excess fabric below this line.
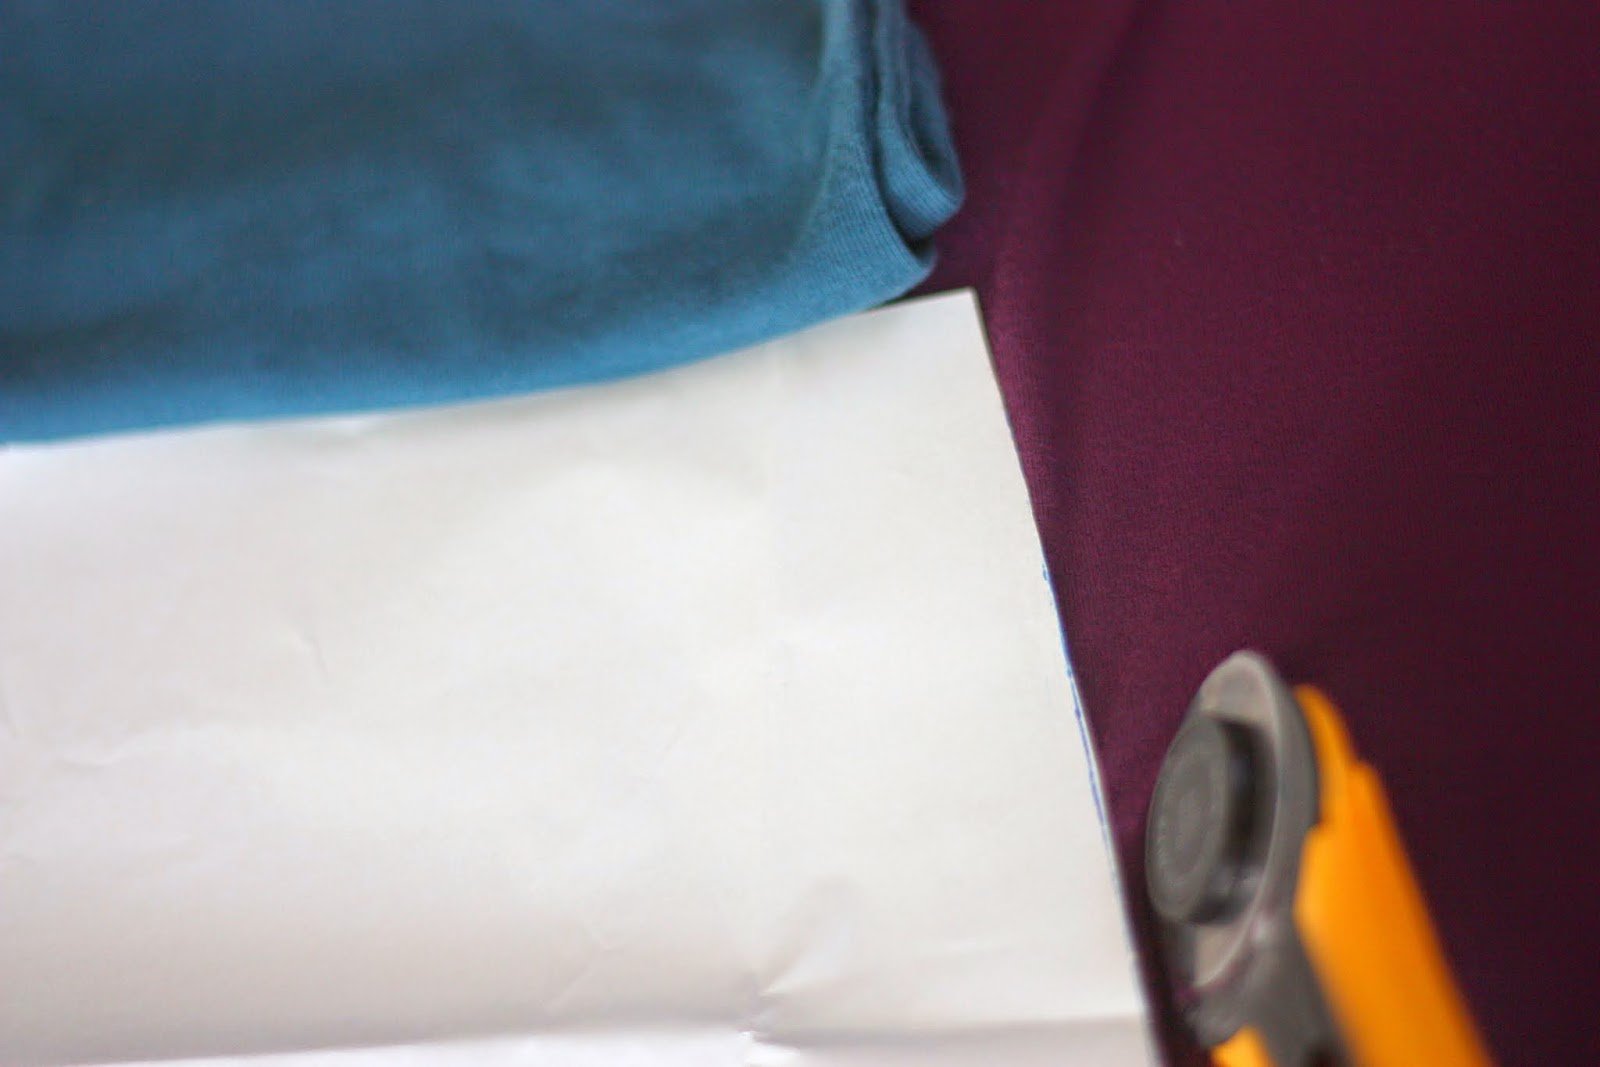
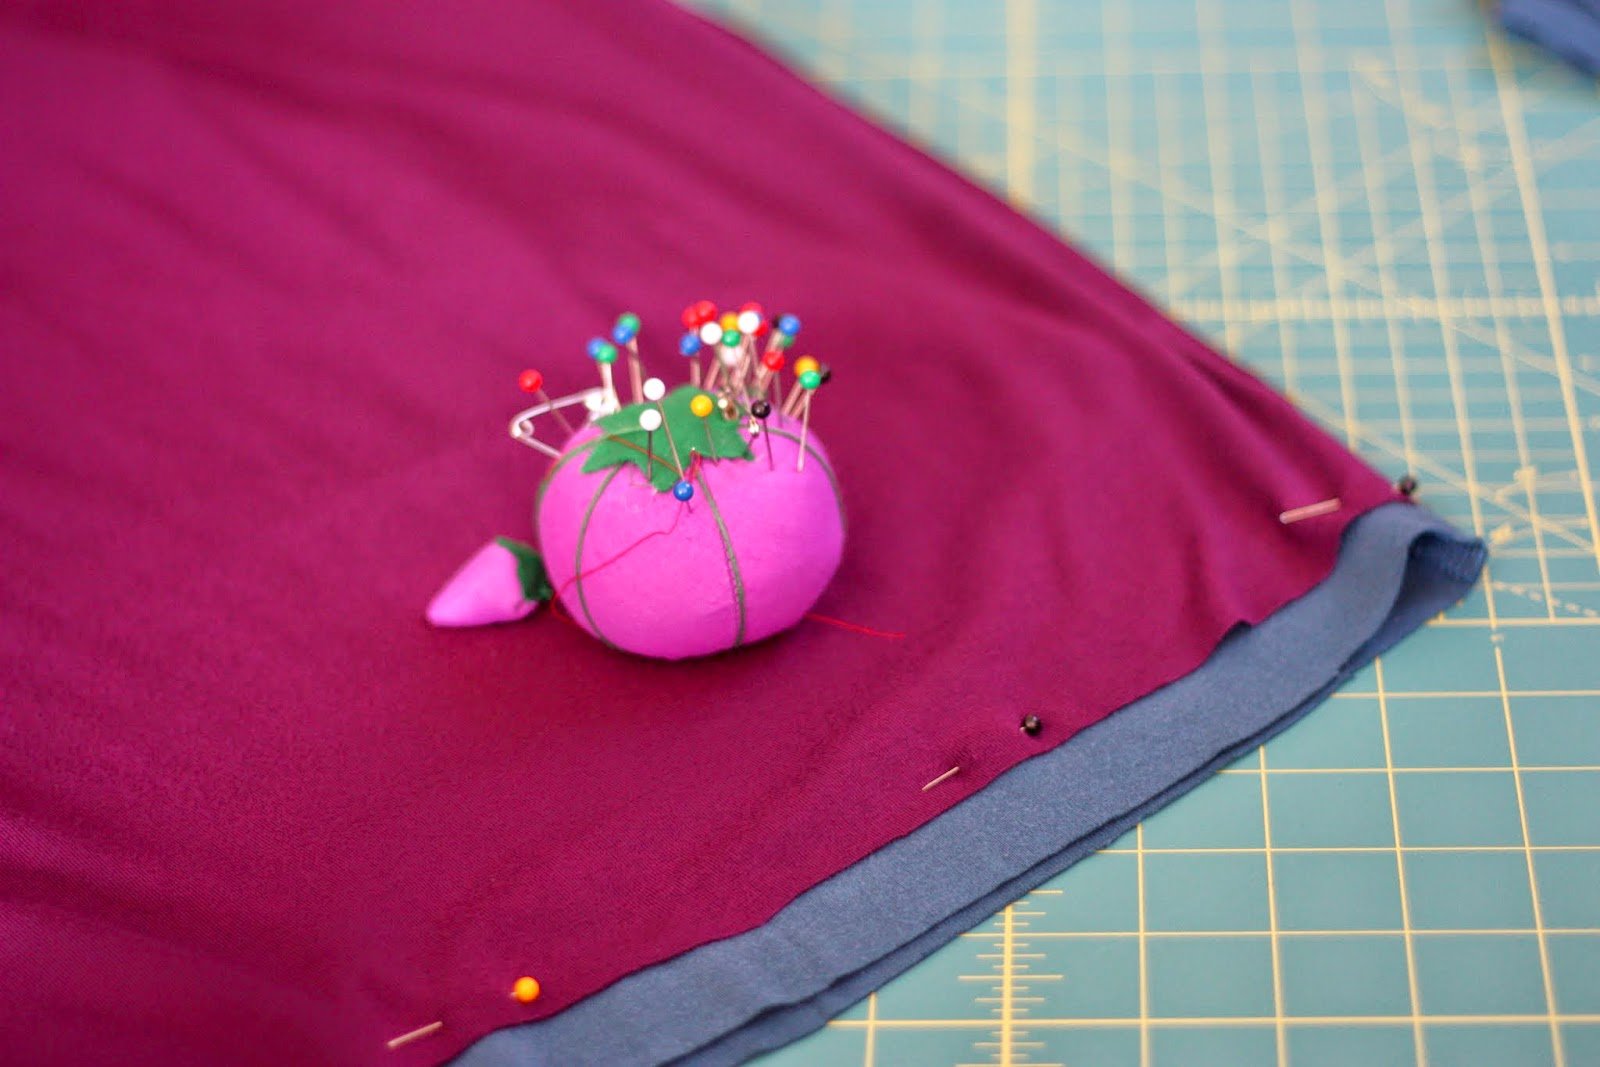
Step 6: Keeping right sides of the skirt together (i.e. it’s inside out), insert the tank top with wrong sides together (i.e. right side out) into the skirt lining up the bottom of the tank top with the top of the skirt. Below, you can see the teal bottom of the tank top just peeking out from inside the top of the skirt. Pin edges together and sew.
Step 7: Cut off excess fabric on the inside of skirt at the waist seam, as desired. Knits don’t fray so I left the bottom hem unfinished. Using the rotary blade, I rounded the sides slightly to make it fall a little better. Turn right side out and wear!
I used contrasting colors for this dress but also wanted to try it with a black tank and black fabric to make a monochromatic dress. That’s on my “to do” list.
Let me know if you try this yourself and how it goes!