How To Make A DIY Upcycled Drawstring Bag

Recently, M said to me “I can’t wait until the day when the only butt I have to wipe is my own.” #aintthatright
As parents, some parts of the job are truly lovely. Other parts are, well, “truly lovely” like the period you spend years wiping other people’s butts.
With two boys under four, we’re at the pinnacle of that really awesome stage. Although T’s in underwear all day, he’s yet to master the night-time potty training. And we still have the luxury of helping him clean up after going to the bathroom. J has expressed some curiosity but has yet to take the plunge, no pun intended.
I shared with you already about our recent trip to Los Angeles. While there, we spent time with two of my sisters, including a two and half-year-old niece who was flirting with potty training but still not fully on board.
After watching T use the bathroom several times throughout the day, her curiosity perked up. The next morning, back at home, she woke up and told my sister (her mom) she had to go to the bathroom. All day, she continued and stayed dry. A few weeks later and she’s still on a roll.
It seems a little encouragement from a cousin (or maybe competition considering the nature of both she and T) was the single trick that encouraged her to make the switch and want to use the toilet!
Although the end of diapers may seem to the naive non-parent a path to freedom, it’s actually where the real fun begins. Instead of well-timed stops to change dirty diapers full of contained messes, bathroom stops become urgent. And if not perfectly timed, they’re a giant mess. No bathroom around right this minute?! Houston, we have a problem.
To stave off some of the issues of handling a freshly potty-trained preschooler, we always have a few supplies on hand for “clean up on aisle 6, please.” We pack up some extra clothes and an extra set of shoes (water-proof sandals are our favorite) as well as a plastic bag and a couple of Pull-Ups® Learning Designs®. We’ve also found it so much easier to wipe those butts with wet wipes instead of dry toilet paper. Seriously, if you haven’t tried this, it’s so.much.better.
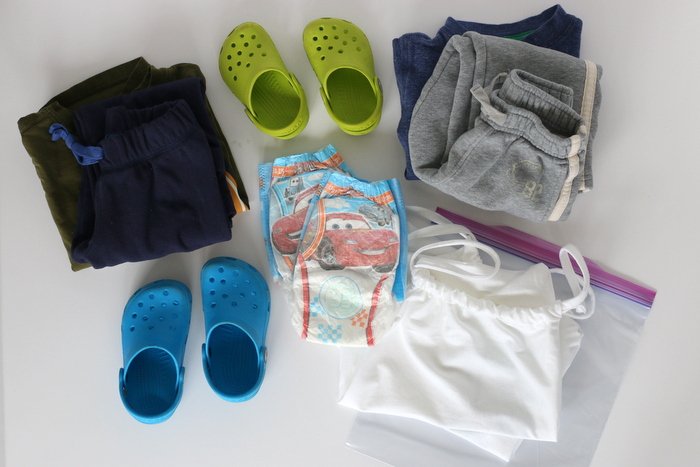
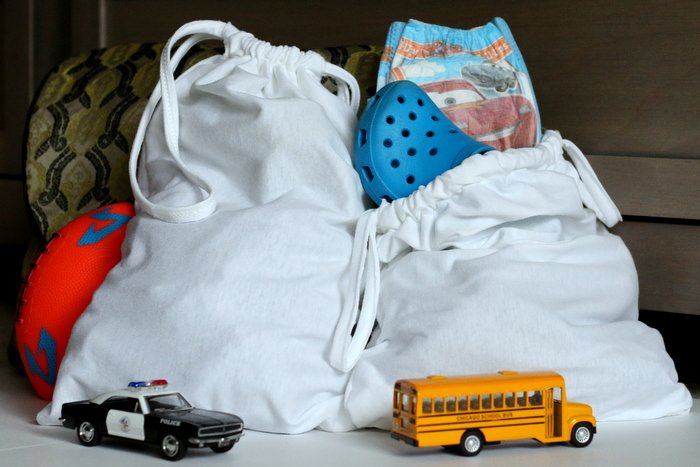
To make getting out of the house easier, it’s nice to have small drawstring bags packed and ready to prevent having to round everything up each time we leave.
Creativity Strikes
With a bit of a creative itch, I dug through my container of leftover fabric and old clothes ready to be re-purposed. I pulled out two white t-shirts we received a while back as free gifts at a professional baseball game. I don’t normally take those freebies because we never use them. But in this case, I liked the logo on the front and thought I might be able to put them to good use down the road. And… here we are.
They sat in that box for a very long time. But when I decided to make these drawstring bags for the boys, I knew the shirts would make the perfect material for upcycling.
We often have so many t-shirts we don’t need but have sentimental value. I love being able to use them to make something new and useful to hold onto the meaning without holding on to an overflowing drawer of unused t-shirts.
Although I’ve filled these bags with things we might need for potty-training little ones, they could be used for all sorts of things like carrying your heels to work, bringing home produce from the farmers’ market, or a makeup or travel bag, just to name a few examples. Because the fabric is simple cotton, they’re also easily washable. The list is endless.
Make Your Own
I’m sure you’ve got a t-shirt or two that could use a new purpose in life. While you’ll need a sewing machine to make this, it’s really very easy. The whole bag requires 7 straight lines of stitching. That’s it! And as long as you use a standard cotton t-shirt, you also don’t have to mess with any funky, hard-to-manage fabrics.
To prove to you just how easy this is, here are the instructions. Even if the number of steps looks daunting, have no fear. You can do it!
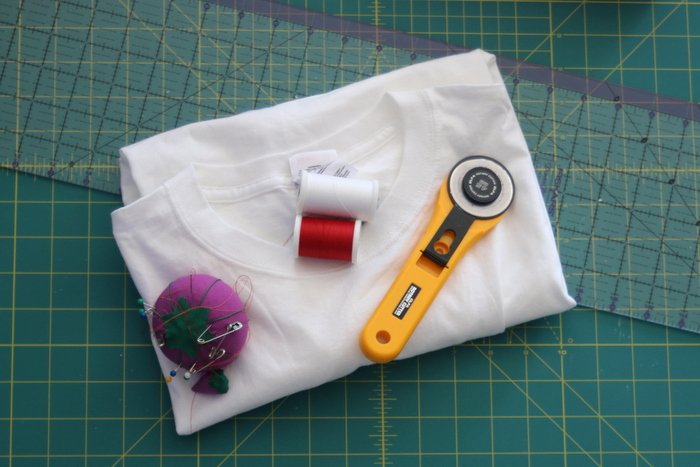
Supplies:
- A T-shirt ~ I used a men’s XL which was just large enough for the 10″ wide by 15″ tall bag I made, but your bag could be any size you like.
- Thread
- Pins
- Scissors or a rotary cutter
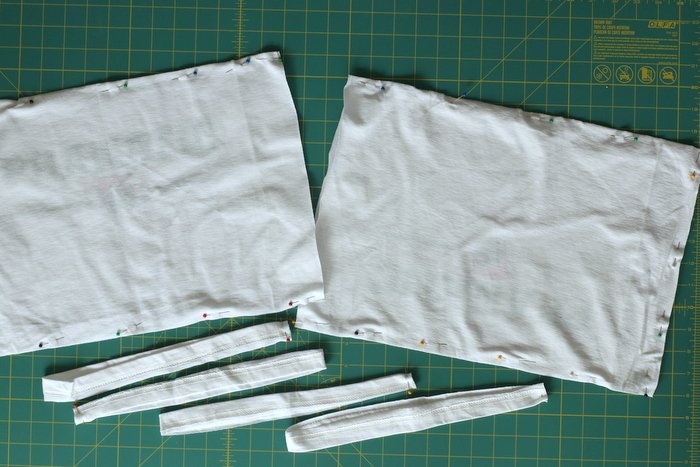
Step 1 ~ Cut the fabric pieces from the shirt. The pieces in the photo above came from two shirts and made two bags. Throughout these instructions, I’ll provide directions for one bag. Double everything if you want to make two bags.
First, cut the finished bottom hem of each shirt. These will become the drawstrings. Then, cut a rectangle (11.5″ x 16.5″) from each of the front and back of the shirt.
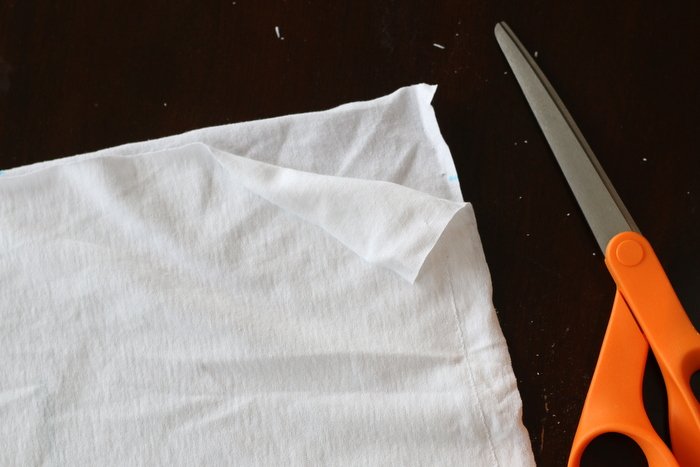
Step 2 ~ Cut the hem in half.
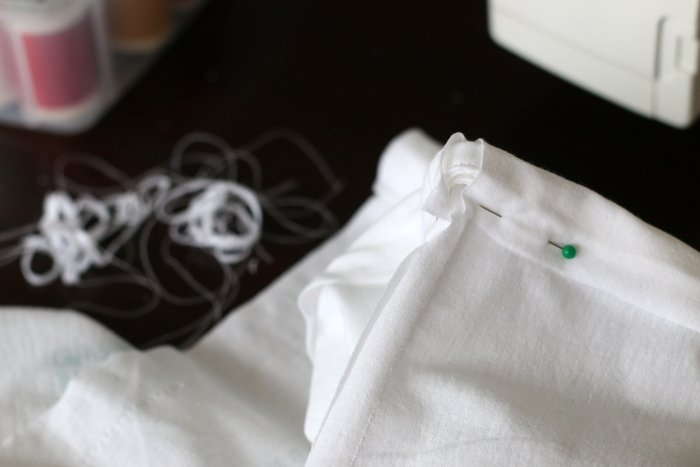
Step 3 ~ Pin together the front and back rectangles, right sides together. Only pin together three sides. One of the short sides will be the top of the bag. Leave this short side open.
Additionally, measure about 2.5″ down from what will become to the top of the bag. The first 2.5″ of each side will not be sewn together, as you will roll this down to create a tube in which the drawstrings will reside. See the photo below showing the bag after the three sides are sewn together and notice the top portion is left open.
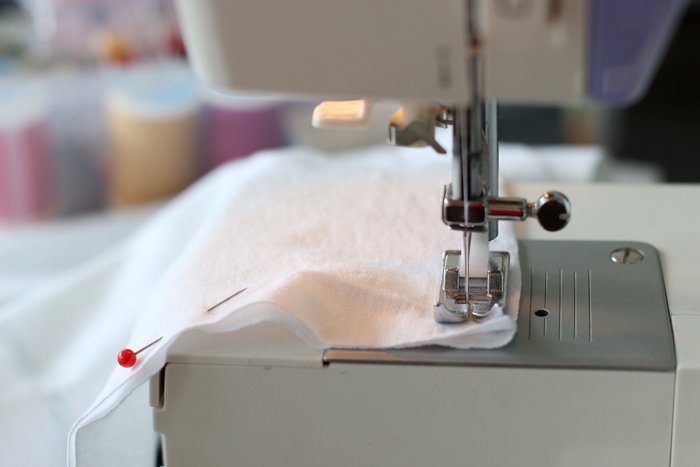
Step 4 ~ Sew the three sides of the bag together and set aside, leaving about a 3/4″ seam allowance on each side.
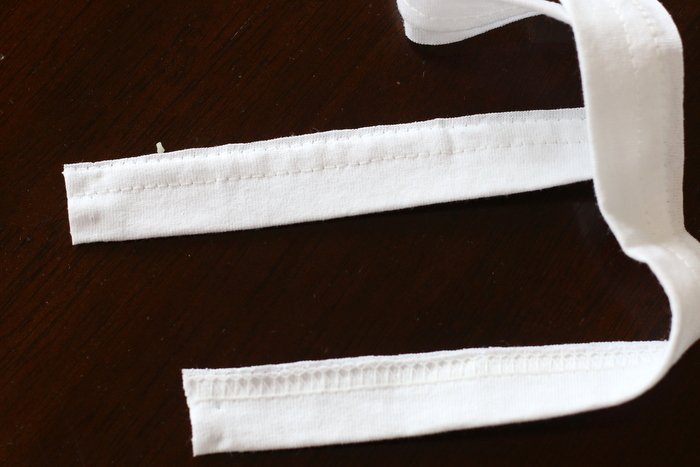
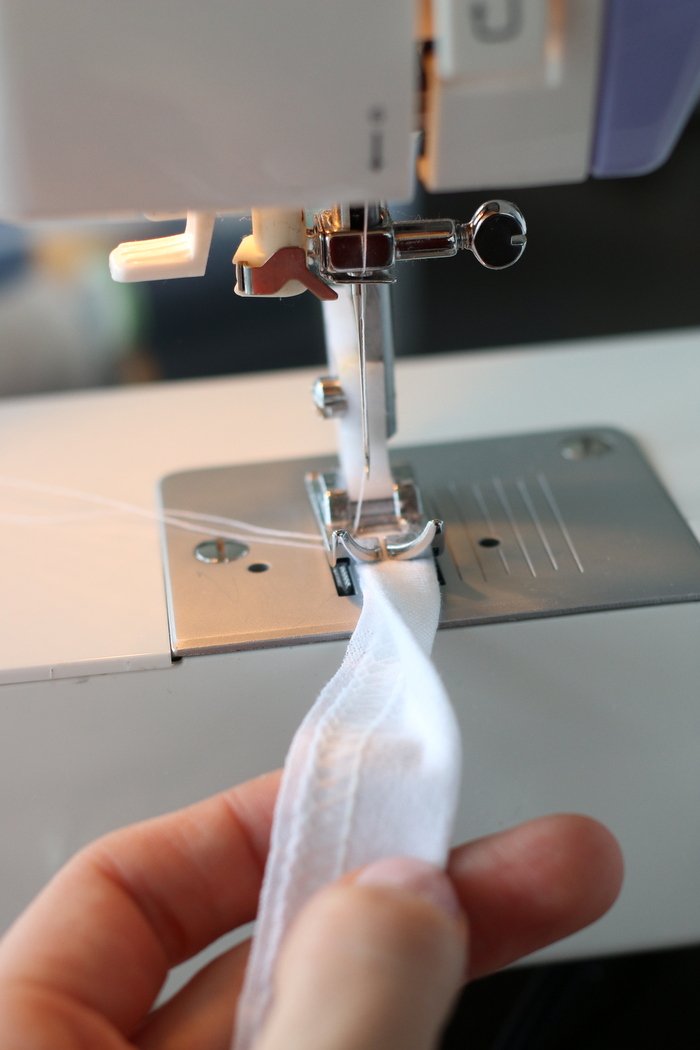
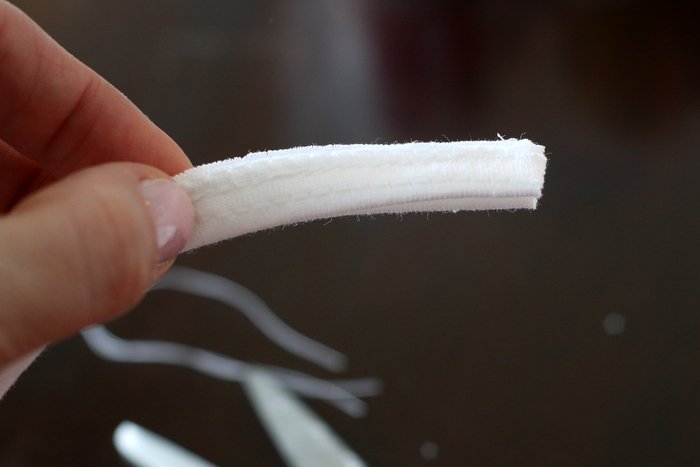
Step 5 ~ Grab the hem (that’s been cut in half). Fold it in half lengthwise with right sides together. Sew along the edge, as shown below, to create a double-layered strip of fabric.
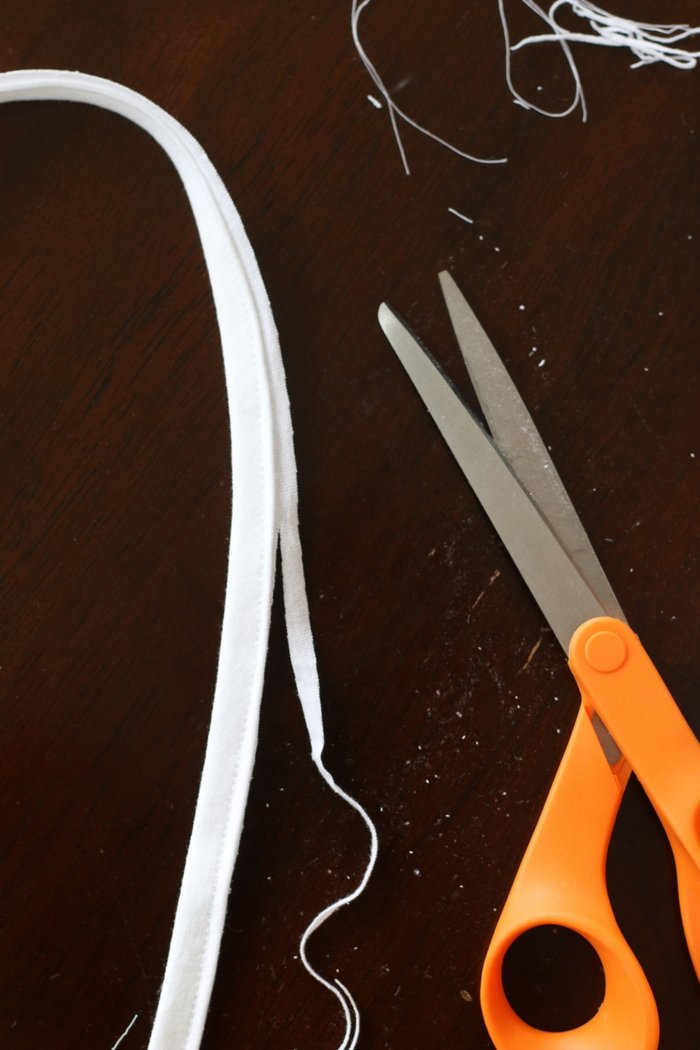
Step 6 ~ Trim off any excess fabric that you had on the hem, if applicable.
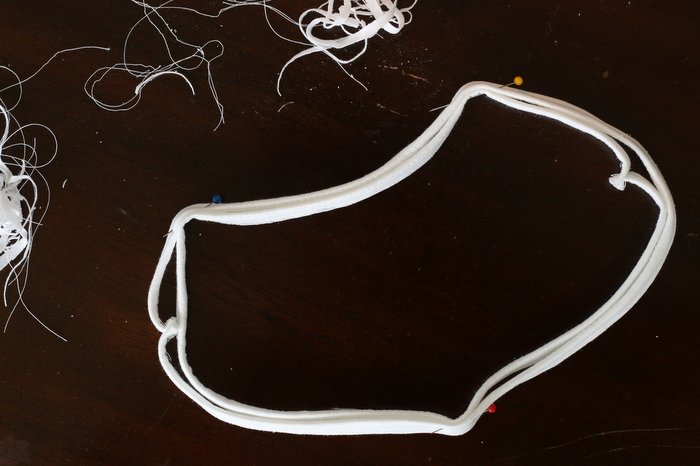
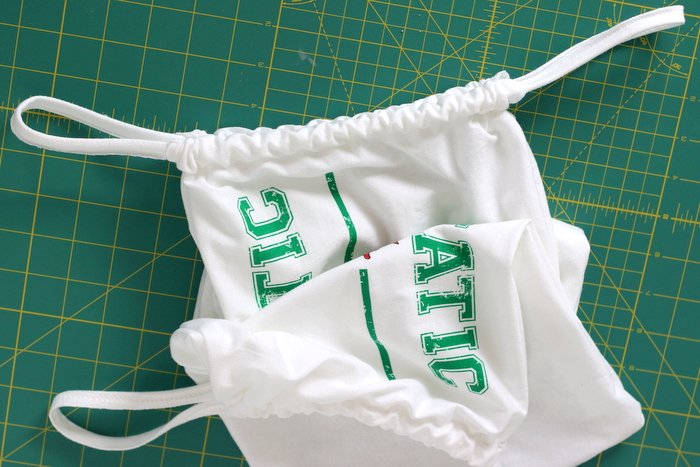
Step 7 ~ Fold the double-layered hem in half so the ends meet. You want to sew together the ends to create a circle. Repeat this with each hem to create two drawstrings, as shown below. When the ends are sewn together, lay the two drawstrings around the top of the bag, as you can see below.
To make this a bit easier, I pinned the two drawstrings together at this point. The pins get removed later, but it made the step much easier to complete.
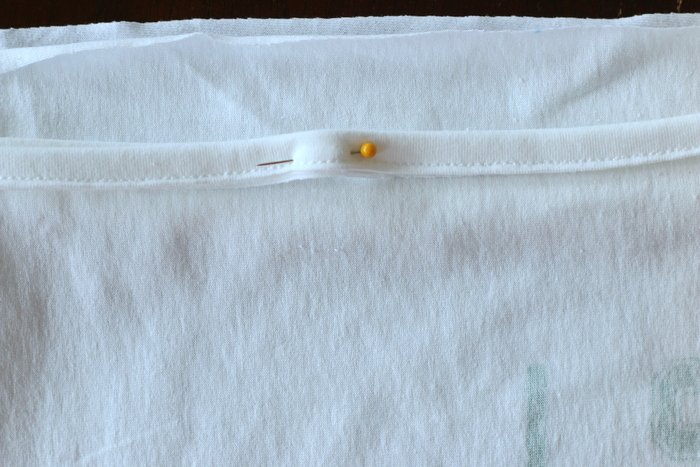
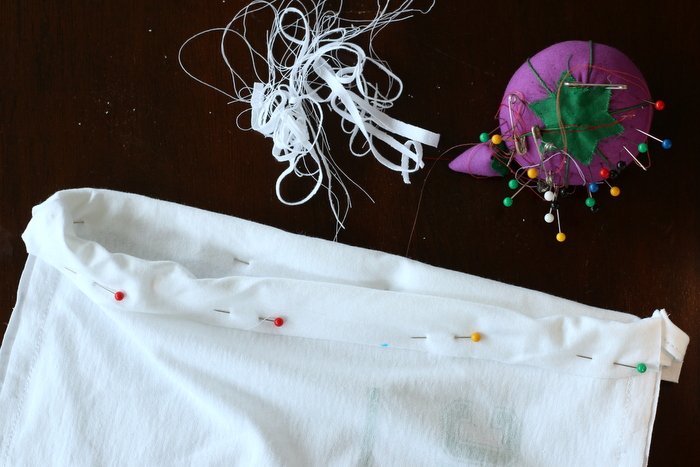
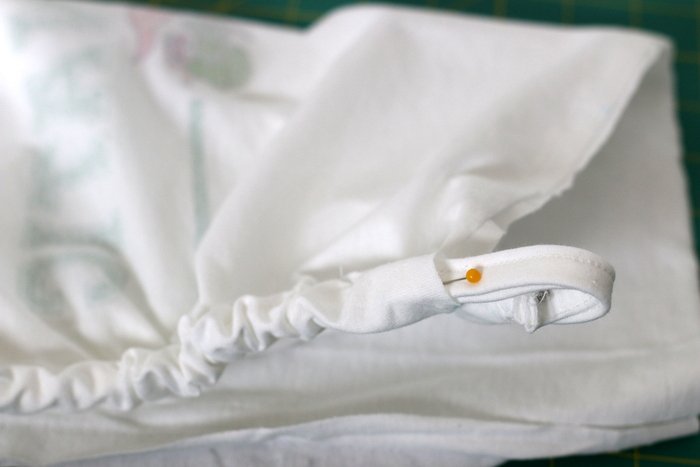
Step 8 ~ Fold the top of the bag over the drawstrings on each side and pin. Be sure not to pin the folded edge of the bag to the drawstrings.
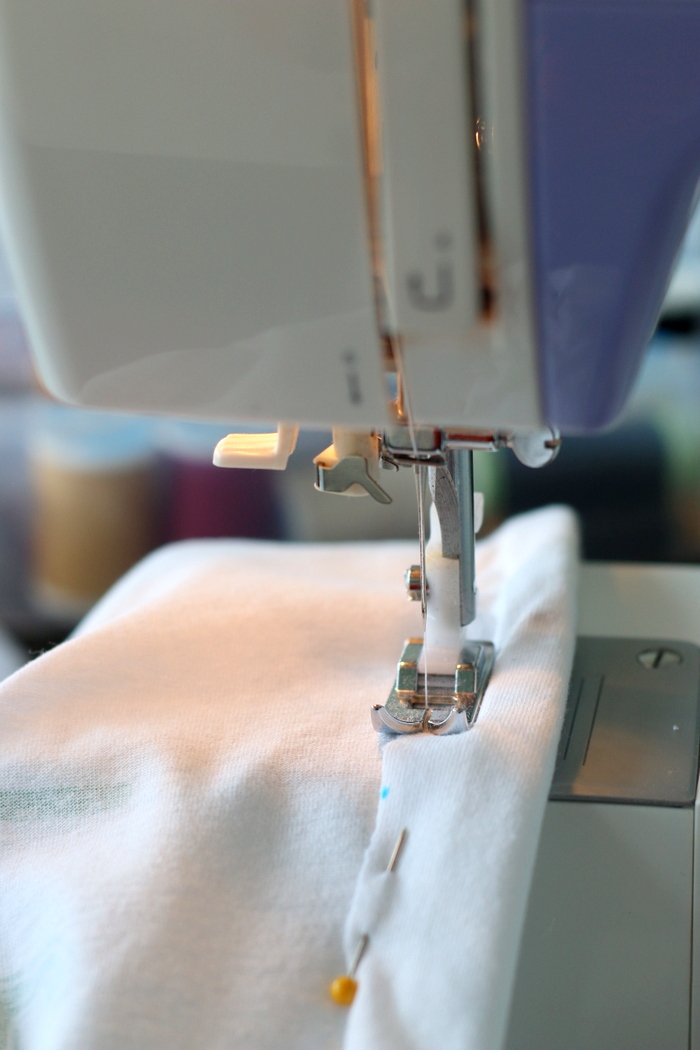
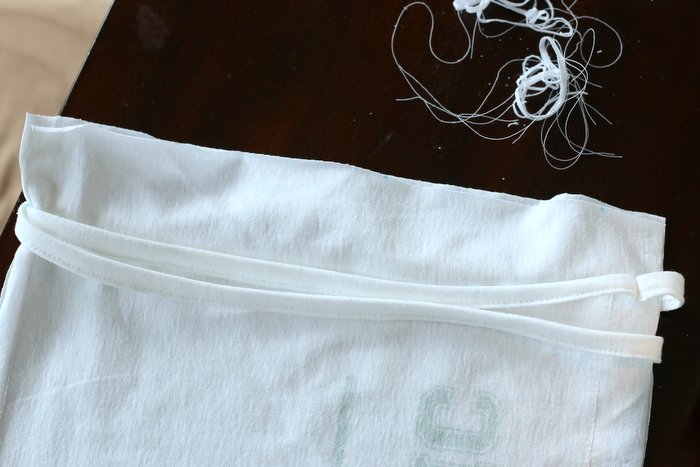
Step 9 ~ Sew the folded edge around the top of the bag. Be sure not to stitch through the drawstrings or they won’t pull tight to close the bag when finished. Once complete, you should have small openings on each side, as you can see below, through which you’ll eventually be able to pull the drawstrings to tighten the bag.
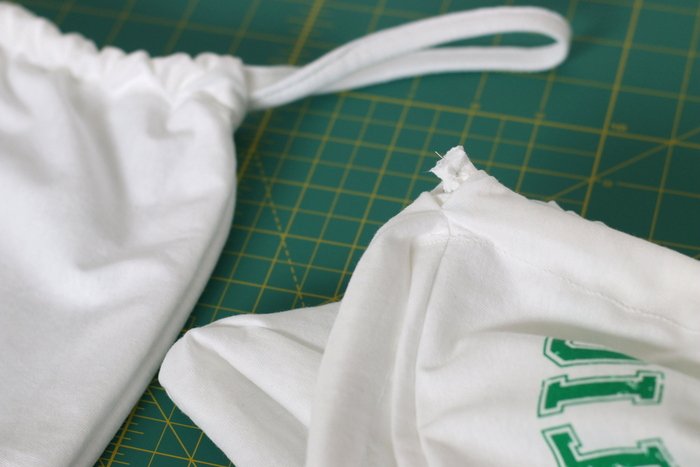
Step 10 ~ Remove the pins that held the drawstrings together by gently pulling the drawstrings out of the bag. You may see the sewn end of the drawstring, as shown below. If so, just pull the drawstrings out and move that portion of the drawstring to hide inside the drawstring tube.
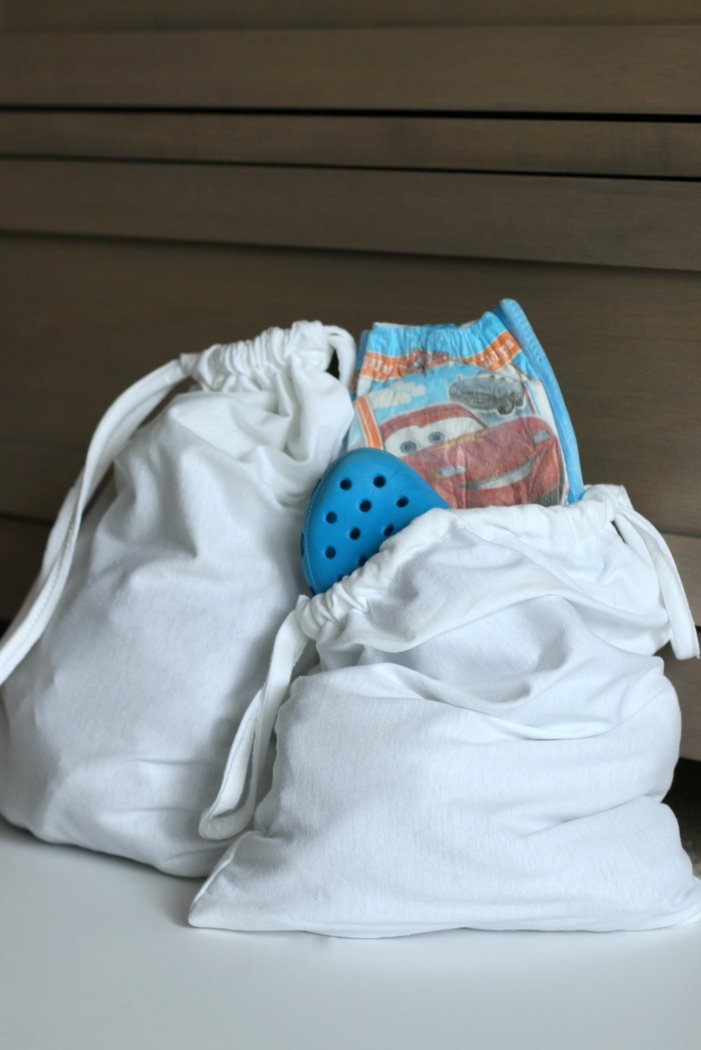
Step 11 ~ Flip the bag inside out and you’re done!
So that’s that.
Luckily, I had two of the same t-shirt on hand, so I made one bag for each of the boys. We still have them and use them regularly.
And if you’re at a loss for how to make the potty training stick, try a little friendly competition with a cousin or a neighbor. It might just be the secret sauce to get those little ones peeing exclusively on the toilet.


3 Comments