
Finished Compost: Timeline From Food Scraps to Soil Amendment
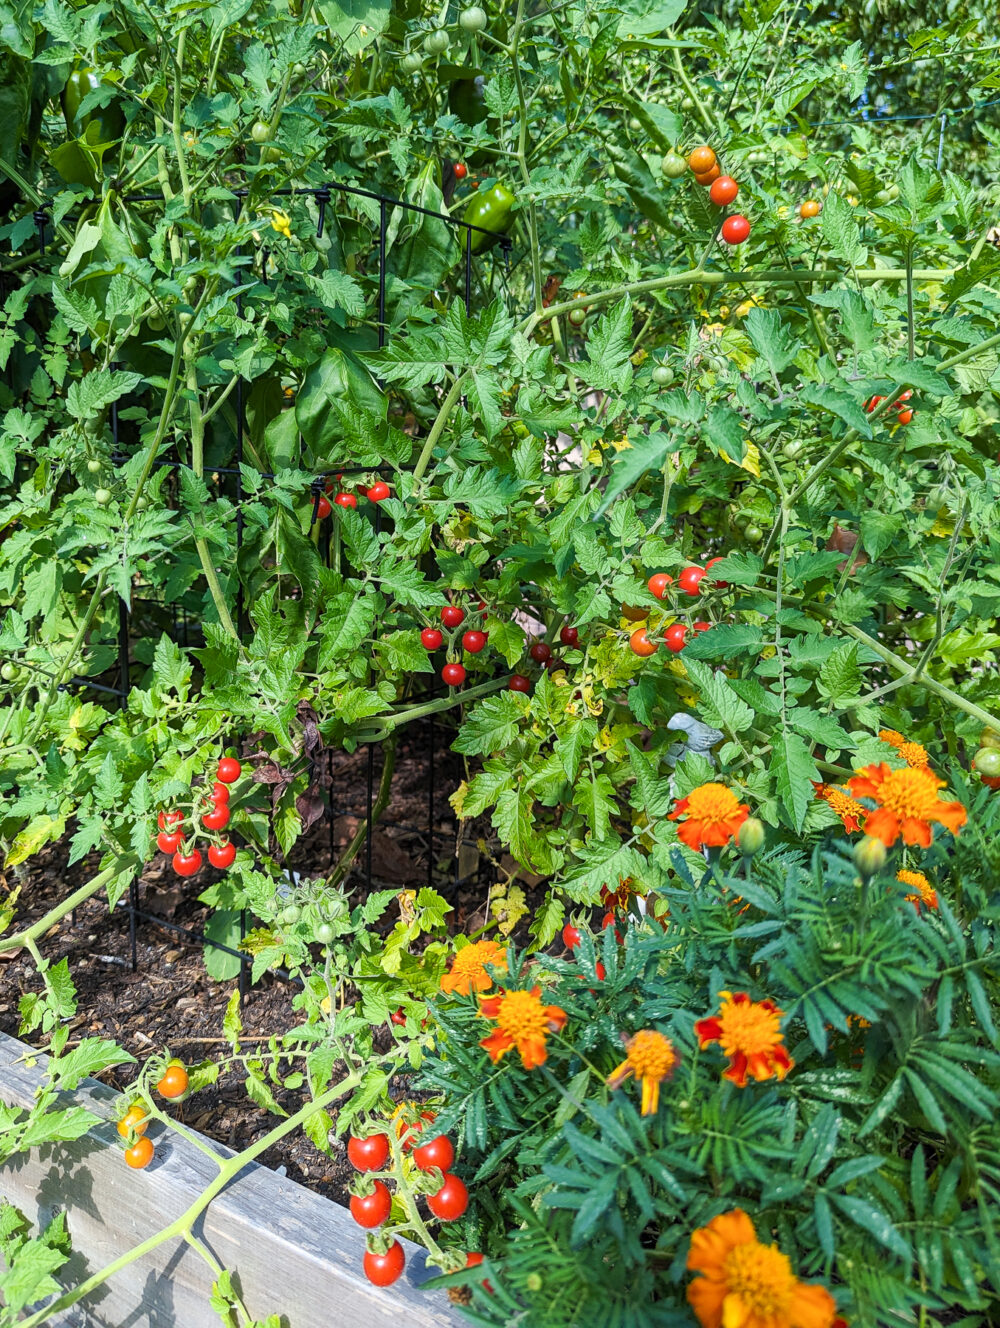
Wondering what it really looks like to make your own compost and turn it from food scraps into soil amendment? Here’s a quick breakdown of the timeline from food scraps to soil amendment for my own backyard compost bins.
There a tons of ways to compost that require varying degrees of labor – some are quite labor-intensive while others are more like lazy-intensive. On the spectrum of composting effort, I am well into lazy territory.
Sometimes, I simply toss my food scraps into a plastic bucket and leave it at the end of my driveway for bi-weekly collection (exactly like a trash collection service). But I also keep some of the food scraps for my own compost bins so I can use the finished soil amendment for my garden beds in the spring and fall.
What, might you wonder, does a lazy-girl compost cycle actually look like? How long does it take? What steps are involved? You can find a bunch of information about what to put in your compost bin, where to put your compost bin, and how often to water it in other posts on the blog. For now, let’s take a meandering walk through the seasons of my lazy-method compost bins.
Let’s Get Started with Lazy Composting
I typically start new compost piles in the spring and the fall. The pile I start in the spring is often ready for use in the fall, and the pile I start in the fall is generally ready by the following spring. If you live in a cooler climate and the bin freezes for a good part of the winter, you may need to wait until later in the summer or early fall for this second batch of compost to be ready for use.
No matter the climate in which you live, you definitely don’t have to start compost piles in the spring or the fall. You can start composting any time of the year. However, I want to give you an idea of what the schedules look like for how I process compost in my very lazily managed bins through different seasons in my garden.
Finished Compost: Timeline From Food Scraps to Soil Amendment
Months 1 – 2: Add Compost Ingredients
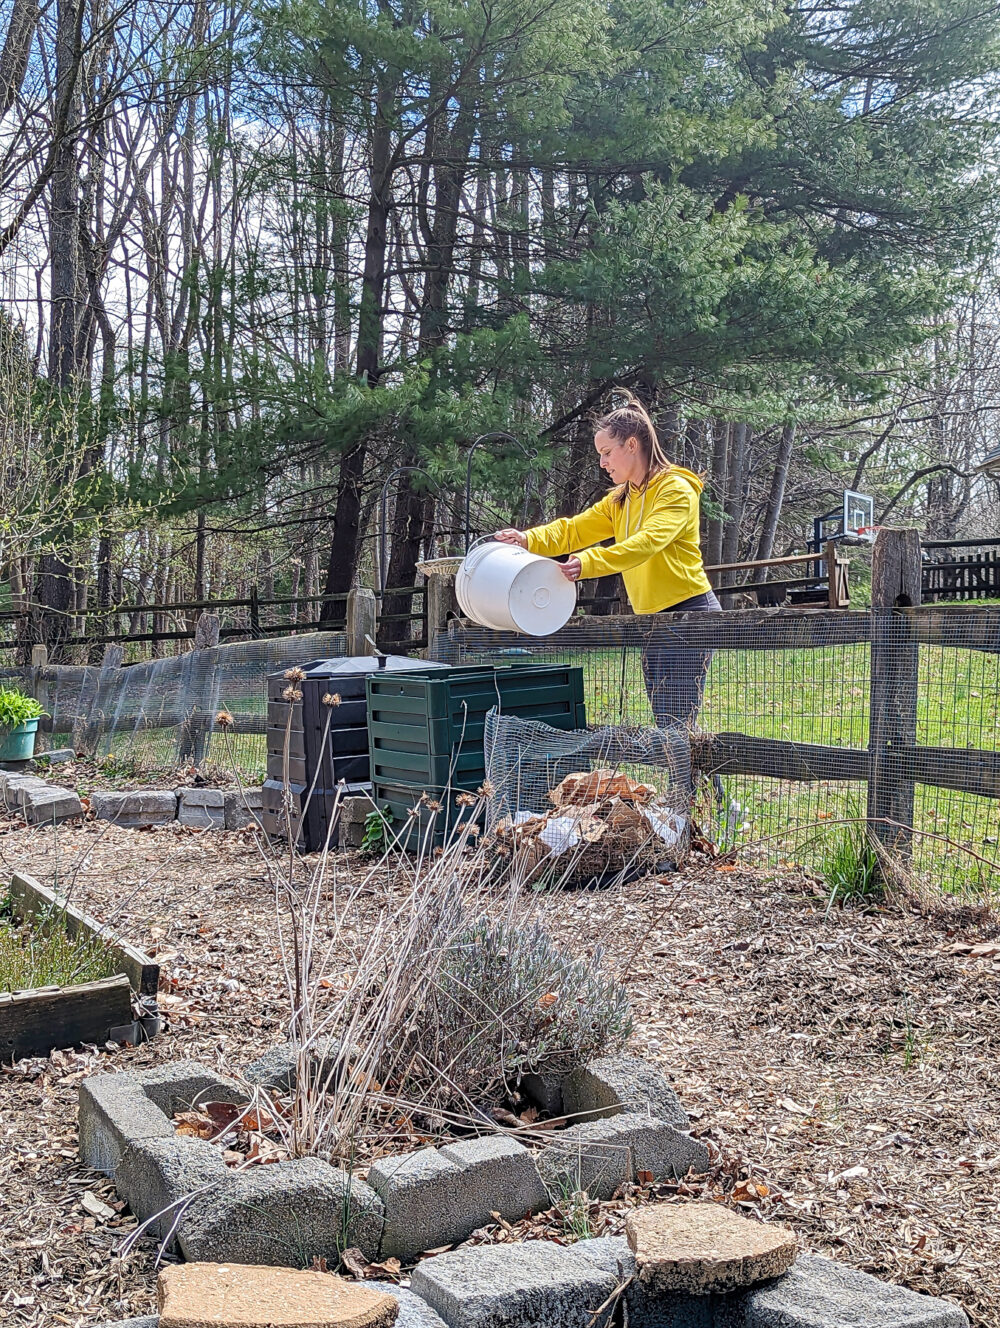
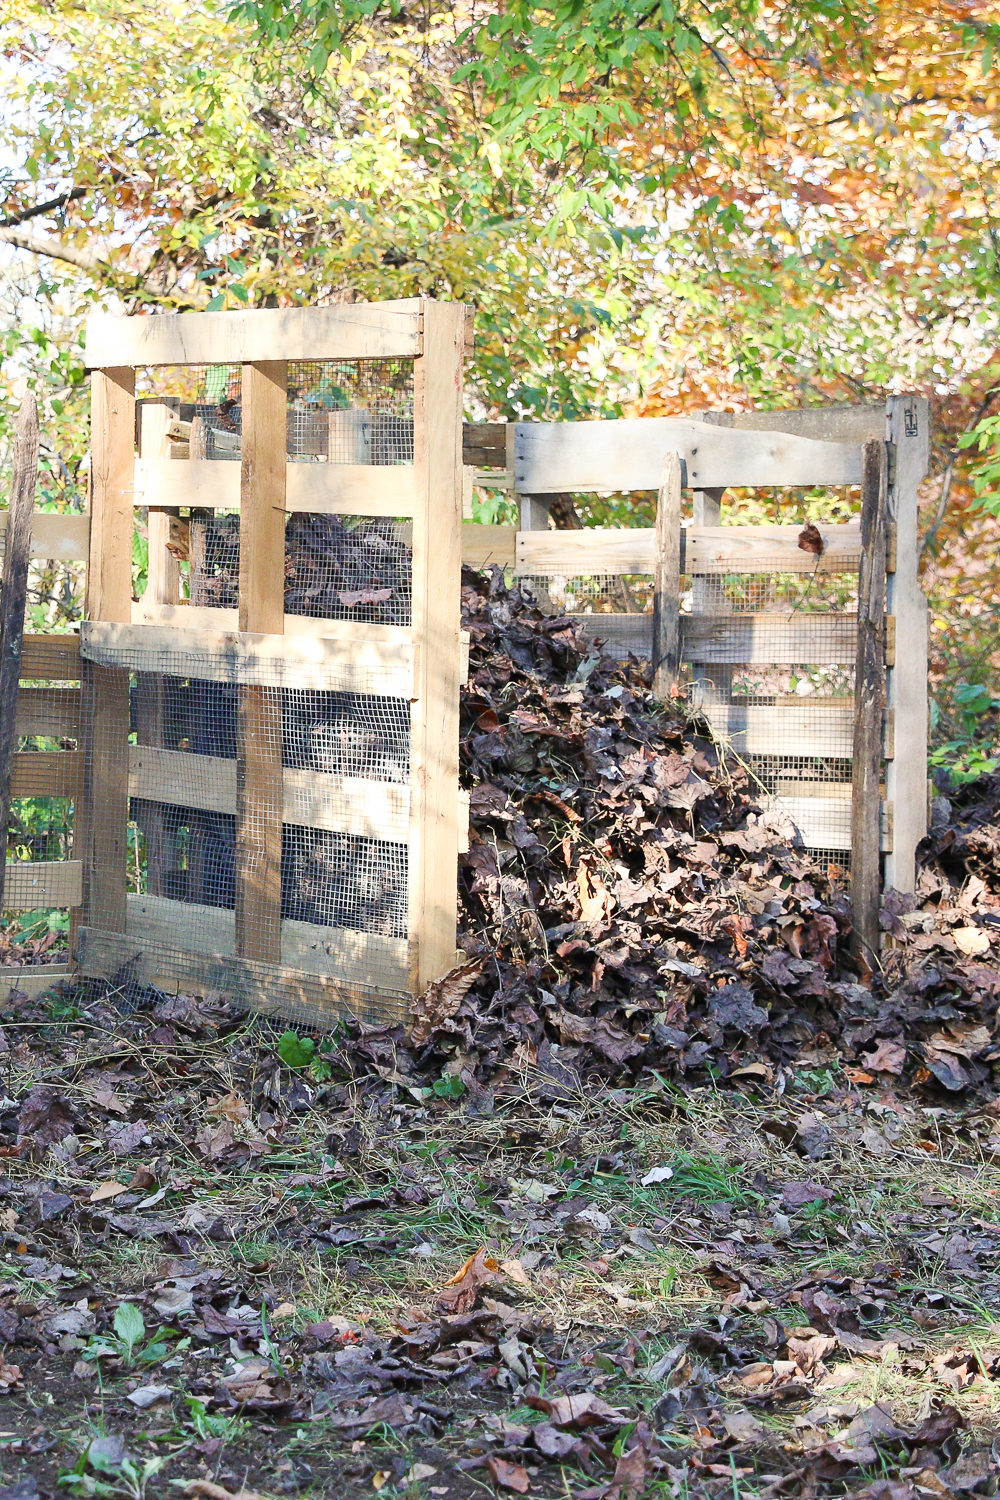
For a month or two, or maybe a little more if I’m not producing as many food scraps, I casually add food waste, yard waste, and all sorts of compost browns (like paper egg cartons, shredded school papers, and dried leaves) to my compost bin, off and on in particular order. When I’m feeling motivated, I use a spiral aerator to turn it from time to time.
If it’s looking especially dry, I might water it. But I only water my compost bin (maybe) a couple of times a year. I think I watered it twice this past summer during particularly dry periods. I live in a moderate climate, so it’s not especially dry, but if I lived in an arid climate I might water it more often just to ensure it doesn’t dry out too much.
During the winter, the compost sometimes freezes. No matter to me. I let everything freeze and know that it will thaw out when the weather warms, and then I can mix it as needed. There is nothing wrong with a frozen compost pile.

Months 1 – 4/6: Aerate the Pile Periodically
Once the bin is full, I aerate it (or turn it) periodically – maybe once or twice a week if I have time or a couple of times a month if I’m feeling busy. I do not add any more food scraps to the bin. Aside from that, I let the microorganisms in the compost pile do the heavy lifting of breaking down all of the organic matter in the compost bin.
A lot of the items in the bin will start to break down even during the initial period when you’re still adding foods scraps. That’s totally fine. But it is helpful to have a season of a month or a couple of months where you just turn the bin periodically to help speed up the decomposition process without adding anything new to the pile.
Month 6 – 8/12: Leave it Alone
And then, I just leave it alone for a while. The pile doesn’t get as hot as when it’s full of fresh material, and it’s helpful to let the pile just rest and do its thing. But this part of the composting process is super low maintenance.
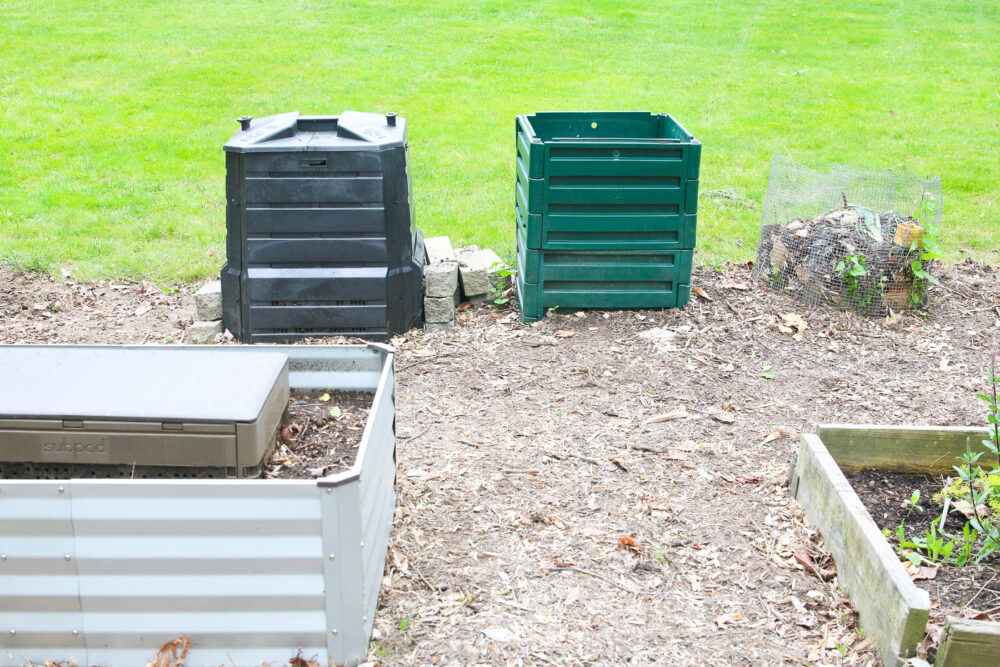
I have two compost bins, and I think this makes the process a little bit easier (i.e. I can be lazier about how I manage them). You’ll never have finished compost if you keep adding new scraps to it because something will always be breaking down. Having two bins allows me to add scraps to one while the other is curing.
There are certain types of single bins that allow you to keep adding scraps while also removing finishing compost over time. You can add scraps to the top while materials at the bottom are finished breaking down. These bins all have sliding doors around the bottom of the bin through which you can extract the finished compost and let the ingredients on top continue to break down.
On a side note, my primary gripe about single-barrel compost tumblers is the difficulty of continuously diverting your food scraps from the trash. You have to stop adding material to them for quite a while to let the compost cure. A dual-bin tumbler can resolve this issue as you add scraps to only one side at a time.
No matter what type of bin you use, it takes a few months of rest before the compost is really ready to use. Warmer weather and periodic turning will help it curate more quickly relative to cooler weather or simply leaving it untouched.
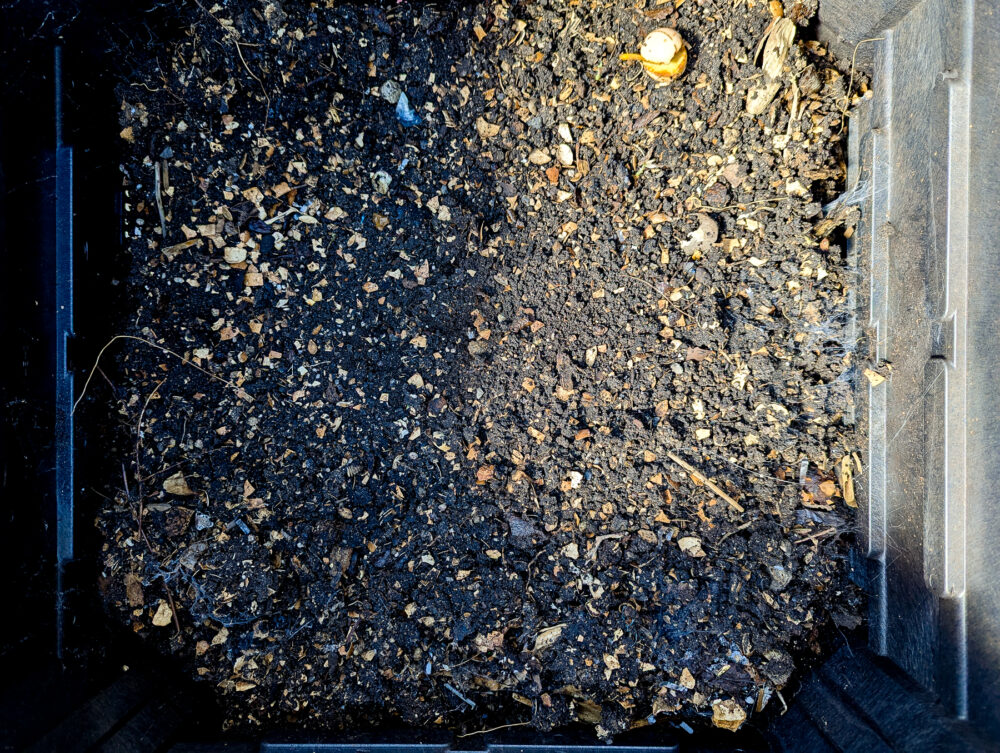
And that’s it. After a couple of months of adding ingredients, turning it periodically, and letting other critters do the real work for you, you’ll have finished compost ready to add to your garden beds or other areas in your yard to help replenish and heal soil from what was once your wasted food. It’s nature’s perfect trash-to-treasure recycling system.
Got any questions? Let me know in the comments!
If you like this post about the timeline from food scraps to soil amendment, you might also like our entire series of guides for composting at home. From beginner to advanced, we discuss all sorts of different ways to keep your food waste out of the trash and help recycle it into something good for the planet!


Jen Panaro
Jen Panaro, founder and editor-in-chief of Honestly Modern, is a self-proclaimed composting nerd and advocate for sustainable living for modern families. To find her latest work, subscribe to her newsletter, Sage Neighbor.
In her spare time, she’s a serial library book borrower, a messy gardener, and a mom of two boys who spends a lot of time in hockey rinks and on baseball fields.


How long does it typically take for the compost to be ready for use, and what factors can affect the speed of the composting process? Telkom University
The length of time can vary a lot based on what type of composting you use, the weather, conditions in the area of the bin, and the contents of the bin. And your question is a great one. The speed of decomposition depends on many things, some of the most impactful ones include: 1) ensuring you have the right balance of oxygen, water, carbon, and nitrogen (the four main components of a compost pile), 2) the heat of the pile (hot is good but not so hot it gets dried out), 3) the moisture level of the pile (damp but not soggy), and 4) having a good mix of greens and browns – the variety of organic matter in the pile. We have a whole bunch of resources on composting that you can hopefully find helpful. Thanks for the question! https://www.honestlymodern.com/composting/