How To Make Your Own No-Sew Drawstring Bags
Not sure what to do with old kids sports jerseys or sports t-shirts that no longer have a home in your or your child’s closet?
Whether it be Legos, puzzle pieces, crayons or a multitude of other collections of small toys and supplies, our boys could always use another small bag to store and organize their tools. Instead of grabbing yet another plastic zip-top bag, consider upcycling an old t-shirt or last season’s jersey. This no-sew tutorial is so easy that even young kids can help create and re-purpose something old into new and useful.
If your children play sports, you likely have a collection of old jerseys and team t-shirts from the last handful of seasons that no longer fit, aren’t relevant, and wouldn’t be ideal to pass along to another family.
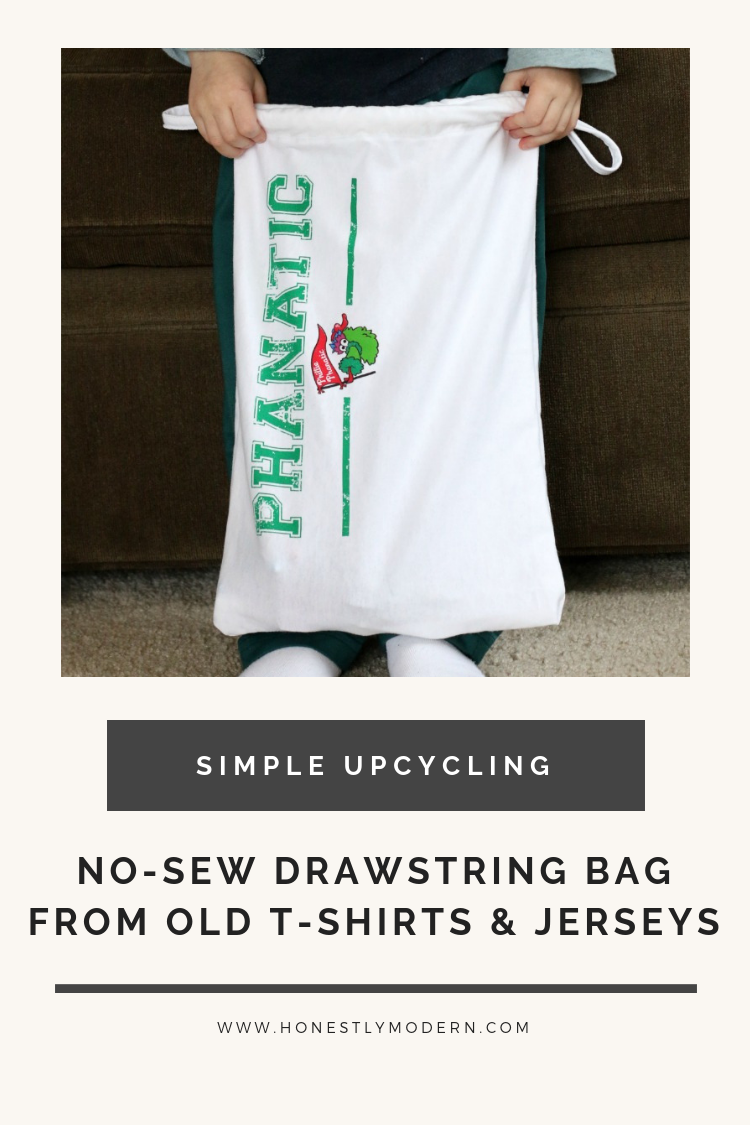
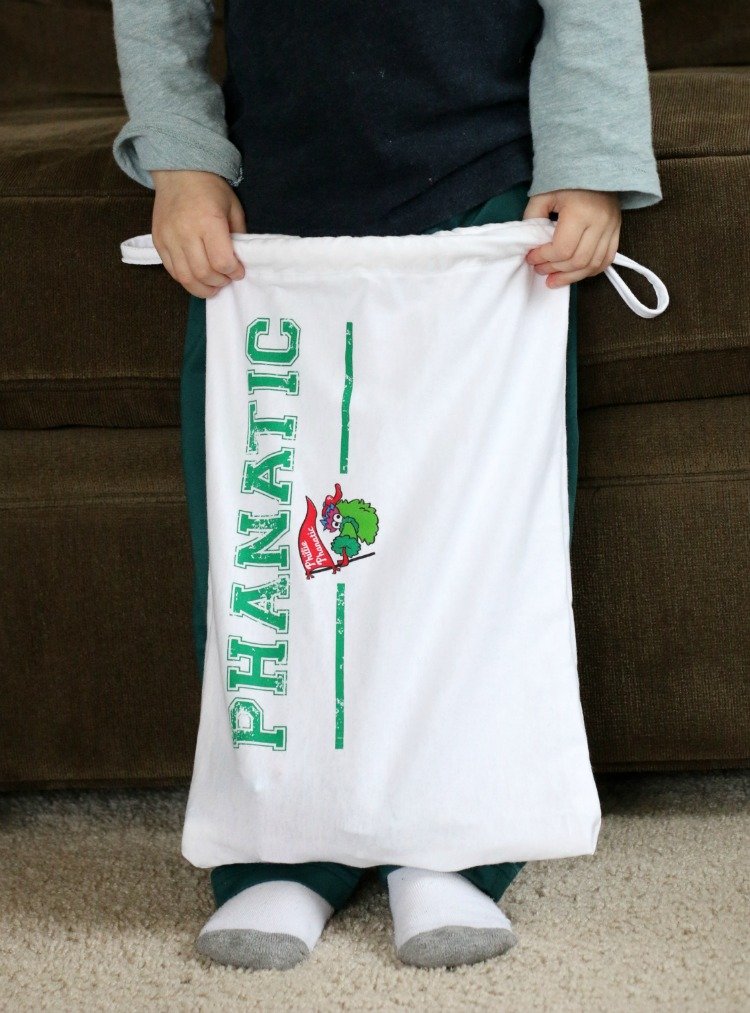
Instead of throwing them out, try turning them into small bags to store kids toys and supplies. A couple of years ago, the boys each received adult x-large free t-shirts (at some event) with a cool logo for the Phillies, the professional baseball team here. The logo was great but the t-shirt wouldn’t fit them for another decade, so we made a simple drawstring bag featuring the logo we loved.
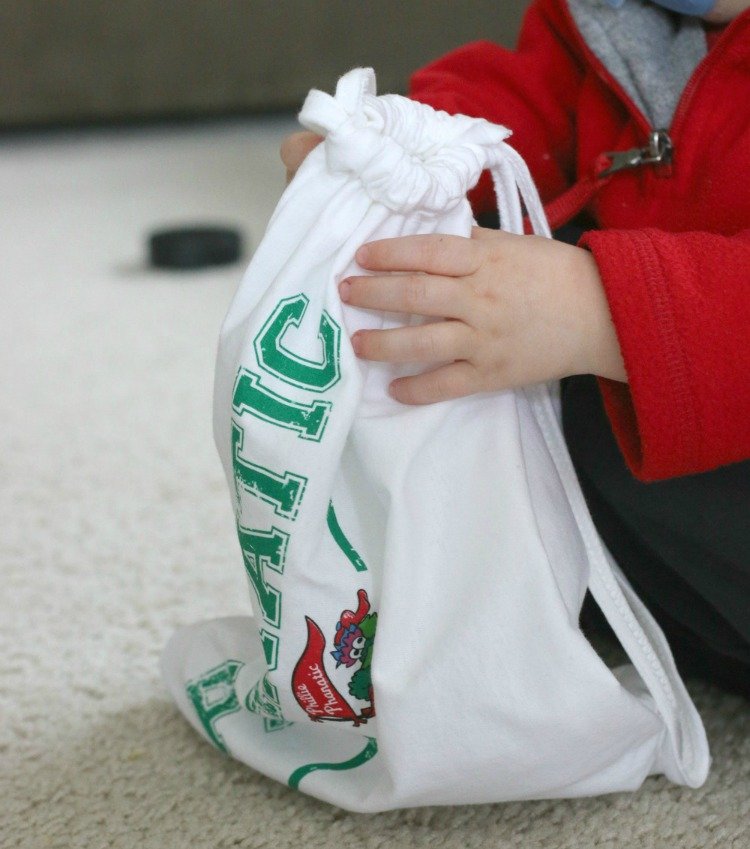
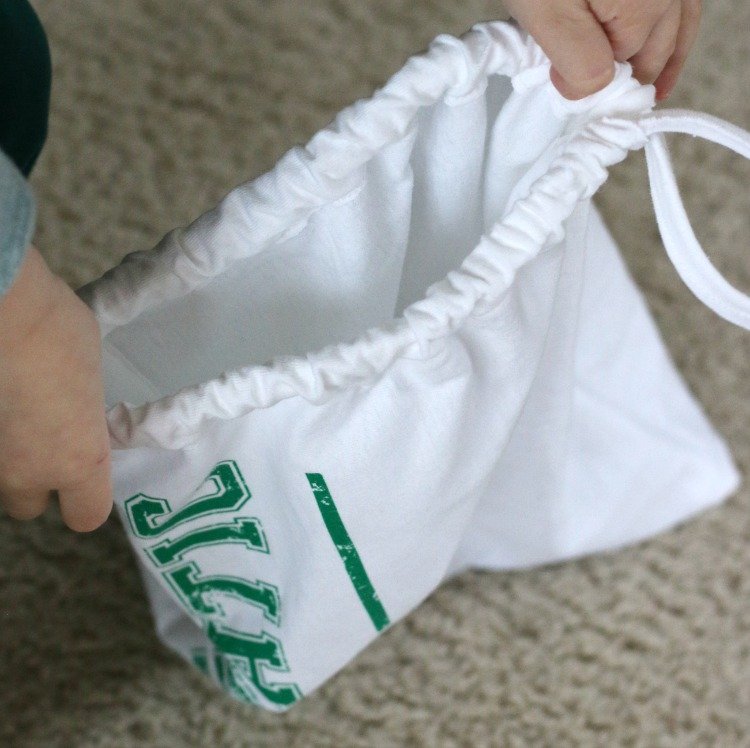
We use these for markers and crayons, Legos, and more. Additionally, we use them as candy bags for trick-or-treating. Because they aren’t particularly large but are very light, they make great bags for collecting candy without getting too heavy or stuffed with far more candy than our little guys need.
We’ve made the DIY drawstring bags with a sewing machine, but they can also be made with two-sided fabric tape. Check out the tutorial below which is easy enough that your little ones can help create it. Put those old jerseys and sports t-shirts to good use!
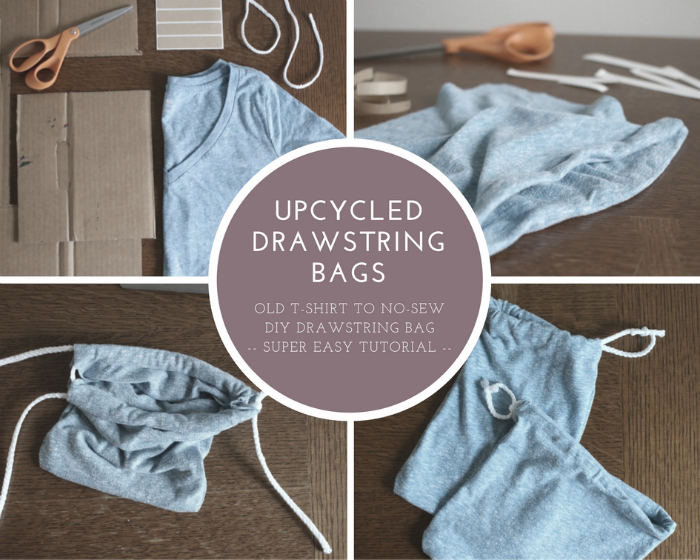
Step by Step Tutorial for an Upcycled No-Sew DIY Drawstring Bag
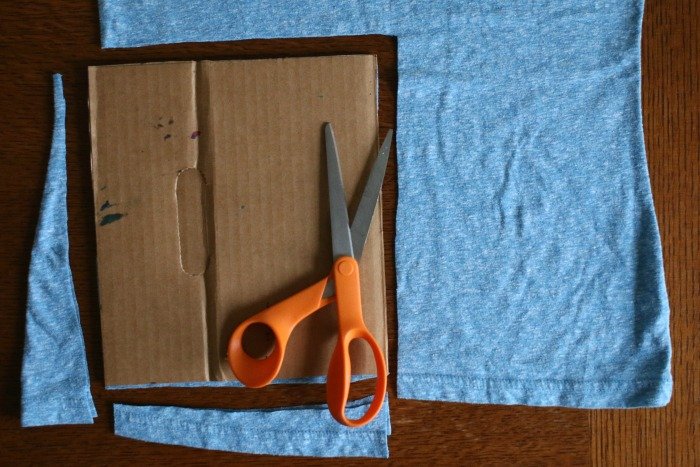
1. From a t-shirt or other fabric item you have on hand, cut two rectangles of equal size. I made two bags. One set of rectangles was 8″ x 10″ and the other set was 8″ x 13″. You can choose whatever size works for your project. The size should include about 1/2″ seam allowance on the three sides that are closed and about 1″ allowance to create a tube for the drawstrings along the top. Be sure your fabric pieces are big enough to leave space for these allowances while finishing with a bag that’s the right size for you.
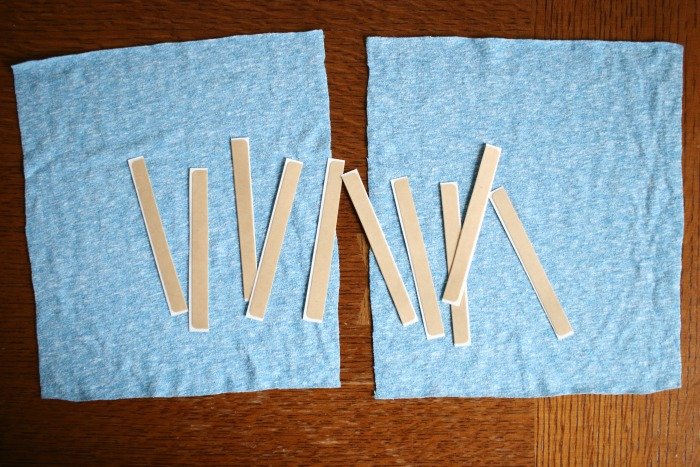
2. With right side facing up for both pieces, tape around three edges, leaving the top edge open. Also leave 1″ from from the top untaped on each side (as this will be folded down to create the tube). Note: If you’re new to sewing, “right sides” means the sides that ultimately should be on the outside of the garment or piece. In other words, for a typical shirt, you see the “right sides” when the shirt is right side out and “wrong sides” when the shirt is inside out.

3. Remove the backing from the permanent bonding tape and stick the two pieces of fabric together, right sides facing each other. Be careful to line up the edges because it’s hard to undo the tape once it’s adhered.
4. Fold down the open top edge about 1/2″ and place tape along the edge, as shown in the photo.
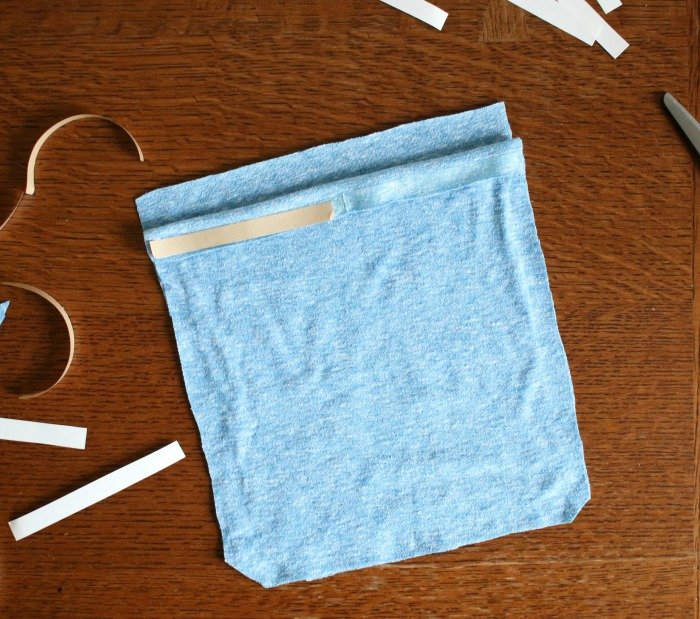
5. Roll this over again to tape the edge to the side of the bag and create a tube through with the string will go.
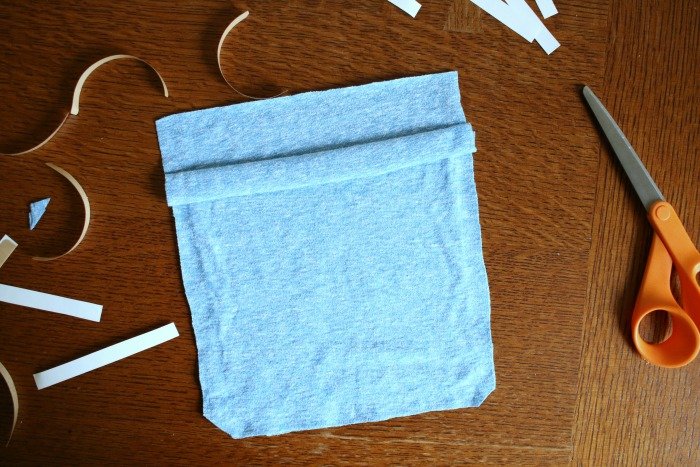
6. Repeat the two previous steps with the other side.
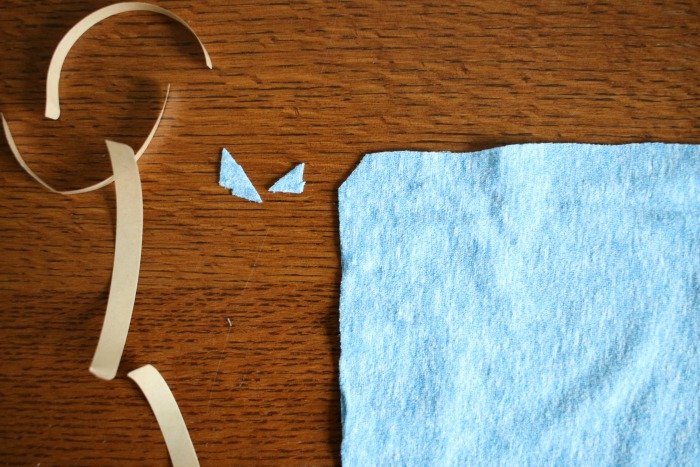
7. If you’d like, you can clip the bottom corners of the bag (without cutting off all the adhesive) so there is less excess fabric to create bulk once the bag is turned right side out.
8. Turn the bag right side out.
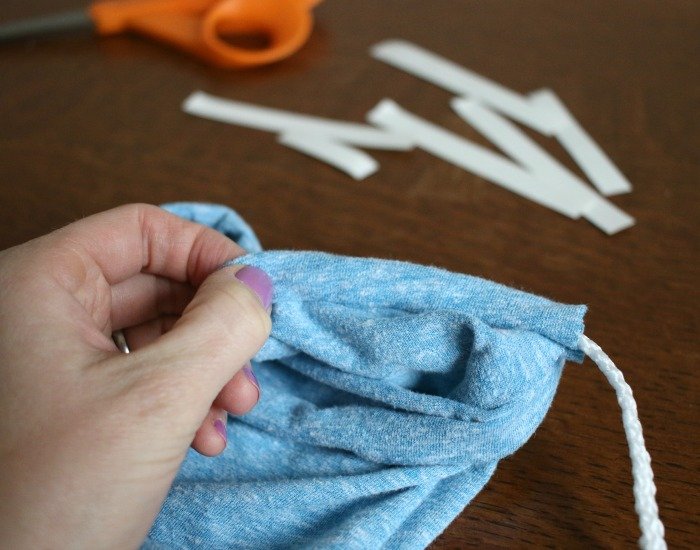
9. Using a safety pin pinned to the end of the string or ribbon (or even an old shoelace), thread the string or ribbon through the tube you created. Thread it through one side and then back through the tube on the other side. To easily thread it through, bunch up a section of fabric in front of the safety pin and then pull that fabric behind the safety pin (where it’s already been pushed through the tube).
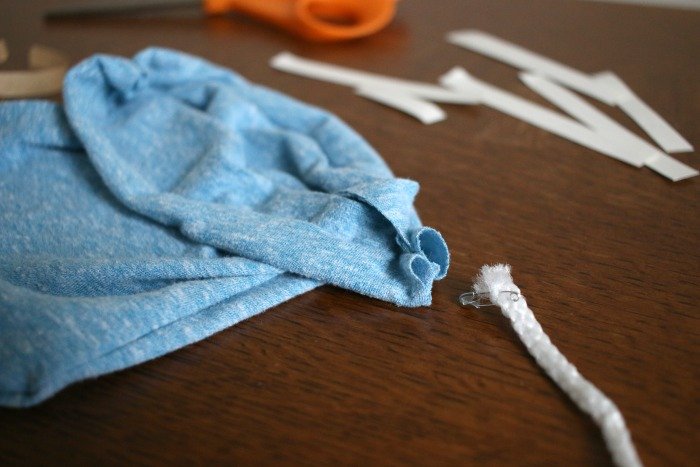

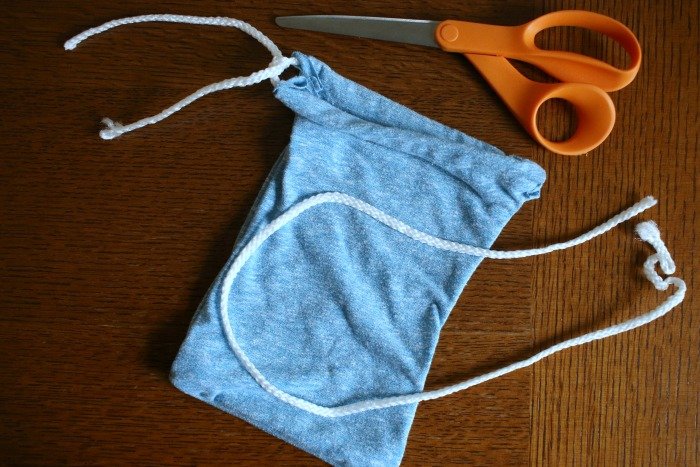
10. Be sure the top of the bag is fully opened and tie a knot in the string or ribbon to create a loop.
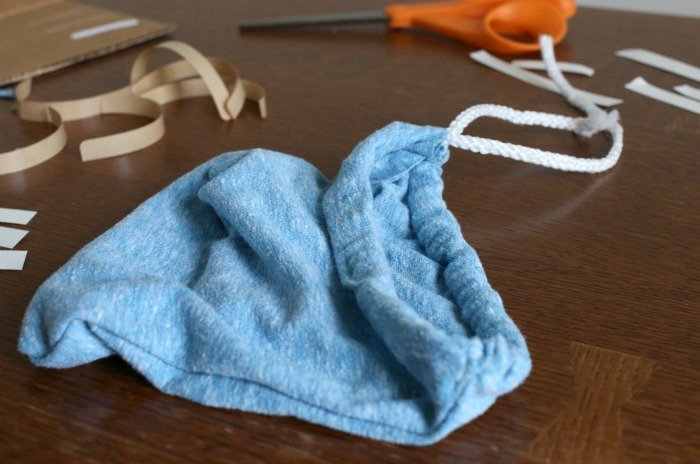
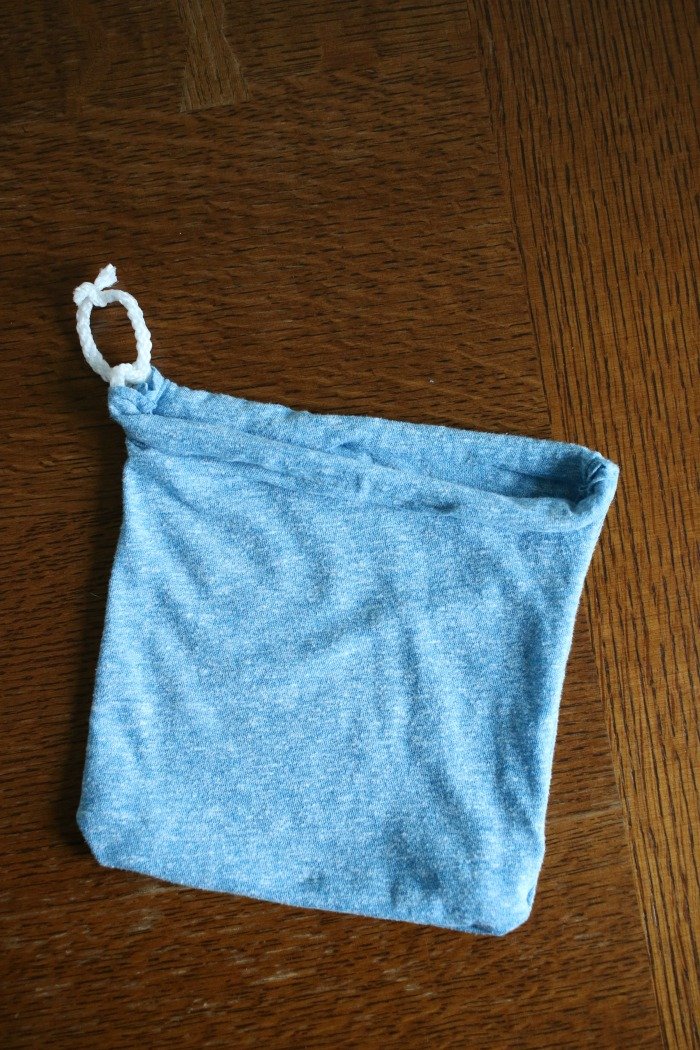
For the first bag, I used only one drawstring. For the second bag, I repeated Step 9 but started threading from the opposite side to create two loops that can be pulled in opposite directions to close the bag. You can choose whichever option works best for you.
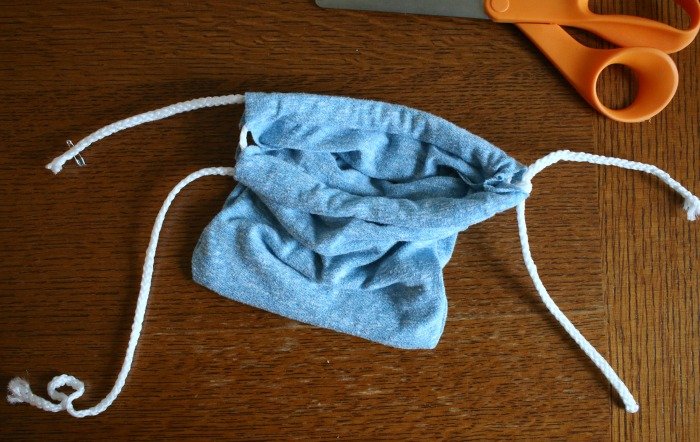
11. Due to the type of string I used, I added Fray Block to the ends and to each knot to ensure that the string didn’t untie or unravel. If you don’t have fray block, clear nail polish does the trick too.
While you may have to go to your local big box store to buy permanent hem tape (it’s at most stores and in the closet organization section with the sewing kits typically), you probably have everything else you need on hand. As I mentioned earlier, the fabric is just a t-shirt.
If you give a shot, let me know what you think! We have a box of old t-shirts waiting for a new life as a simple DIY bag.