How to Make Simple DIY Cloth Napkins from Thrifted Tablecloths
Don’t want to spend money on cloth napkins? How about trying to make simple DIY cloth napkins from thrifted tablecloths? Read on for simple instructions to make reusable cloth napkins (and replace some of your paper towels) with this super simple sustainable DIY.
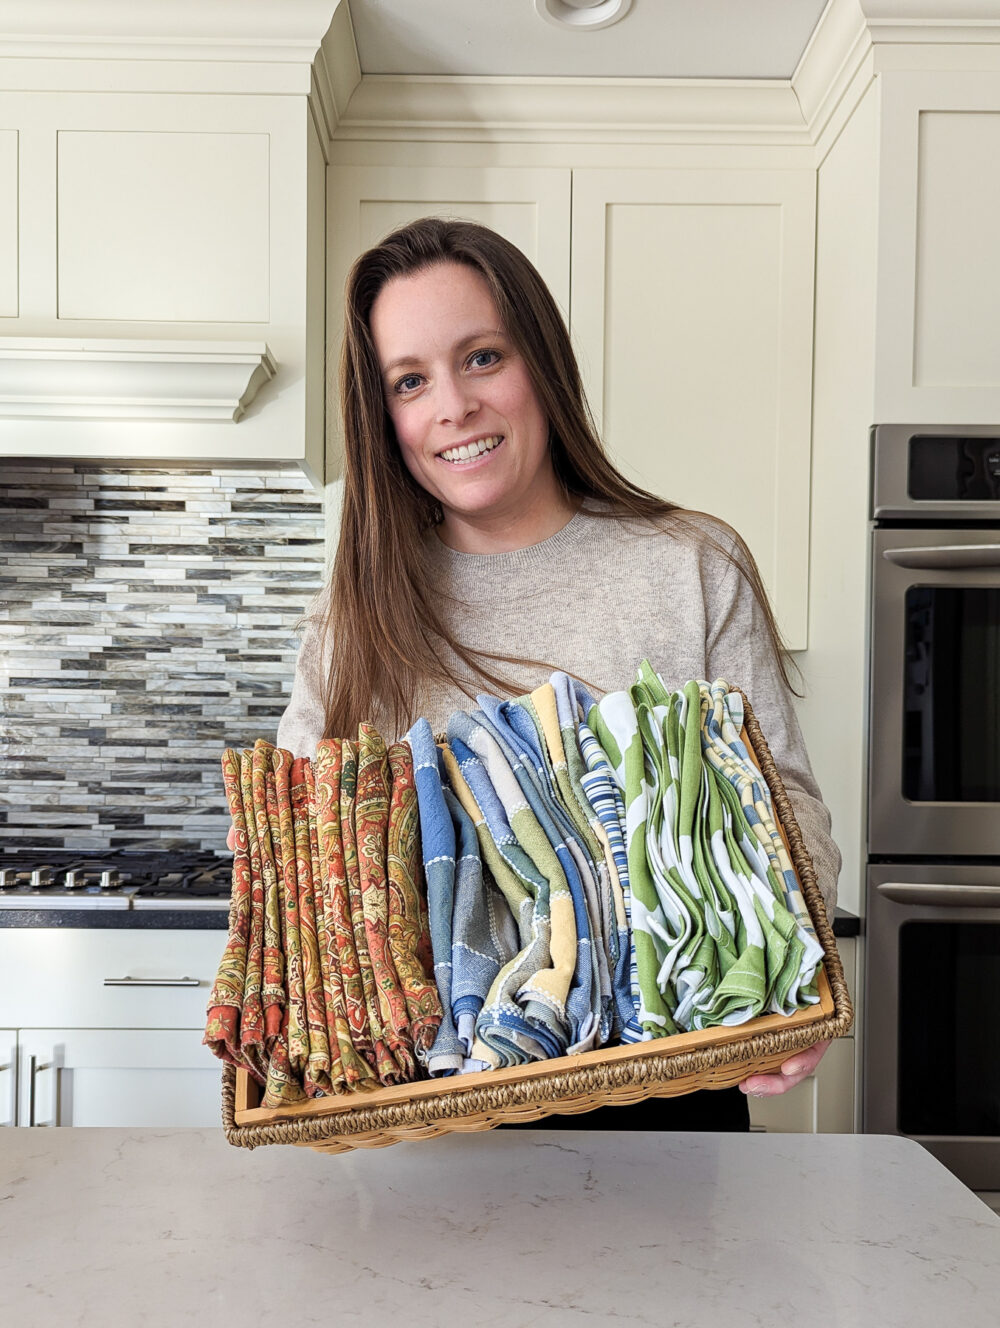
A few weeks ago, my parents visited and let me show you what we made! I pulled out my small but mighty sewing arsenal and became my mom’s sous seamstress. She stitched while I measured, snipped, folded, and steamed edges on these super easy reusable cloth napkins.
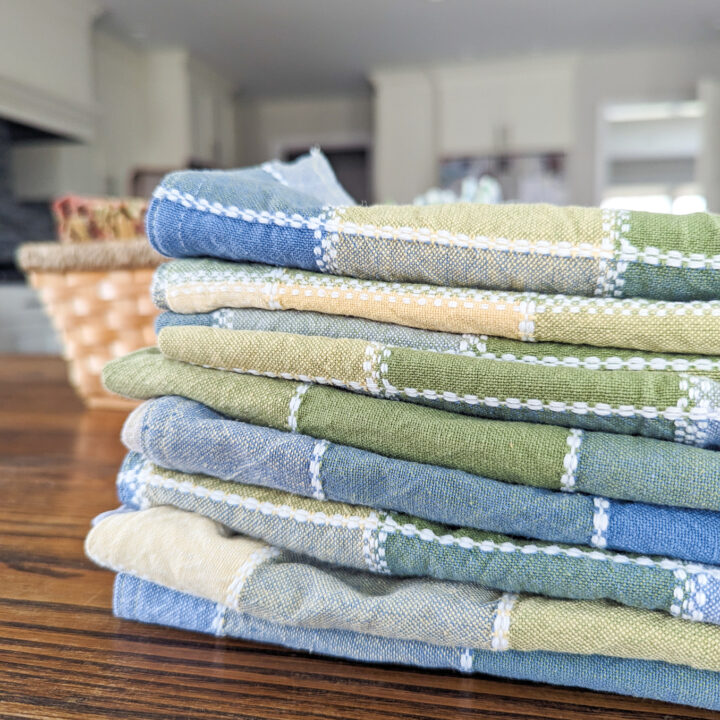
For less than $10, I picked up a tablecloth and table runner from Goodwill. We crafted more than a dozen cloth napkins to use with guests (so we could ditch paper towels). Cloth napkins are one of my favorite conversation starters because it’s such a simple swap that people can try without a lot of fuss.
If you have a sewing machine or a friend who can sew some basic stitches, you can do this project. And it’s even better when you can do it with a friend. I cut 18″ x 18″ squares from the tablecloth before hemming the edges, but make them in whatever size works for you (and works with the size of the fabric you have). Seriously, no one is judging.
Related Reading: 18 Things I’m Not Buying in 2024


Sustainable swaps that save money
There’s a prevailing presumption that sustainable living is more expensive. I understand the root of this idea, particularly when we get inundated with expensive swaps that we “need” to live more eco-friendly lives (hello… pricey water bottles).
But it doesn’t have to be that way at all. Consumerism and excessive spending are precisely what got us into this mess in the first place. Those with the fewest resources tend to live the most sustainably already.
For this project, I spent less than $10 on the thrifted tablecloth and runner. I already had the sewing machine, thread, and other materials on hand (from many years ago). If you don’t have those materials, consider finding a friend who can help you with the project. Skill sharing and community building are at the heart and soul of “the good life” (at least in my opinion).
Paper towels run $1.50 per roll (for generic brands where I shop), so I will cover the cost of paper towels after skipping the use of just five rolls. Even if you consider the cost of washing and drying them, I tend to throw them in with other loads of laundry I’m already doing, so it’s not especially expensive for the added cost.
This is a DIY project that requires very basic skills and you only need to do it one time to bask in the benefits for years to come. It’s my kind of sustainable swap and feels much more accessible than some DIY projects that require recurring work or advanced skills.
Related Reading: Reusable Paper Towel Alternatives | Swedish Dishcloths vs. Reusable Cloth Rags
Making time to make things with friends
Not only is this project practical, but it makes me reflect on how we spend our time together and what we decide we don’t have time for. This upcycled DIY cloth napkin project sat unfinished on my office floor for months. When would I have a couple of hours to get this done?
When my mom came to visit, we decided that doing this project together was a great way to spend time together. It wasn’t something to add to our obligatory chore list but a fun activity to do socially. Doing it with someone else was exactly the motivation I needed to finish it, and I got to hang out with my mom! The joy was in the doing, not just having a finished product.
Instead of thinking about sustainable living as just a set of outcomes or swaps that we need to mark off of our never-ending “to-do” lists, how about reframing the work? When we come together to achieve goals, we can enjoy the journey together and not just the arrival at the finishing line.
Materials to make DIY cloth napkins from thrifted tablecloths
You could make these napkins using a needle and thread and hand-stitch them, but I think that would be pretty tedious. If you don’t have a sewing machine, consider asking a friend who can sew to help you out. Or maybe see if you can rent one! DIY cloth napkins are a great beginner sewing project!
- Repurposed tablecloth or wide table runner (any fabric will do so long as you like it for use as a napkin). I made 18″ x 18″ napkins (before the hems), so it should be at least this wide if you want napkins this size.
- Sewing machine
- Thread
- Iron & ironing board
- Scissors or a rotary cutter
- Cutting mat (optional)
- Ruler
- Straight edge (ruler or other straight edge at least 18″ long)

How to make simple DIY cloth napkins from thrifted tablecloths
I’m no sewing expert, so I’ve provided the basic instructions below. But there are other tutorials online that give much better details about how to make simple cloth napkins. I’ve linked to them below for additional guidance.
- Wash, dry, and iron the fabric before you start cutting anything. It’s always best to wash fabric when you bring it home from a thrift shop. Ironing the fabric will help ensure you have straight lines and consistent-sized napkins before you cut.
- Cut out 18″ x 18″ squares from the fabric. Feel free to modify these sizes as you wish if you prefer smaller or larger napkins. Note: Where I could, I tried to retain and use edges that were already finished so I didn’t have to fold, iron, and stitch those sides.
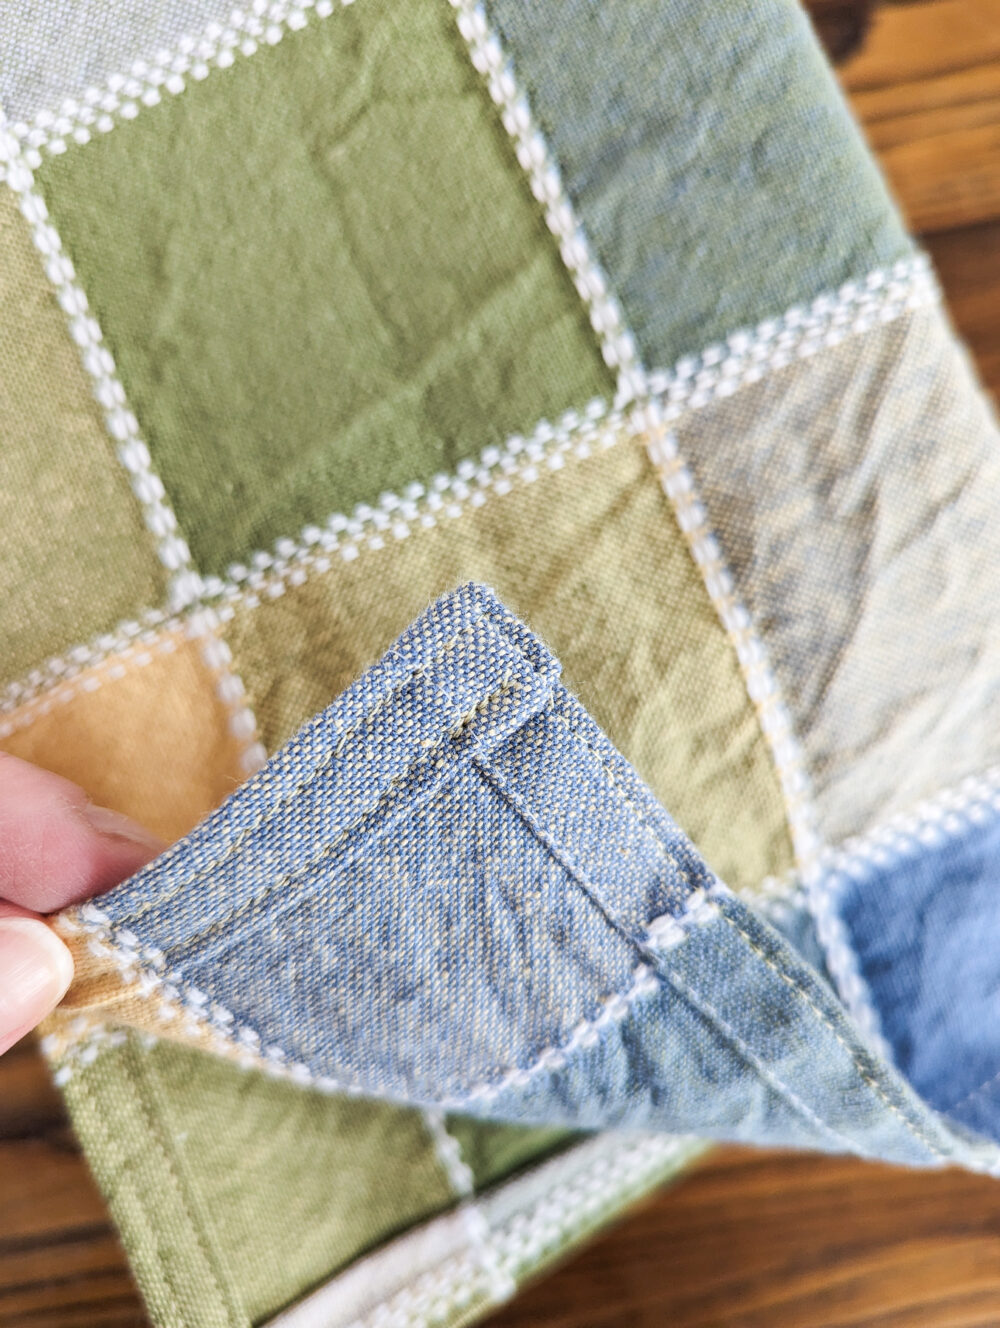
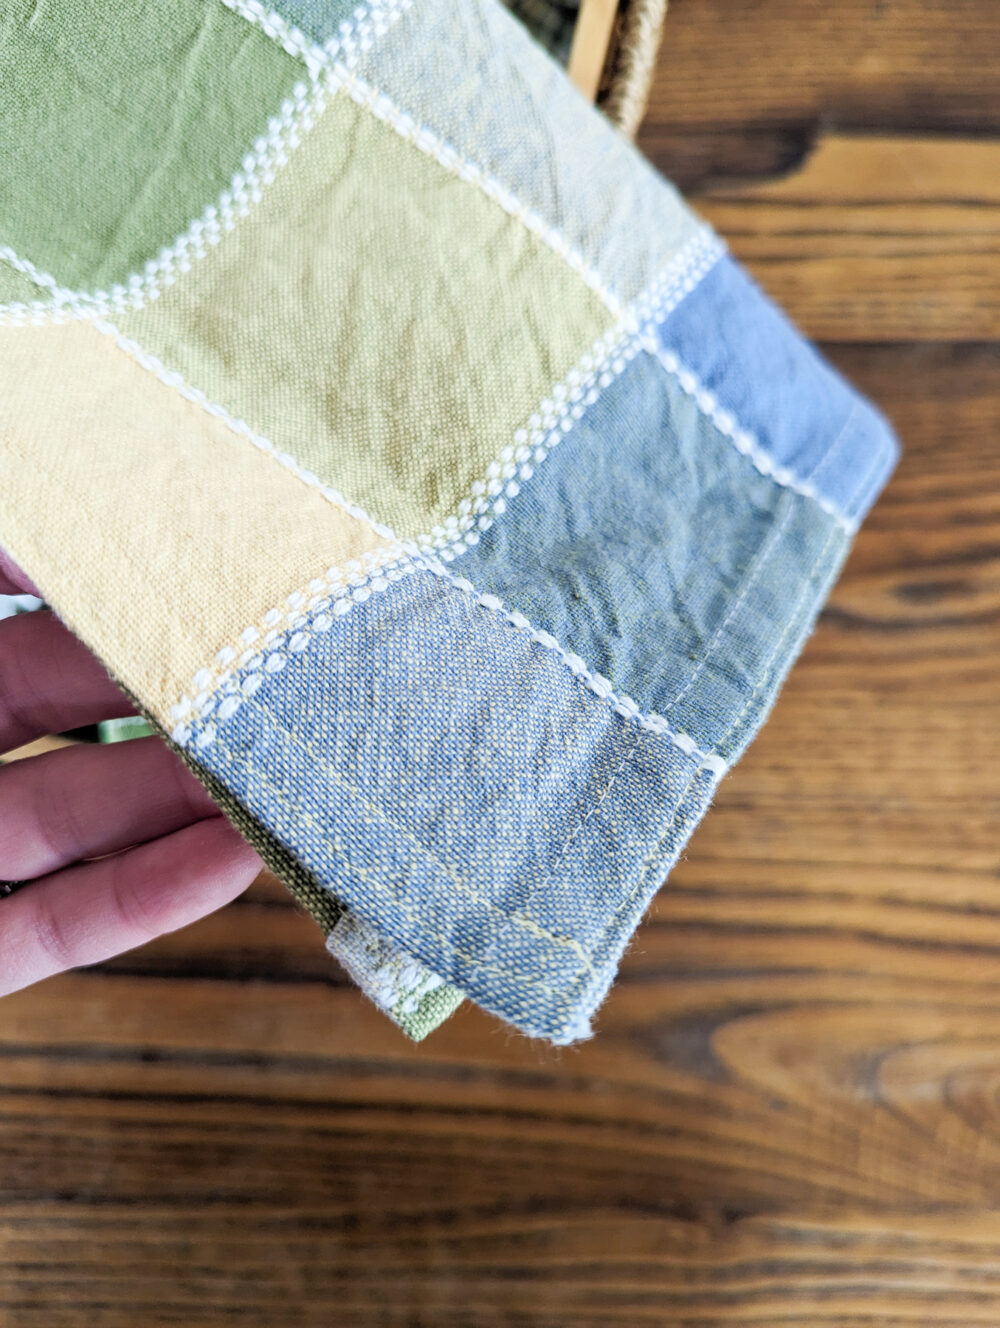
- Fold over each of the edges 1/4″ and then 1/4″ again, and then iron them flat. This will help ensure flatter, more consistent seams.
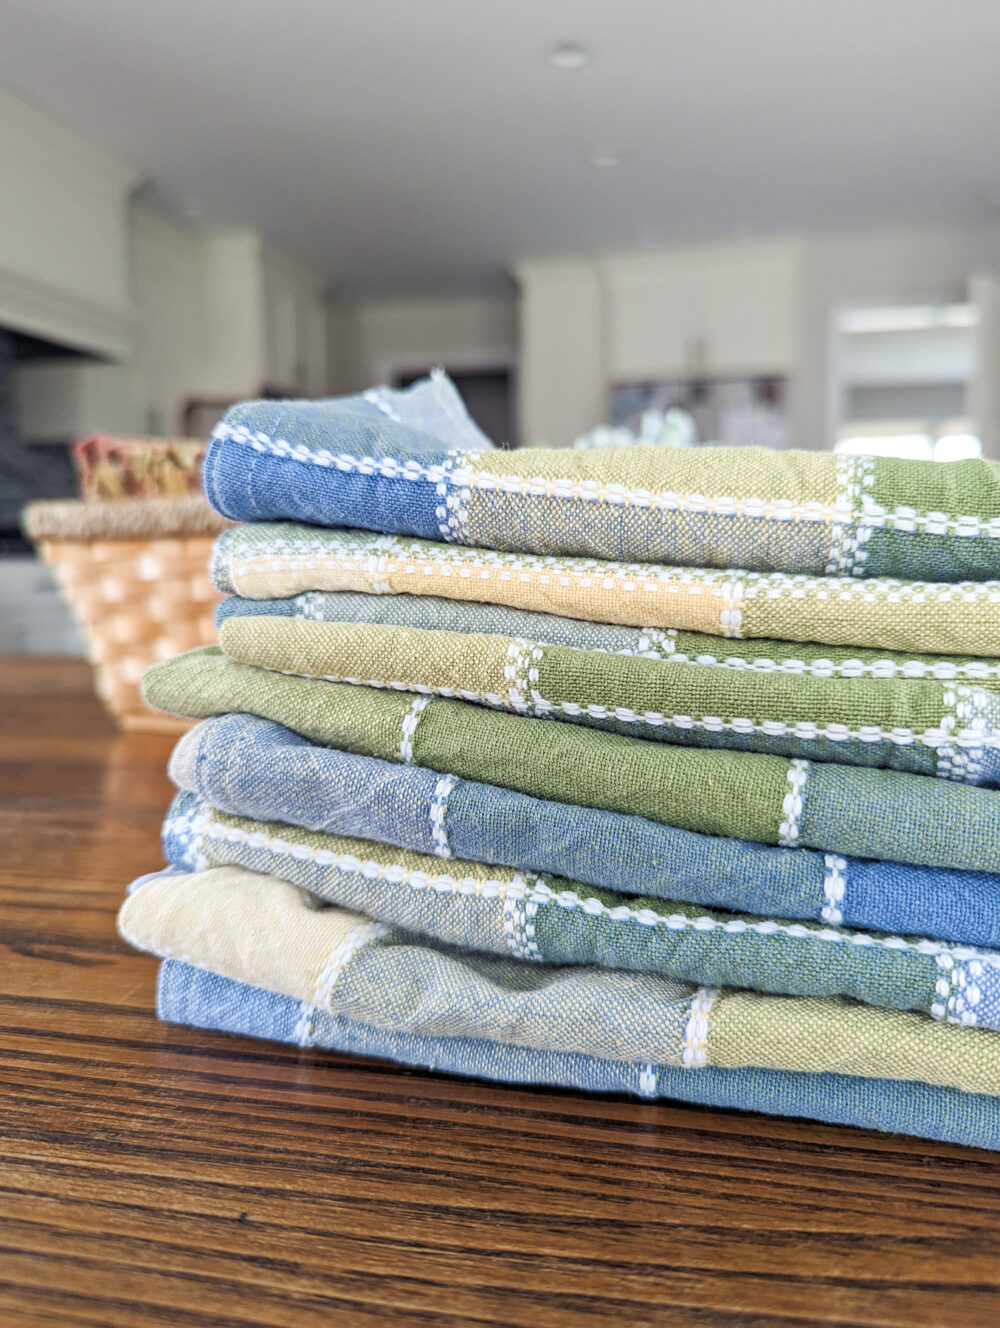
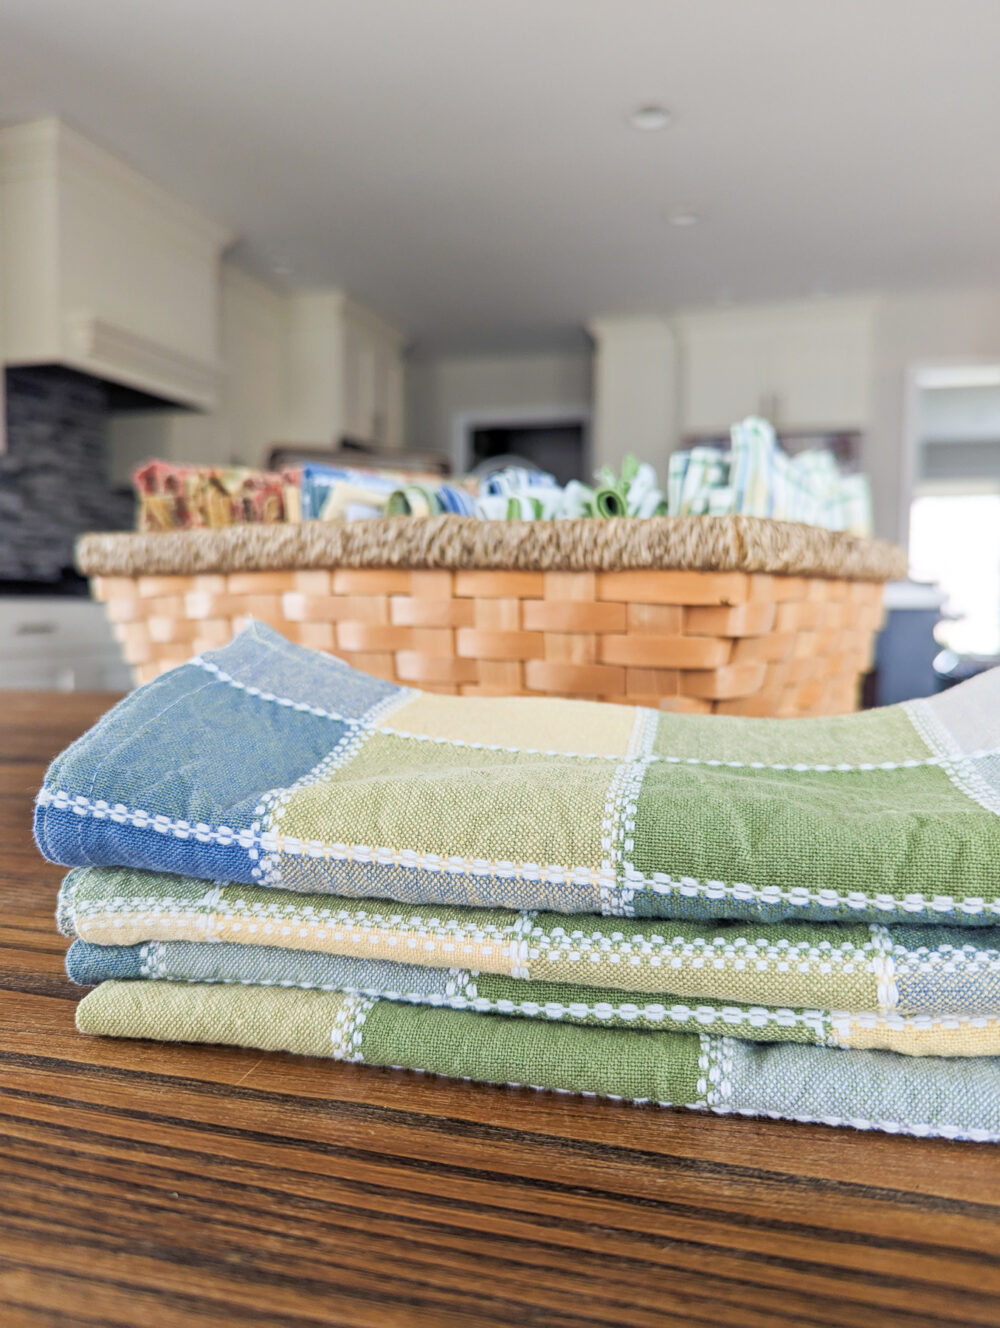
- Sew a straight stitch around all four edges of the cloth napkin to hold down the edges and you’re set! My mom chose to do two sets of stitches (one right near the edge of the napkin and one closer to the fold – see the image below), but you could choose to do just one row of stitches if you prefer. That’s what I would have done, so thanks Mom for the extra effort!
Additional tutorials for DIY cloth napkins
Sometimes it helps to see and hear things explained in different ways, so here are a couple of other tutorials that still keep things simple but add some additional images and language to help you through the process.
Without Mitered Corners | This DIY cloth napkin tutorial has some great images to help you along the way. I like that she doesn’t mess around with mitered corners (fancier corners that look more professional but add a level of difficulty that’s not necessary if you’re just looking for functional napkins with the least amount of effort and complexity). She upcycled her napkins from bedsheets, so that’s an eco win too!
With Mitered Corners | This easy cloth napkin tutorial offers a few additional considerations like mitered corners, double-sided napkins, and using something called “fat quarters” (small pieces of fabric you can buy or might find at thrift shops that are perfect sizes for cloth napkins).

Make DIY cloth napkins from thrifted tablecloths with friends
This is such an easy project that anyone interested in basic sewing skills could give this a try. Ya know how art shops have Paint and Sip classes? I bet you could ask a sewing shop to host a sew and sip class where you make DIY cloth napkins in their store.
You could even host a DIY party at your home. If just a couple of friends have sewing machines, they can share and do the project as a group. Maybe invite a couple of your moms or grandmothers and make it a cross-generational skill-sharing event. It’s a little out of the box, but I bet it would be super fun. And learning these types of skills is useful!
Next time you want to get together with friends, would you consider something like this? If you can paint and drink, why not sew and drink, right? And then you have something useful to bring home at the end of the night too!
If you liked this tutorial for DIY cloth napkins from thrifted tablecloths, you might also like
New Life for Thrifted Jeans with DIY Visible Mending
Foraged Pine Cones for an Evergreen-inspired Sustainable Christmas Tablescape
Sustainable DIY: 5-Minute Zero-Waste Rustic Tablescape

Jen Panaro
Jen Panaro, founder and editor-in-chief of Honestly Modern, is a self-proclaimed composting nerd and advocate for sustainable living for modern families. To find her latest work, subscribe to her newsletter, Sage Neighbor.
In her spare time, she’s a serial library book borrower, a messy gardener, and a mom of two boys who spends a lot of time in hockey rinks and on baseball fields.
DIY Cloth Napkins from Thrifted Tablecloth
Try these simple DIY cloth napkins made from thrifted tablecloths and table runners for a zero-waste swap for your kitchen and entertaining.
Materials
- Repurposed tablecloth or wide table runner (any fabric will do so long as you like it for use as a napkin). I made 18" x 18" napkins (before the hems), so it should be at least this wide if you want napkins this size.
- Thread
Tools
- Sewing machine
- Iron & ironing board
- Scissors or a rotary cutter
- Cutting mat (optional)
- Ruler
- Straight edge (ruler or other straight edge at least 18" long)
Instructions
- Wash, dry, and iron the fabric before you start cutting anything. It's always best to wash fabric when you bring it home from a thrift shop. Ironing the fabric will help ensure you have straight lines and consistent-sized napkins before you cut.
- Cut out 18" x 18" squares from the fabric. Feel free to modify these sizes as you wish if you prefer smaller or larger napkins. Note: Where I could, I tried to retain and use edges that were already finished so I didn't have to fold, iron, and stitch those sides.
- Fold over each of the edges 1/4" and then 1/4" again, and then iron them flat. This will help ensure flatter, more consistent seams.
- Sew a straight stitch around all four edges of the cloth napkin to hold down the edges and you're set! My mom chose to do two sets of stitches (one right near the edge of the napkin and one closer to the fold - see the image below), but you could choose to do just one row of stitches if you prefer. That's what I would have done, so thanks Mom for the extra effort!