“New” Flyers Gear (Refashion)
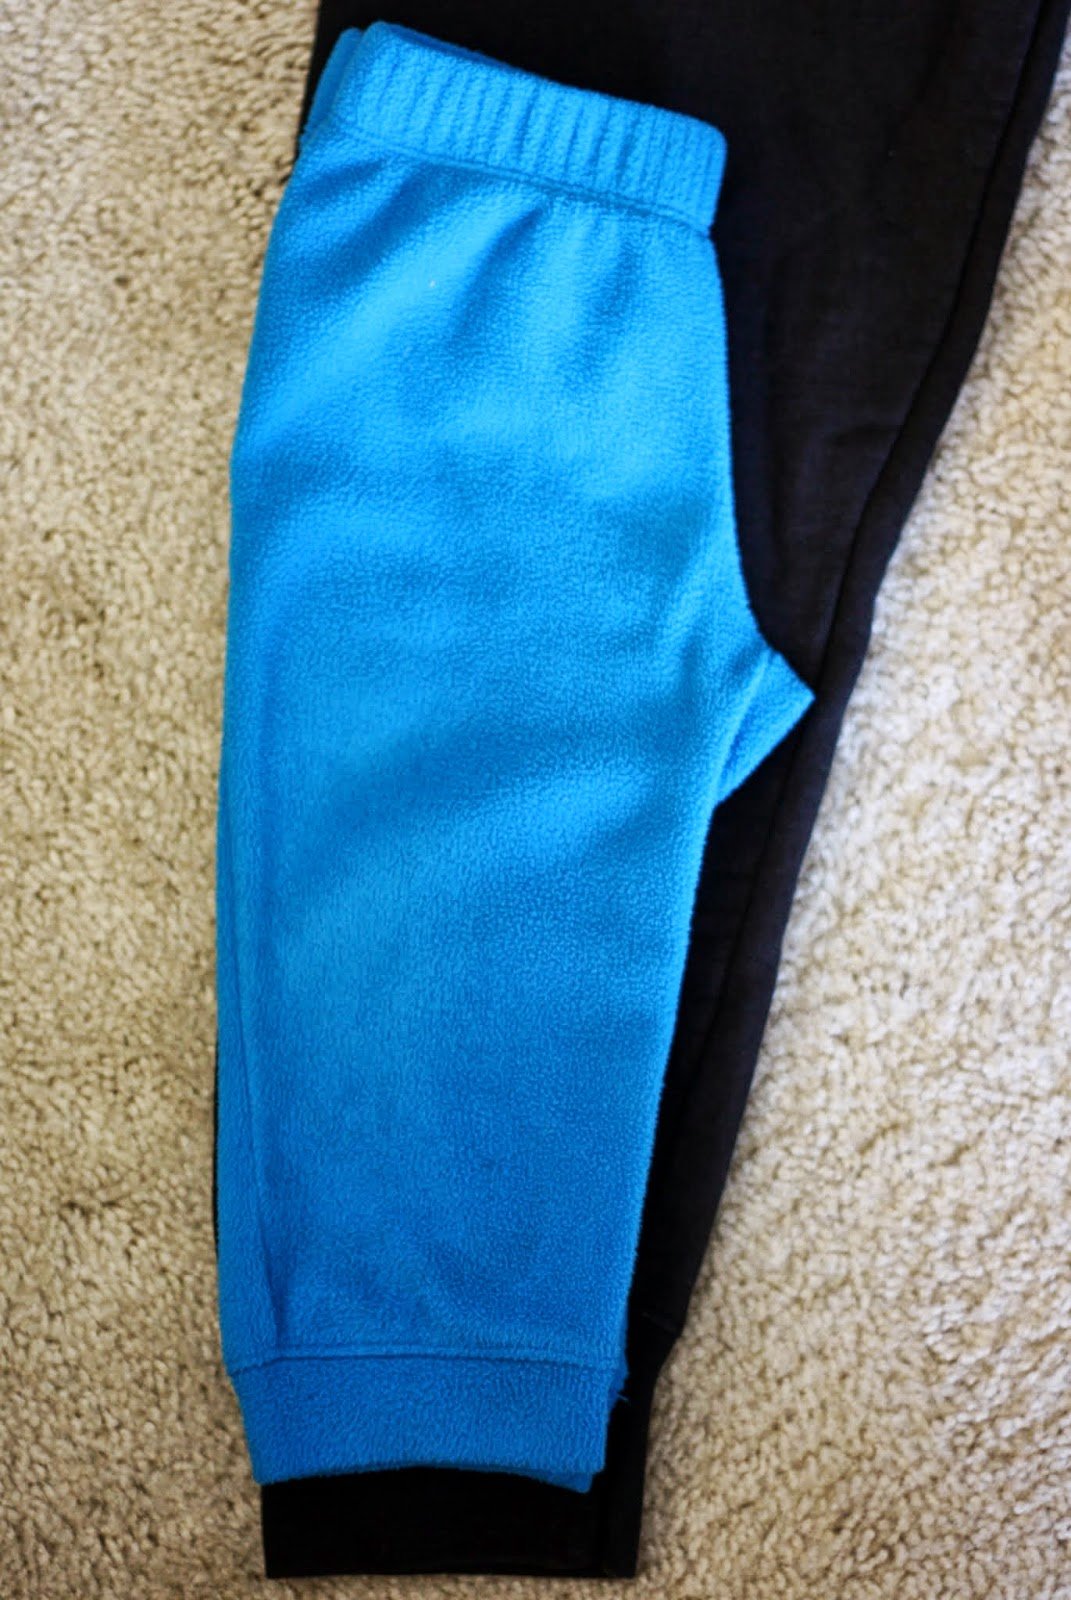
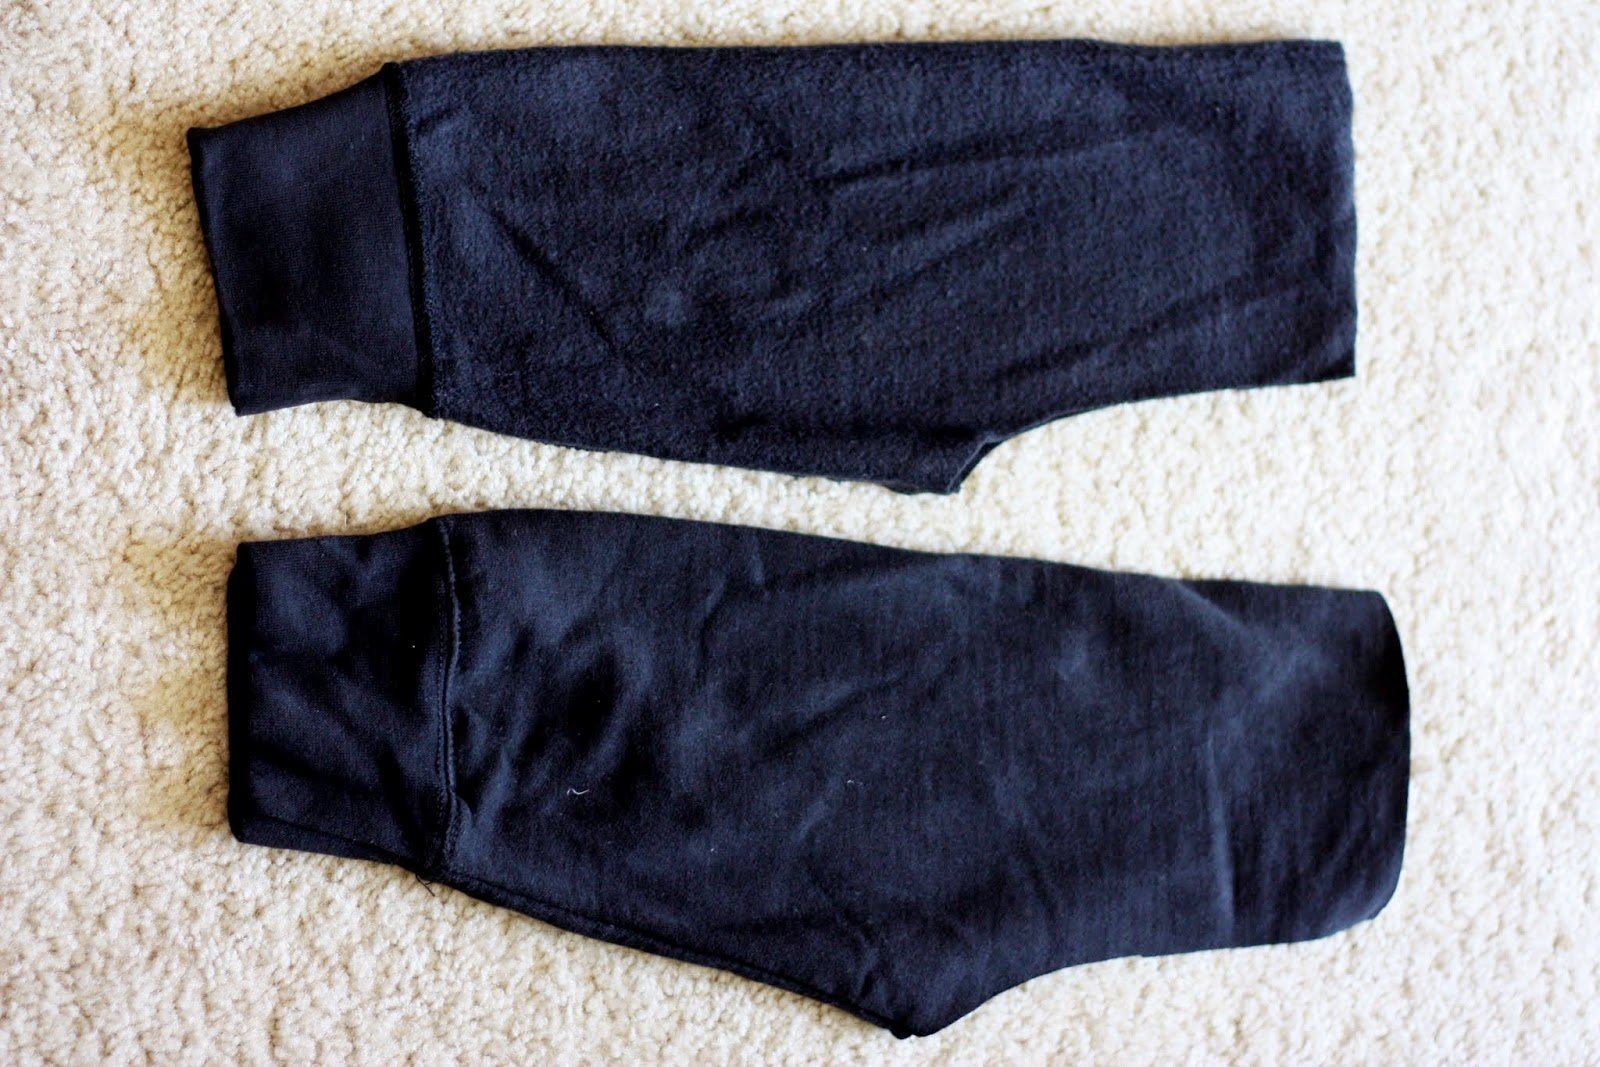
Step 2: Using a pair of pants that fit him well (in blue), I laid them on top of one sleeve and cut around the crotch and waist. The inside seam of the sleeve and the cuff on the sleeve served as the inseam and hem of the pants, respectively, so I didn’t need to cut either of those. [Lesson learned: I cut both top and bottom of the sleeve at the same time. Next time, I might cut the top layer first and then the bottom layer with a bit more of an allowance away from the blue pants. Because the front and back had the same size panels, there wasn’t as much space for the diaper as I might have liked.]
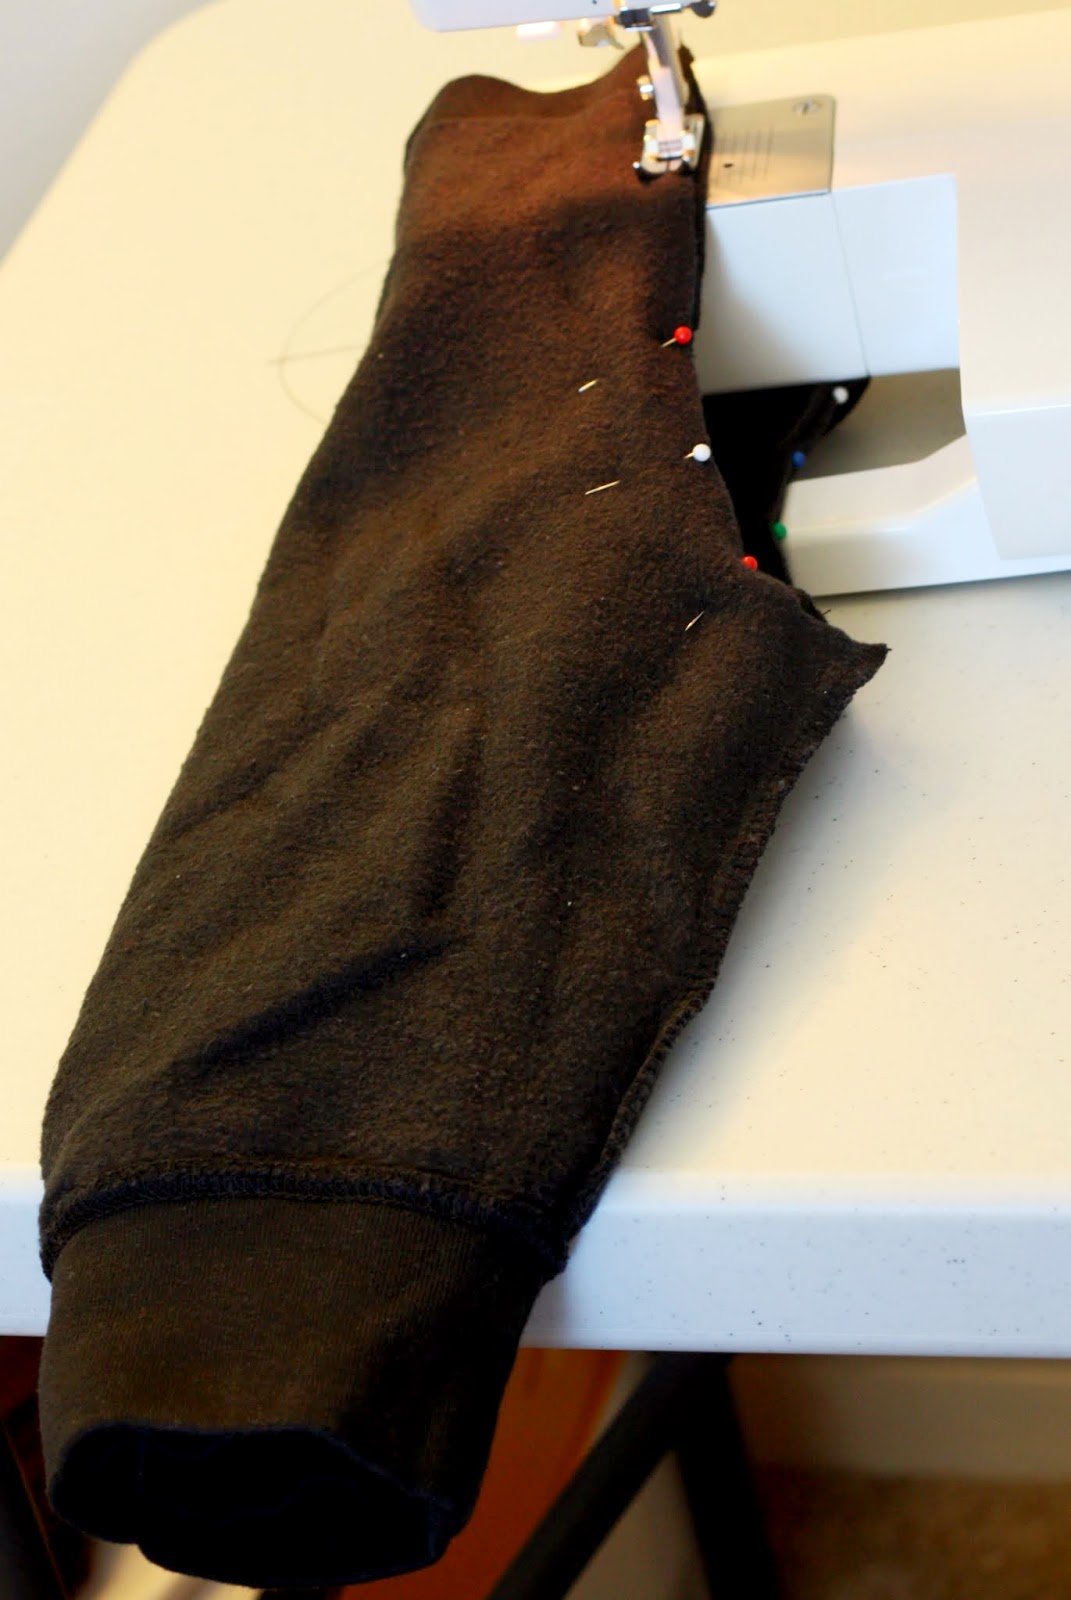
Step 3: I inserted one leg into the other, right sides facing together. I pinned together the inseam, as shown above, and sewed the two legs together using a straight stitch. I don’t have a serge machine, so I used a zigzag stitch along the inseam as well.
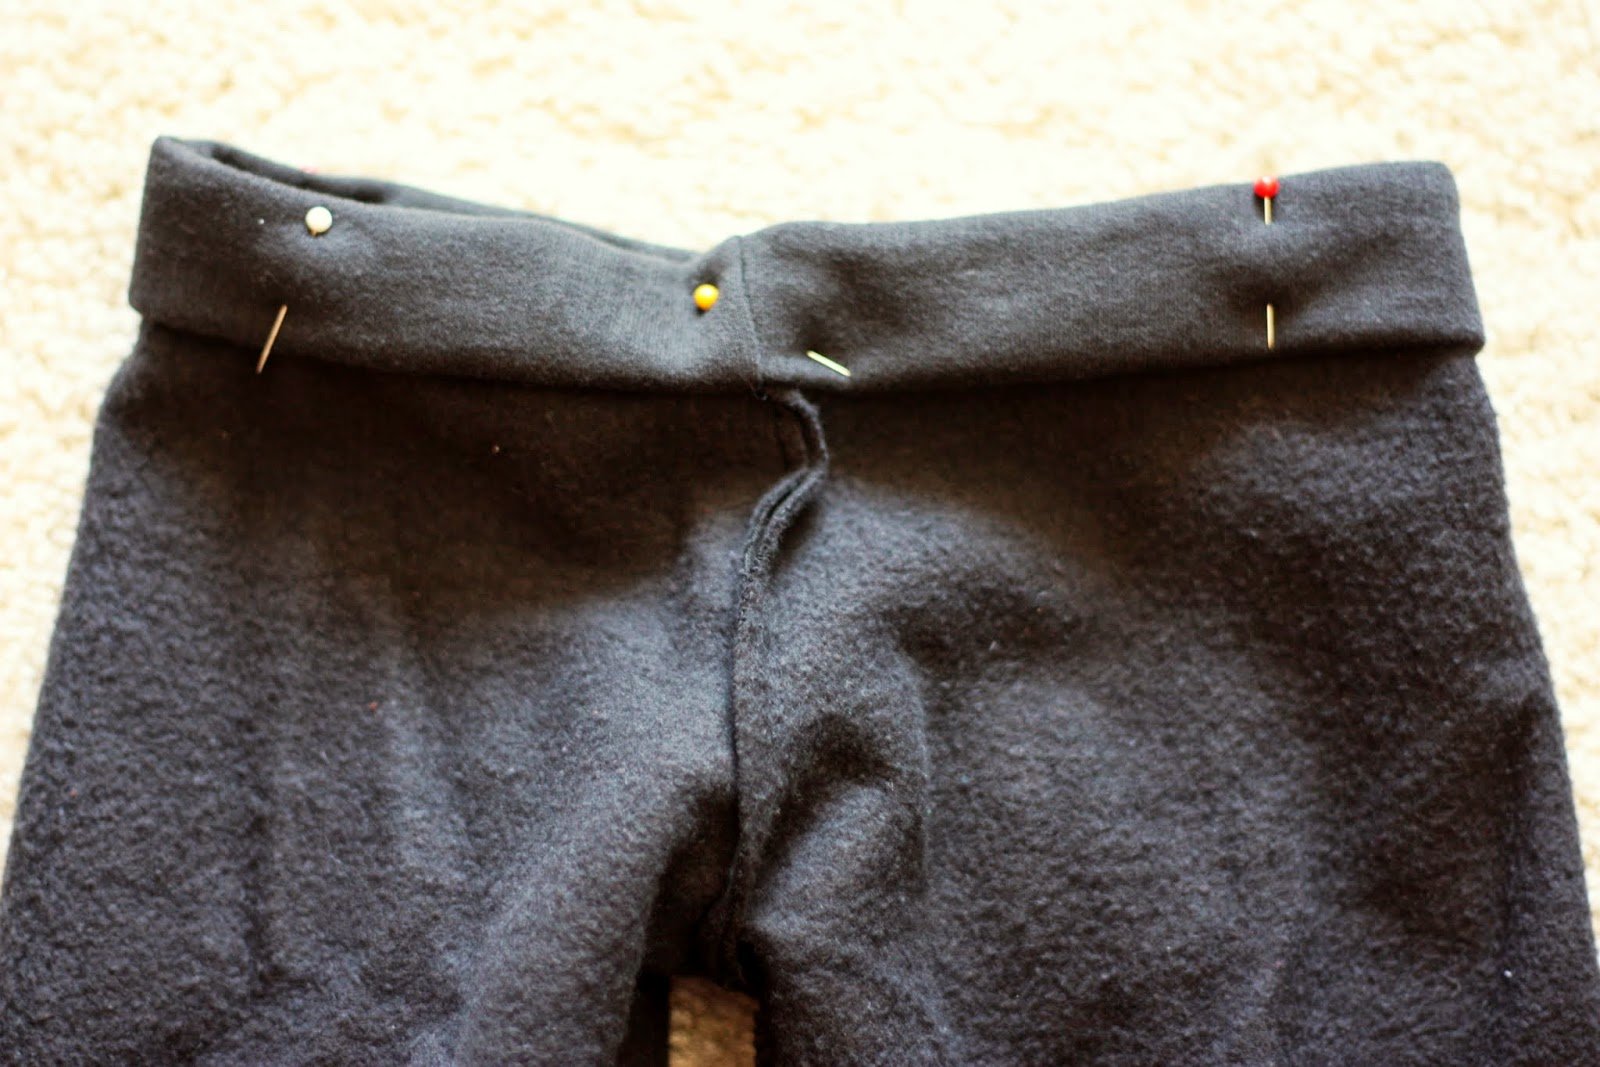
Step 4: I pulled the inside leg out and folded down the waistband twice to create a casing for the elastic. After pinning down the twice folded waistband, I sewed along the bottom edge of the casing. Note: Be sure to leave a space in the seam through which to insert and pull the elastic.

Step 5: Thread the elastic through the casing. I inserted a pin through the end of the elastic to held guide it through the casing. Sew together the ends of the elastic and then sew the remaining opening closed. [Note: Be sure the elastic is the right fit after being pulled relatively tight, otherwise it won’t serve it’s purpose. I didn’t know how long to make it, so I managed to keep The Little Guy still just long enough to measure it out.]
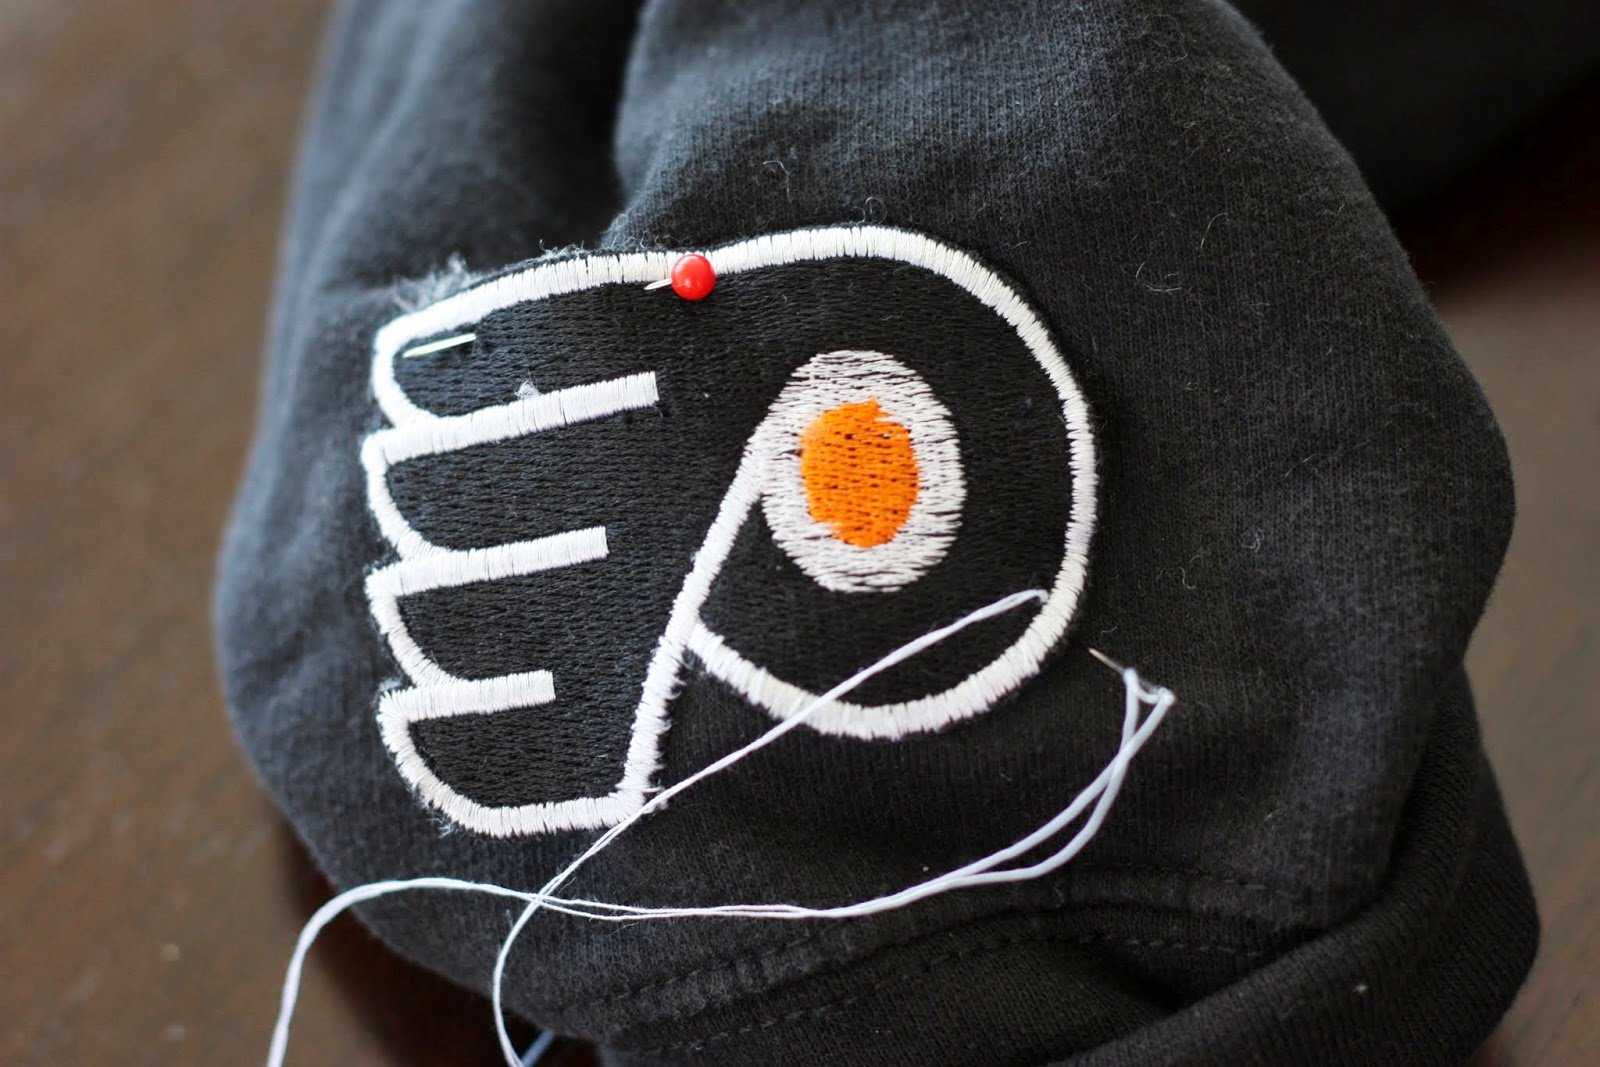
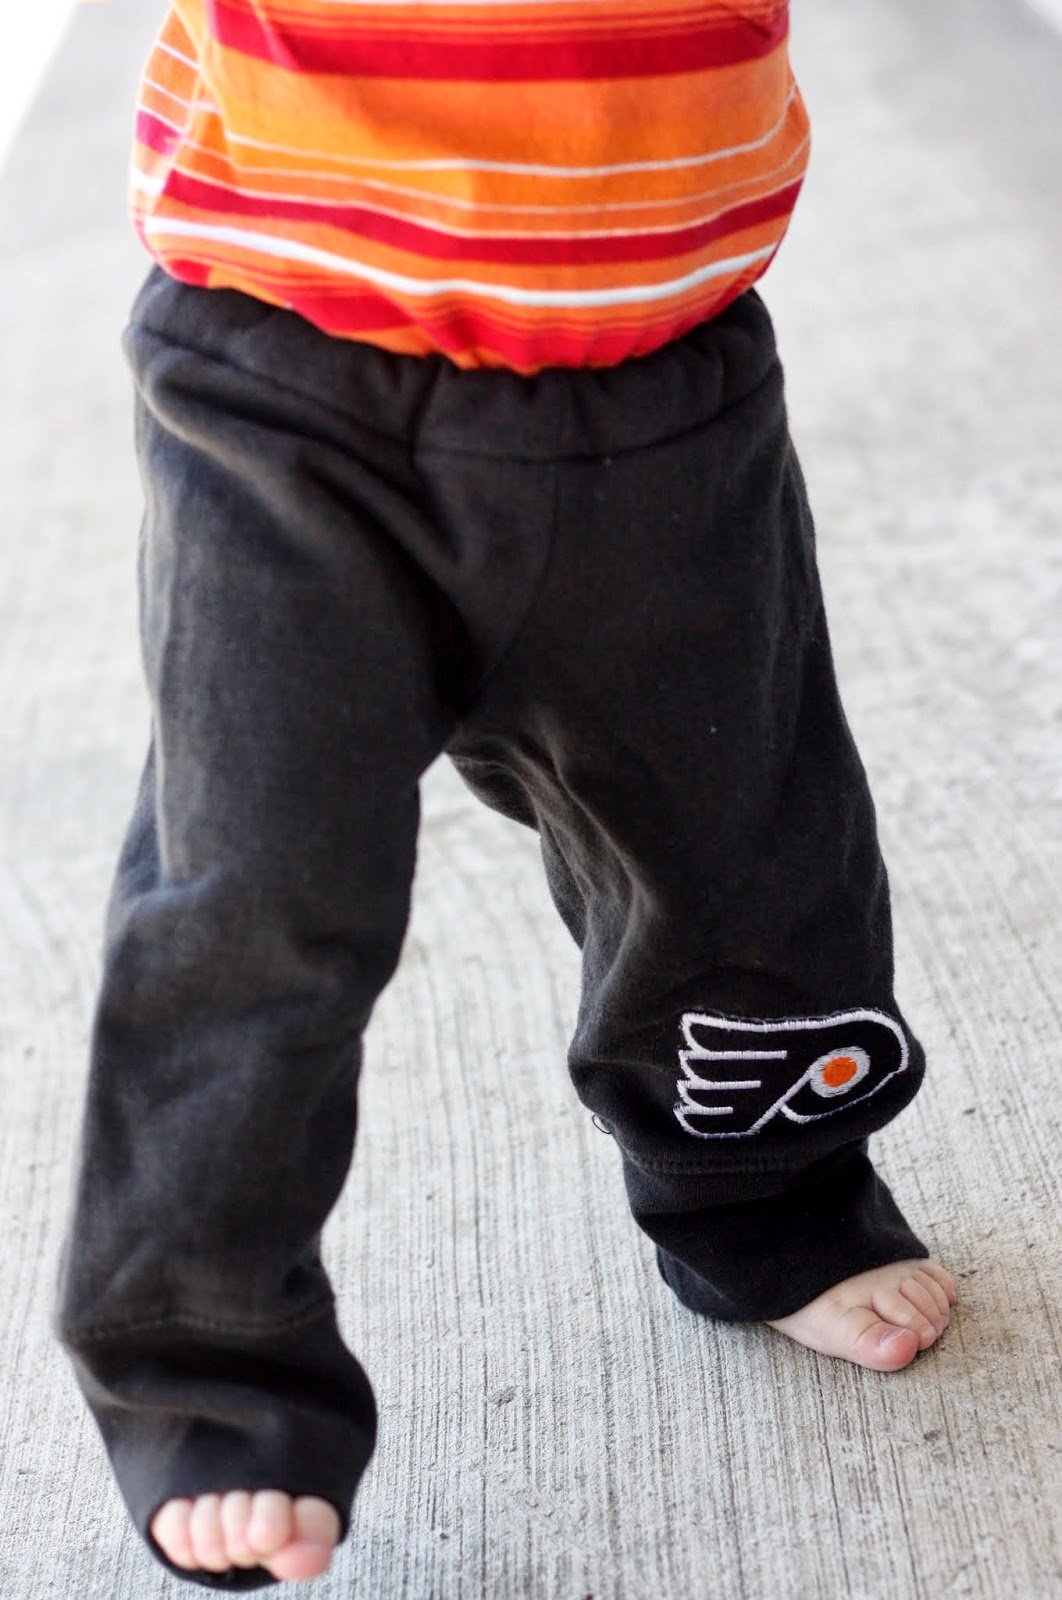
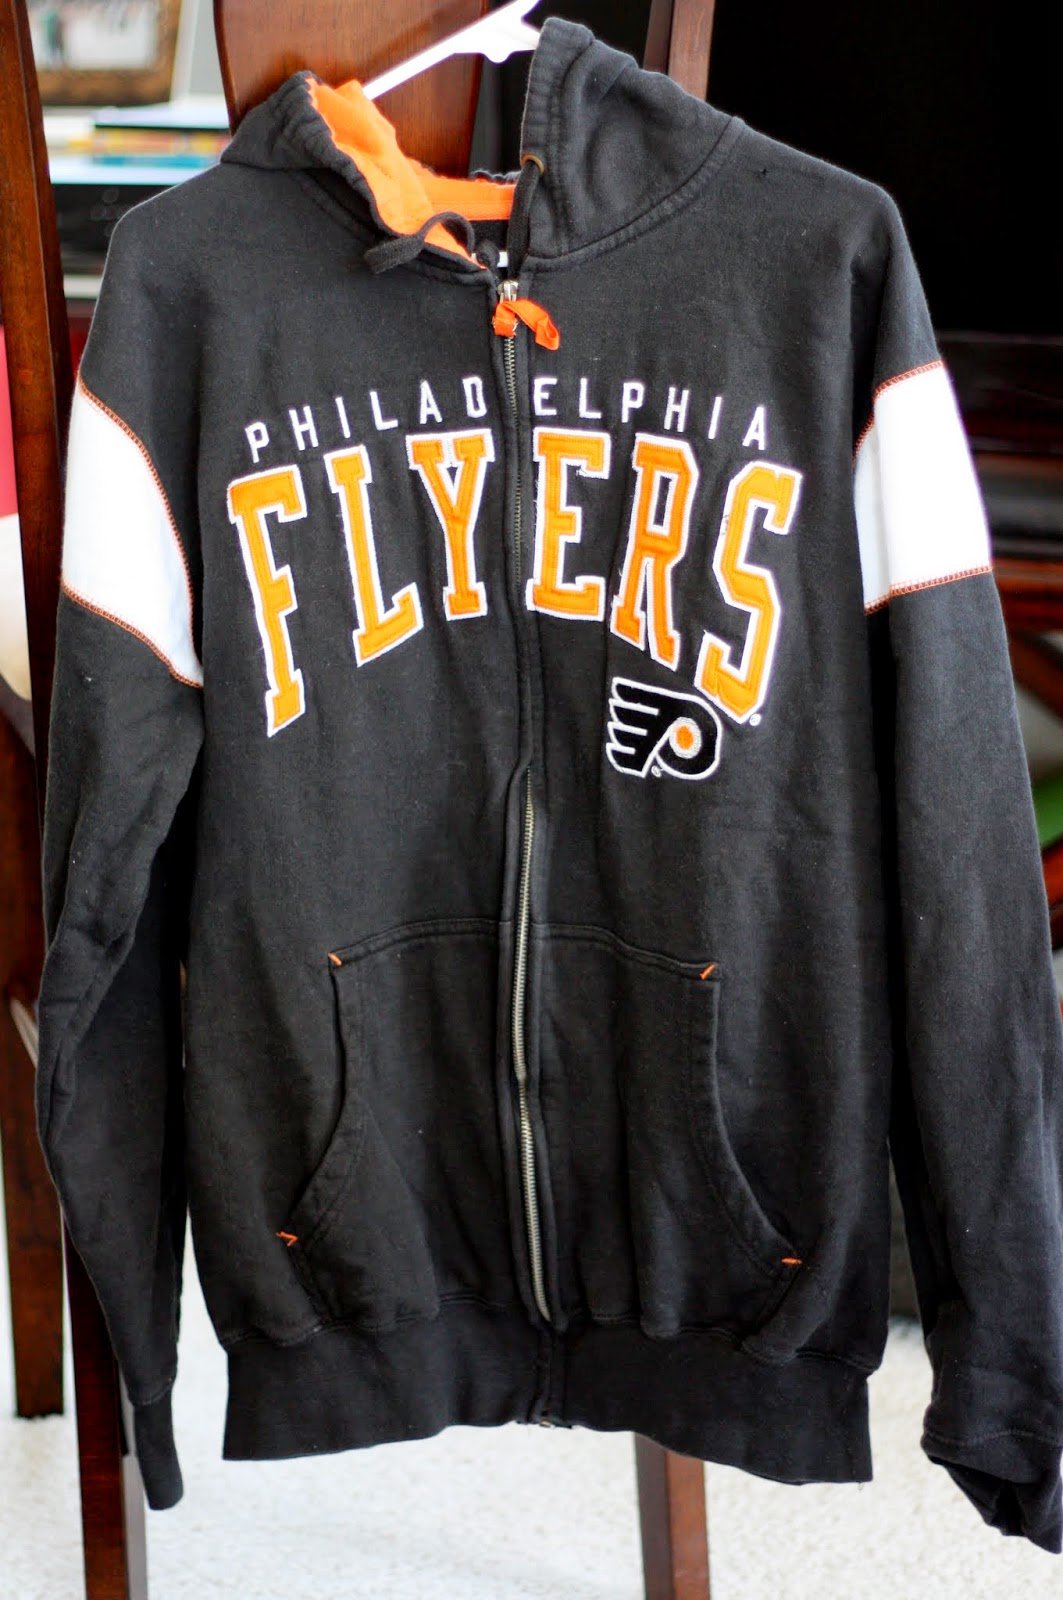
Step 6: This certainly isn’t required, but I wanted to add a Flyers theme to the pants. I cut out the Flyers logo from the sweatshirt and hand sewed the decal onto the leg of the pants. I started on the inside of the pants to hide the tail (which I cut off) and stitched up through the decal, over the white edge, and back through the pants. I matched my stitches to blend in with the edging on the logo.
Step 7: Let The Little Guy take the pants for a spin while The Man is pumped his son is sporting some team pride. Everyone wins!
Have you refashioned anything recently for your little ones? They grow out of clothes so quickly, it’s helpful on the budget to use what we already have around the house. I’d love if you shared any projects you’ve completed for your kiddos.