4 Easy Steps To Make Your Own DIY Lip Balm
Want to try making your own easy DIY lip balm? It’s simpler than you think. With just a few clean ingredients and about 30 minutes, you’ll have your own DIY lip balm without all the crummy ingredients from certain store-bought brands. You might surprise yourself when you learn how easy it is to make your own basic beauty products!
I’m a little particular about lip balm. I know it seems like something frivolous or trivial about which to have strong feelings, but there are a lot of characteristics about many lip balms that drive me nuts.
First, I don’t like lip balms in tins or containers where I need to use my finger to apply them. It seems unnecessary to have oily fingers in pursuit of luscious lips.
I also don’t like lip balms that are too sticky or too shiny. I just want something that keeps my lips moist without any fancy side effects.
I don’t like balms that come in packages with unusual shapes that don’t fit well in a small bag. A while back, I had a popular egg-shaped lip balm and quickly realized it never fit well in any of my bags.
I want something really simple and functional. Unable to find exactly what I wanted, I decided to enlist the help of my boys to make our own. They love borrowing my lip balms and chapsticks too, so I wasn’t opposed to making a few extras so they could stop stealing mine.
We recently made a small batch for ourselves. This recipe that follows makes about six or eight tubes of lip balm. So… if you’d like to make more as gifts or party favors, for example, consider doubling or tripling the recipe.
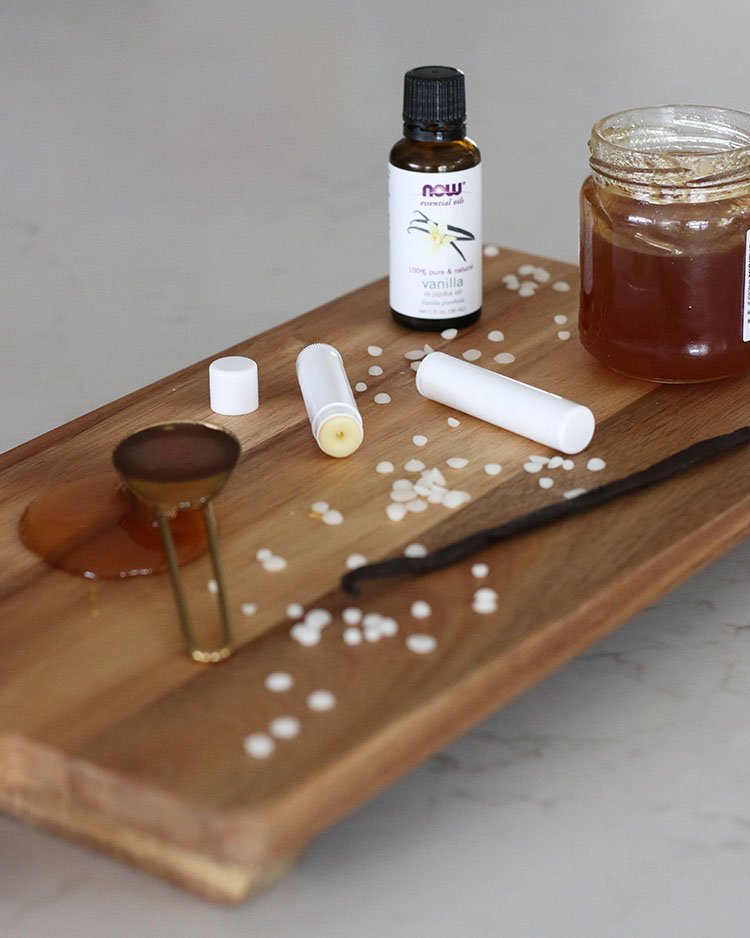
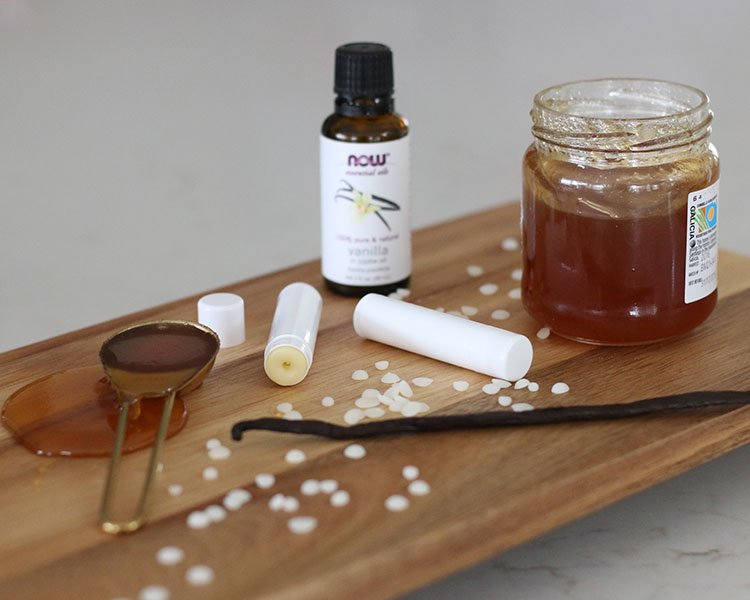
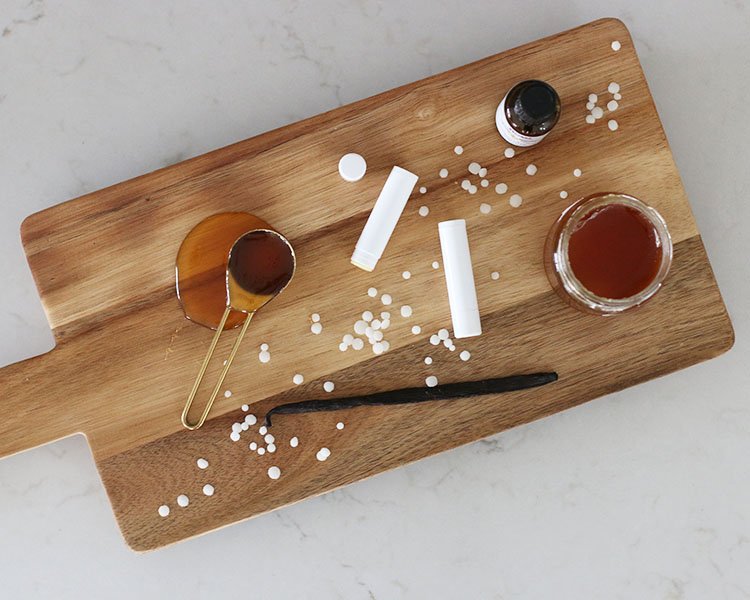
Ingredients:
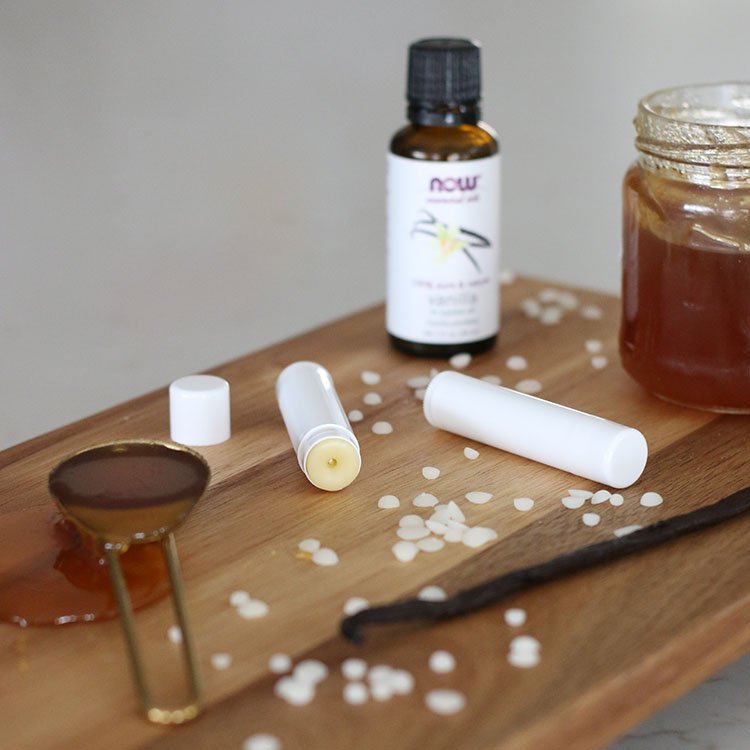
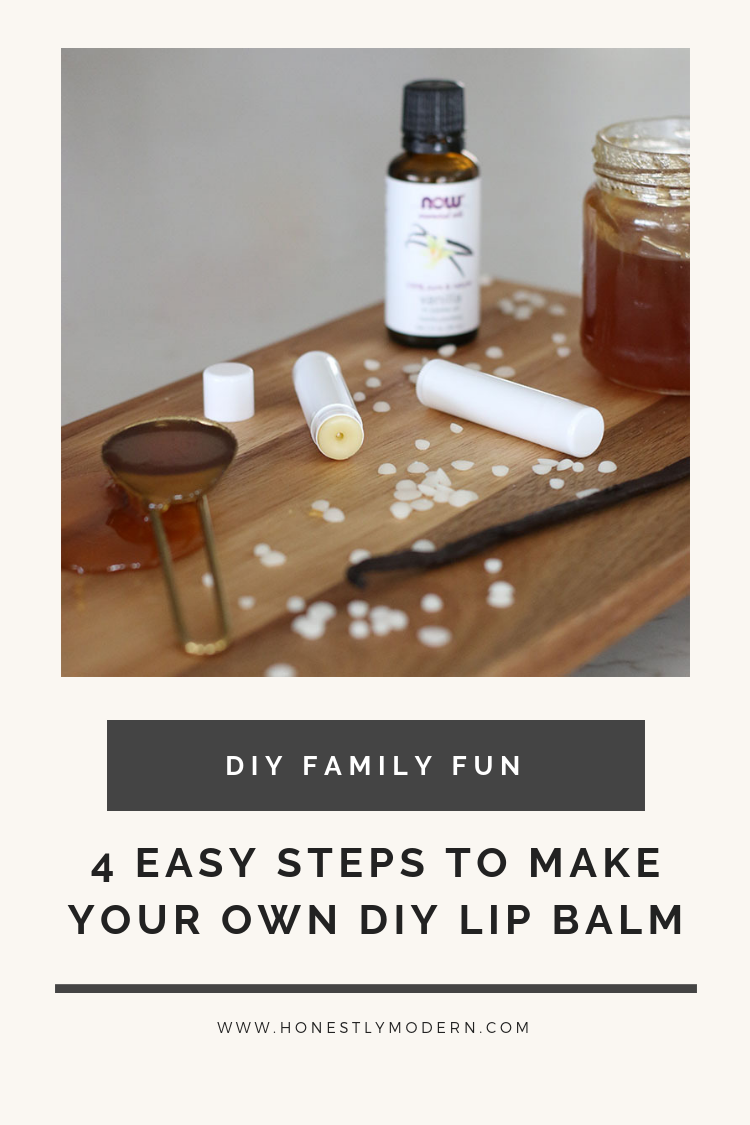
- 1/2 cup of beeswax pellets
- 2 tbsp coconut oil
- 1 tsp almond oil
- 1 tbsp raw shea butter
- 1 tbsp honey
- 10 – 15 drops of vanilla essential oil (optional)
Tools:
- lip balm container (although the full set is optional)
- tin can (cleaned, no wrapper)
- sauce pan
Instructions:
1. Fill the pan with 2- 3″ of water and bring to a boil.
2. Set the tin can in the boiling water and add all the ingredients listed above except the essential oil.
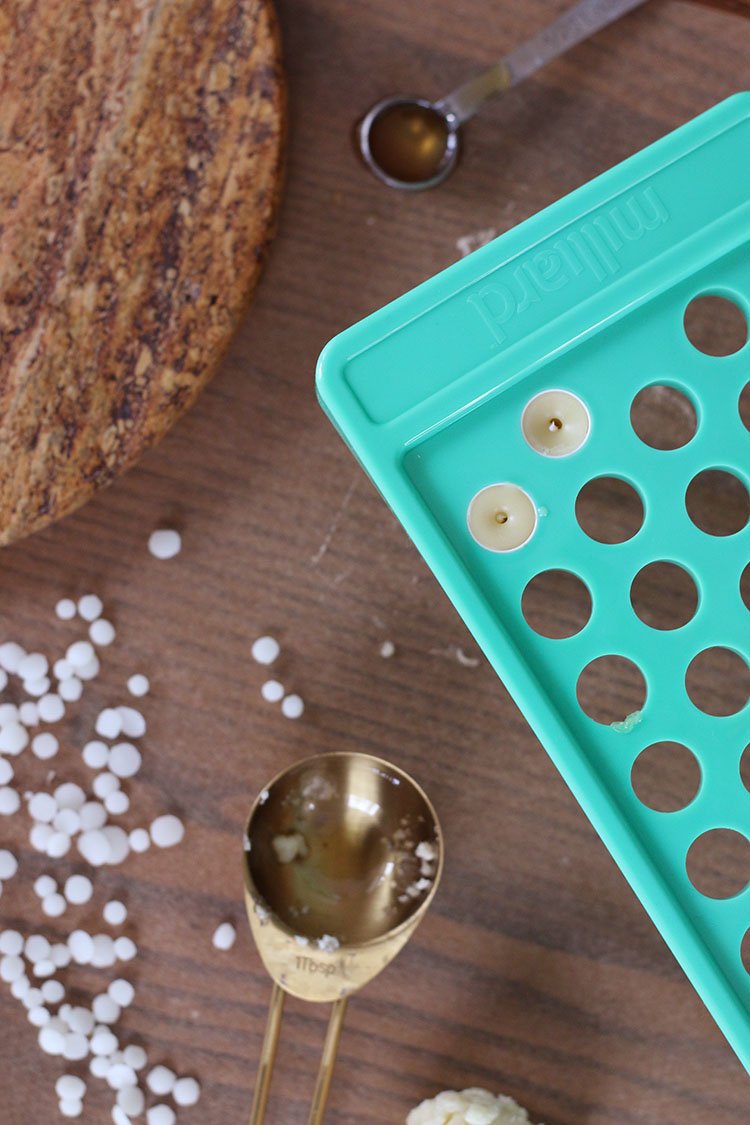
3. While ingredients are melting, prepare the lip balm tubes to be filled.
4. Once all ingredients are melted, quickly add the essential oil and carefully pour the liquid into the tubes. The liquid is hot, so be careful not to burn yourself, but be sure to pour the liquid into the containers quickly or it won’t set properly.
Note 1: When mixing ingredients be sure all the ingredients are thoroughly melted and that they’re still pretty hot and a liquid when you pour them into the lip balm tubes. The first time that we made these, we made the mistake of letting the mixture cool too much and ended up with a soft balm that never really set properly.
5. Allow to harden and enjoy!
Note 2: I bought a special tray to fill a bunch of plastic tubes at once. In hindsight, you don’t really need this tray if you’re only making a handful of tubes of lip balm. If you’re planning to make and sell a high volume of lip balms, then the tray will be really helpful. If you’re only making a small batch for yourself and your family, skip the plastic tray and save yourself the money. Live and learn and ditch the extra plastic.
Check Out These Related Posts!
If you like this post, you might also like my post about DIY bath bombs for kids and DIY sugar scrub, both of which are very popular posts on the blog!


DIY Lip Balm
Homemade lip balm with simple ingredients.
Materials
- 1/2 cup of beeswax pellets
- 2 tbsp coconut oil
- 1 tsp almond oil
- 1 tbsp raw shea butter
- 1 tbsp honey
- 10 – 15 drops of vanilla essential oil (optional)
Tools
- lip balm container (although the full set is optional)
- tin can (cleaned, no wrapper)
- sauce pan
Instructions
- Fill the pan with 2- 3″ of water and bring to a boil.
- Set the tin can in the boiling water and add all the ingredients listed above except the essential oil.
- While ingredients are melting, prepare the lip balm tubes to be filled.
- Once all ingredients are melted, quickly add the essential oil and carefully pour the liquid into the tubes. The liquid is hot, so be careful not to burn yourself, but be sure to pour the liquid into the containers quickly or it won’t set properly. (see Note 1 and 2)
- Allow to harden and enjoy!
Notes
Note 1: When mixing ingredients be sure all the ingredients are thoroughly melted and that they’re still pretty hot and a liquid when you pour them into the lip balm tubes. The first time that we made these, we made the mistake of letting the mixture cool too much and ended up with a soft balm that never really set properly.
Note 2: I bought a special tray to fill a bunch of plastic tubes at once. In hindsight, you don’t really need this tray if you’re only making a handful of tubes of lip balm. If you’re planning to make and sell a high volume of lip balms, then the tray will be really helpful. If you’re only making a small batch for yourself and your family, skip the plastic tray and save yourself the money. Live and learn and ditch the extra plastic.