
When 1 + 1 = 3 | No More Maternity Sweatshirt Refashion


If you’ve been stopping by all week, I sound like a broken record. But if this is your visit first visit since Monday, take a quick peek over at the ASOS giveaway and enter for your chance to $340 for some new fall gear.
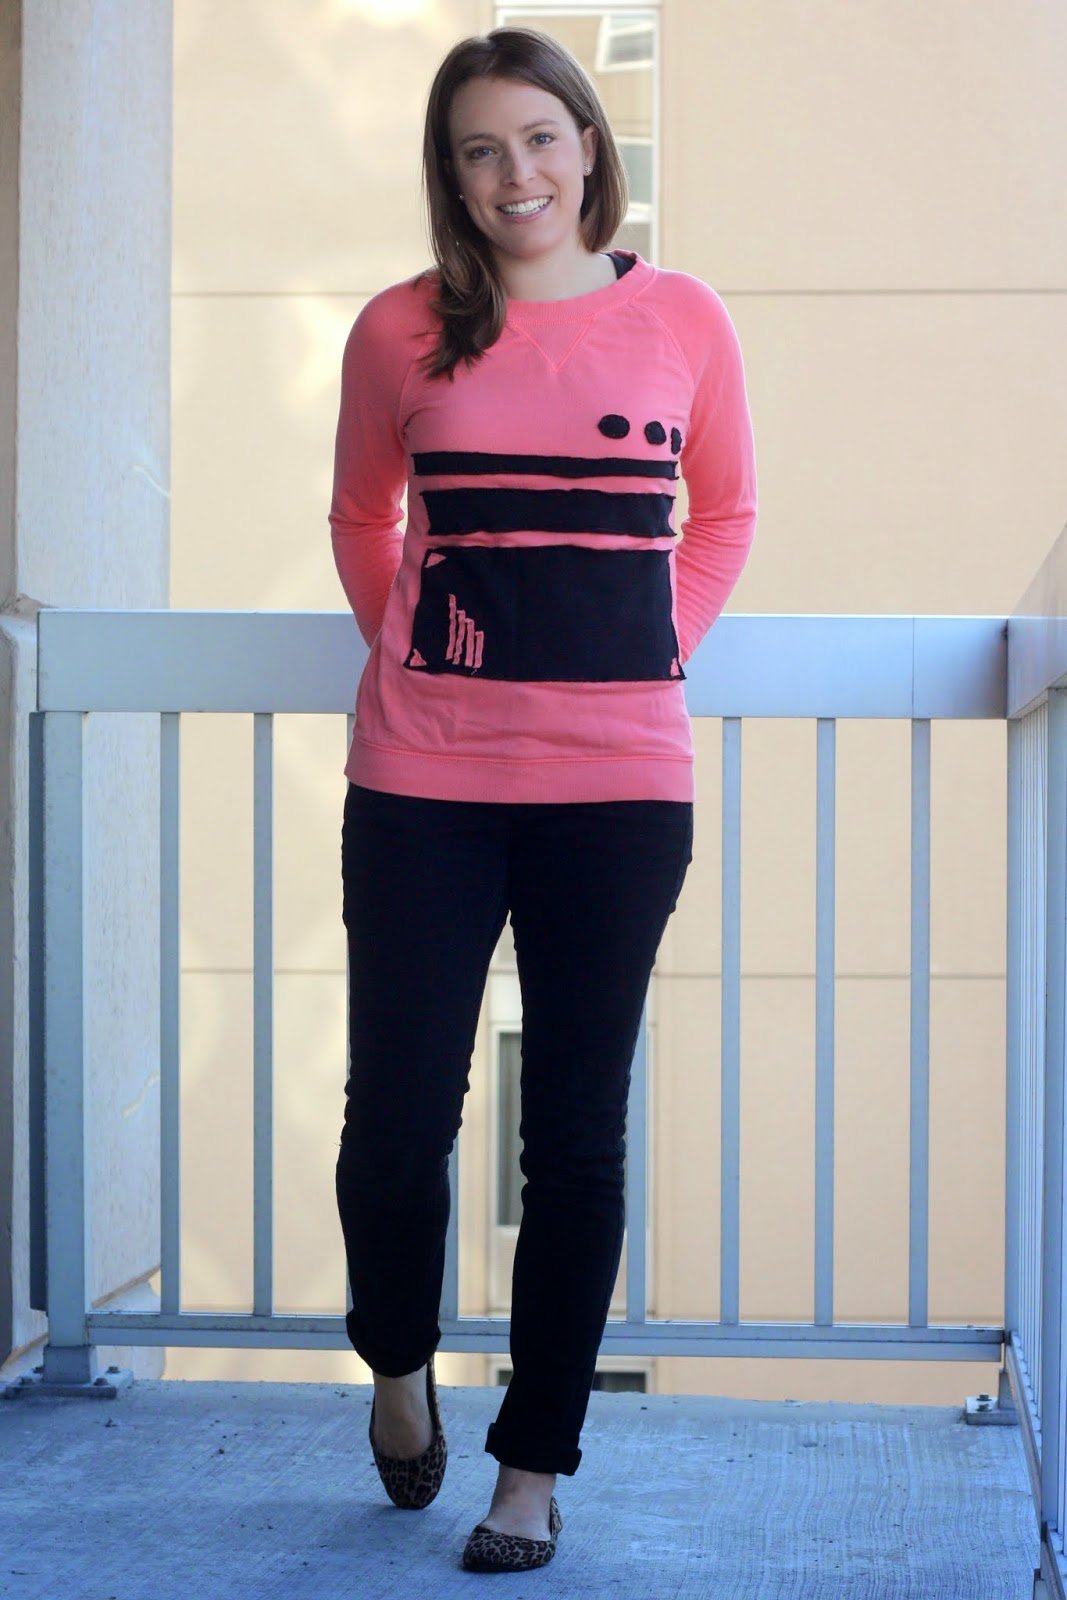
A while back, I alluded to having two pieces of maternity gear that I really grew to like and wanted to alter for post-baby bump purposes. I shared the first, my navy and white striped shirt, a few weeks back. Although it’s not work wear, I decided to really take casual Friday to new heights and show you how I made this very casual maternity sweatshirt suitable for life as a mom with my boys.
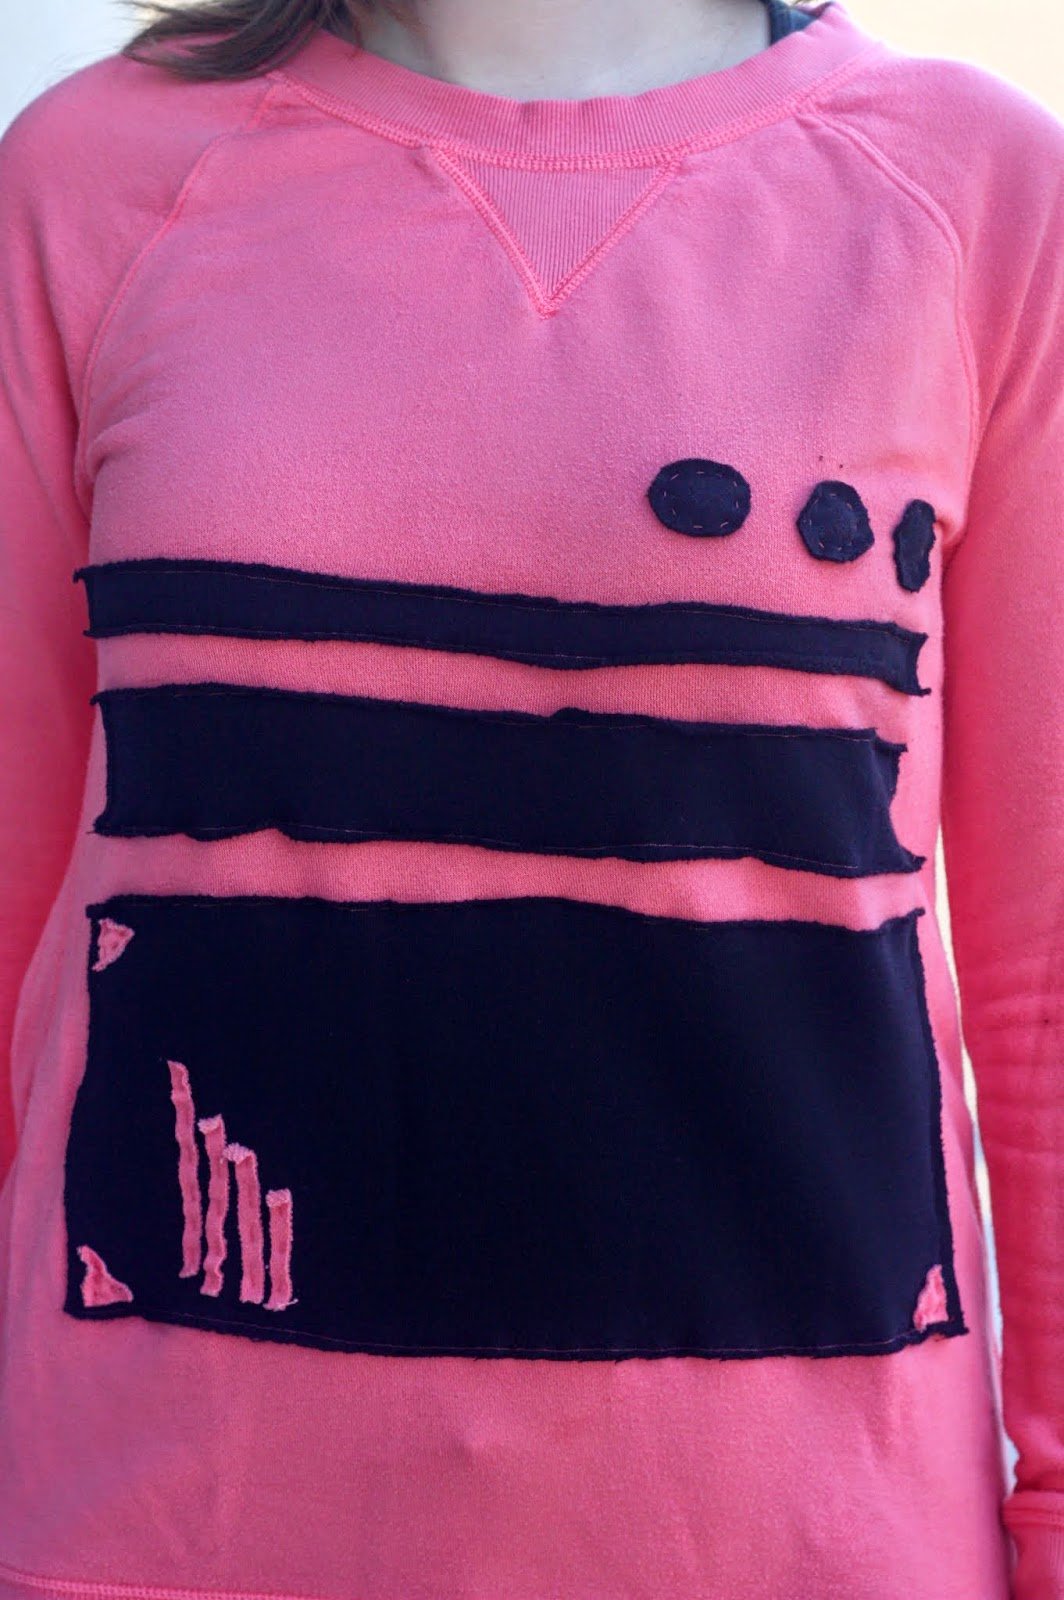
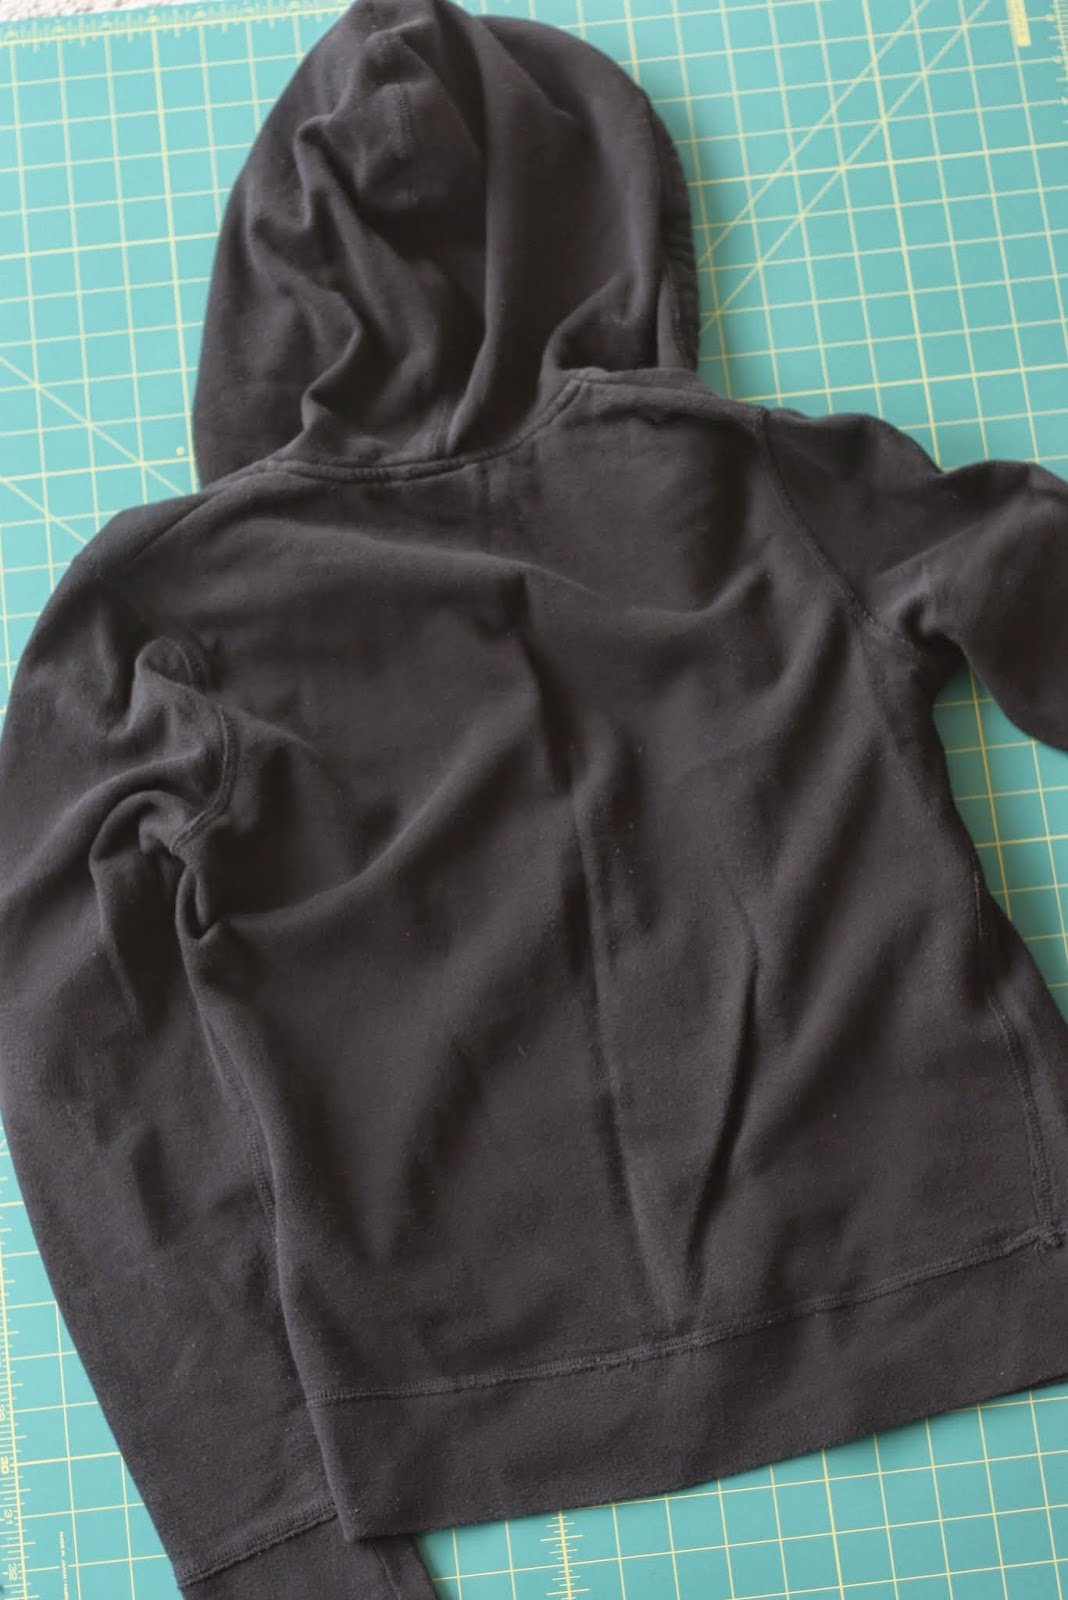
Generally, I knew it would be tough to follow the same procedure I used for the navy and white striped shirt because I wanted to maintain the manufacturer’s professionally finished bottom edge. So I decided to pull out some excess fabric from the middle area and cover the fabric removal cuts with a graphic design of sorts. With another old sweatshirt on my shelves that I no longer wanted, the matching fabric types made for a perfect refashion combination; it’s my example of 1+1=3, two old sweatshirts combined to make something better than their parts individually.
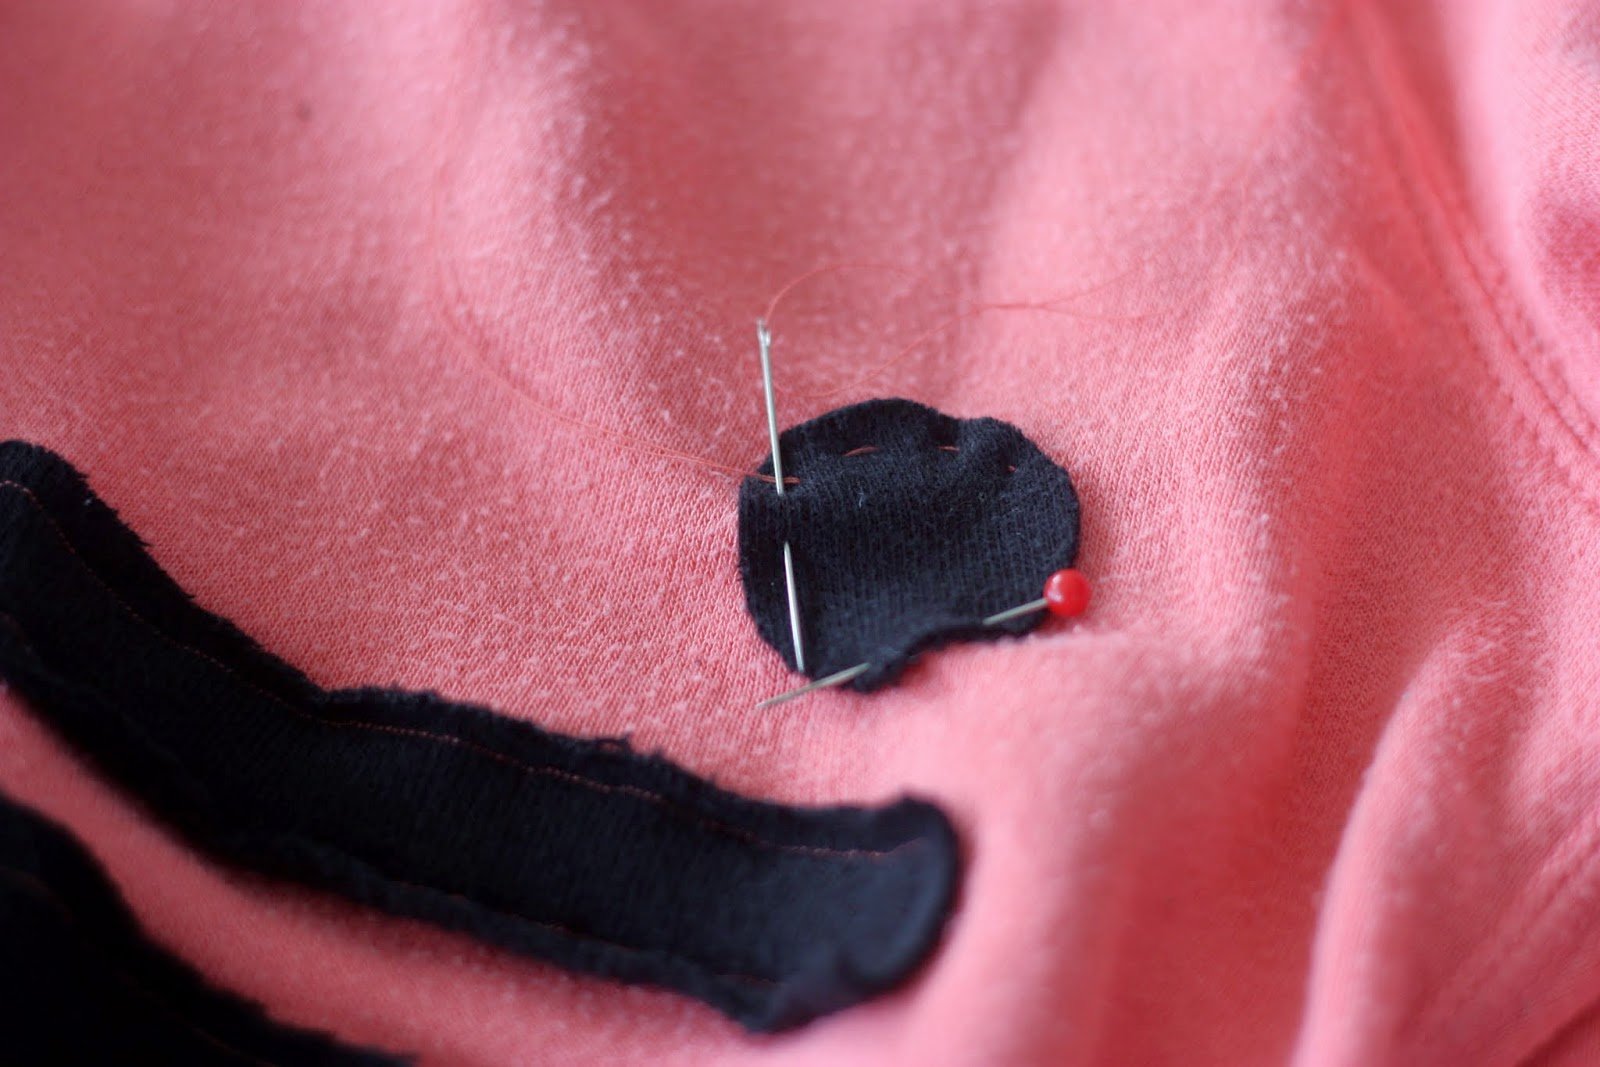
I thought about the design I wanted on the sweatshirt for quite some time. I knew I wanted to incorporate a small piece that symbolized my boys (which ultimately became more symbolic of our family of four). Despite various plans floating through my head, I ended up just winging it and building the design as I added each piece. The four little lines in descending heights represent our little family. I did not intend for these lines to be symbolic to anyone other than our me, so I don’t expect others to immediately see my intent. But it’s just there for me to enjoy.
Enough of the vague symbolism behind the design, let’s move on to the instructions.
Materials

- Two sweatshirts
- Sewing machine
- Thread
- Needle (for handstitching)
- Scissors
I know it looks like a lot of steps, but I just included a boatload of photos. I took me about 2 – 3 hours to complete the entire project, and I had no instructions or guides so I was improvising along the way.
Before the Refashion

Instructions
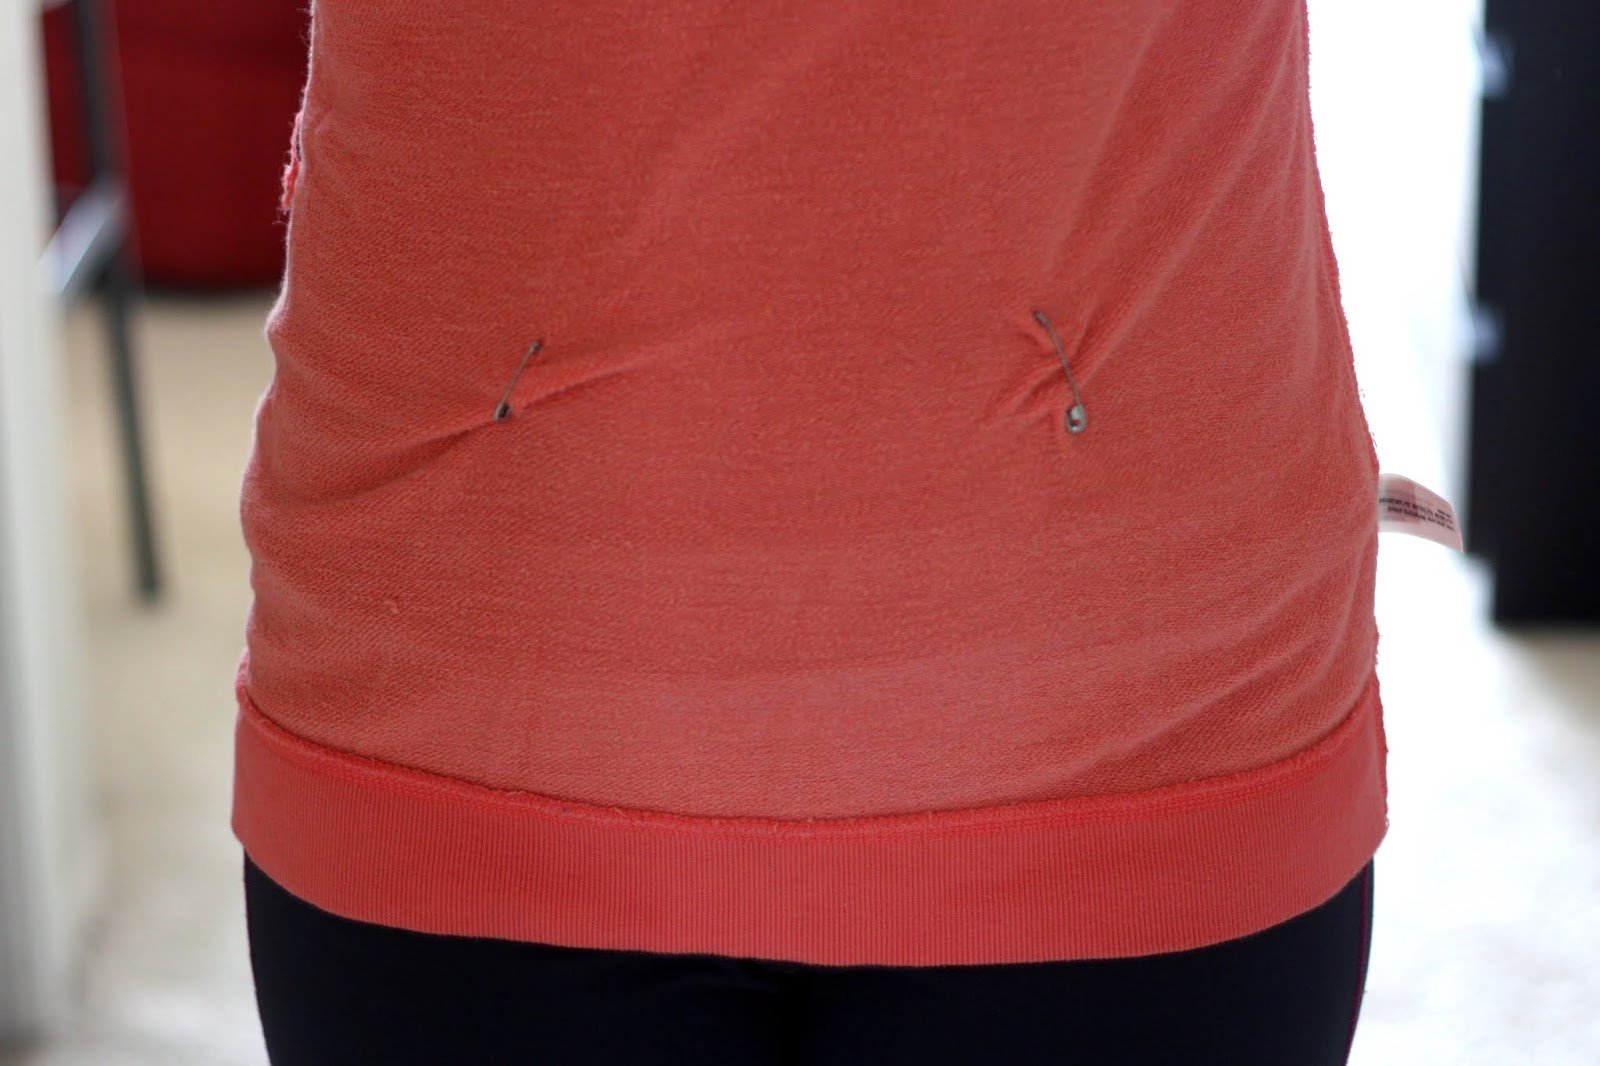
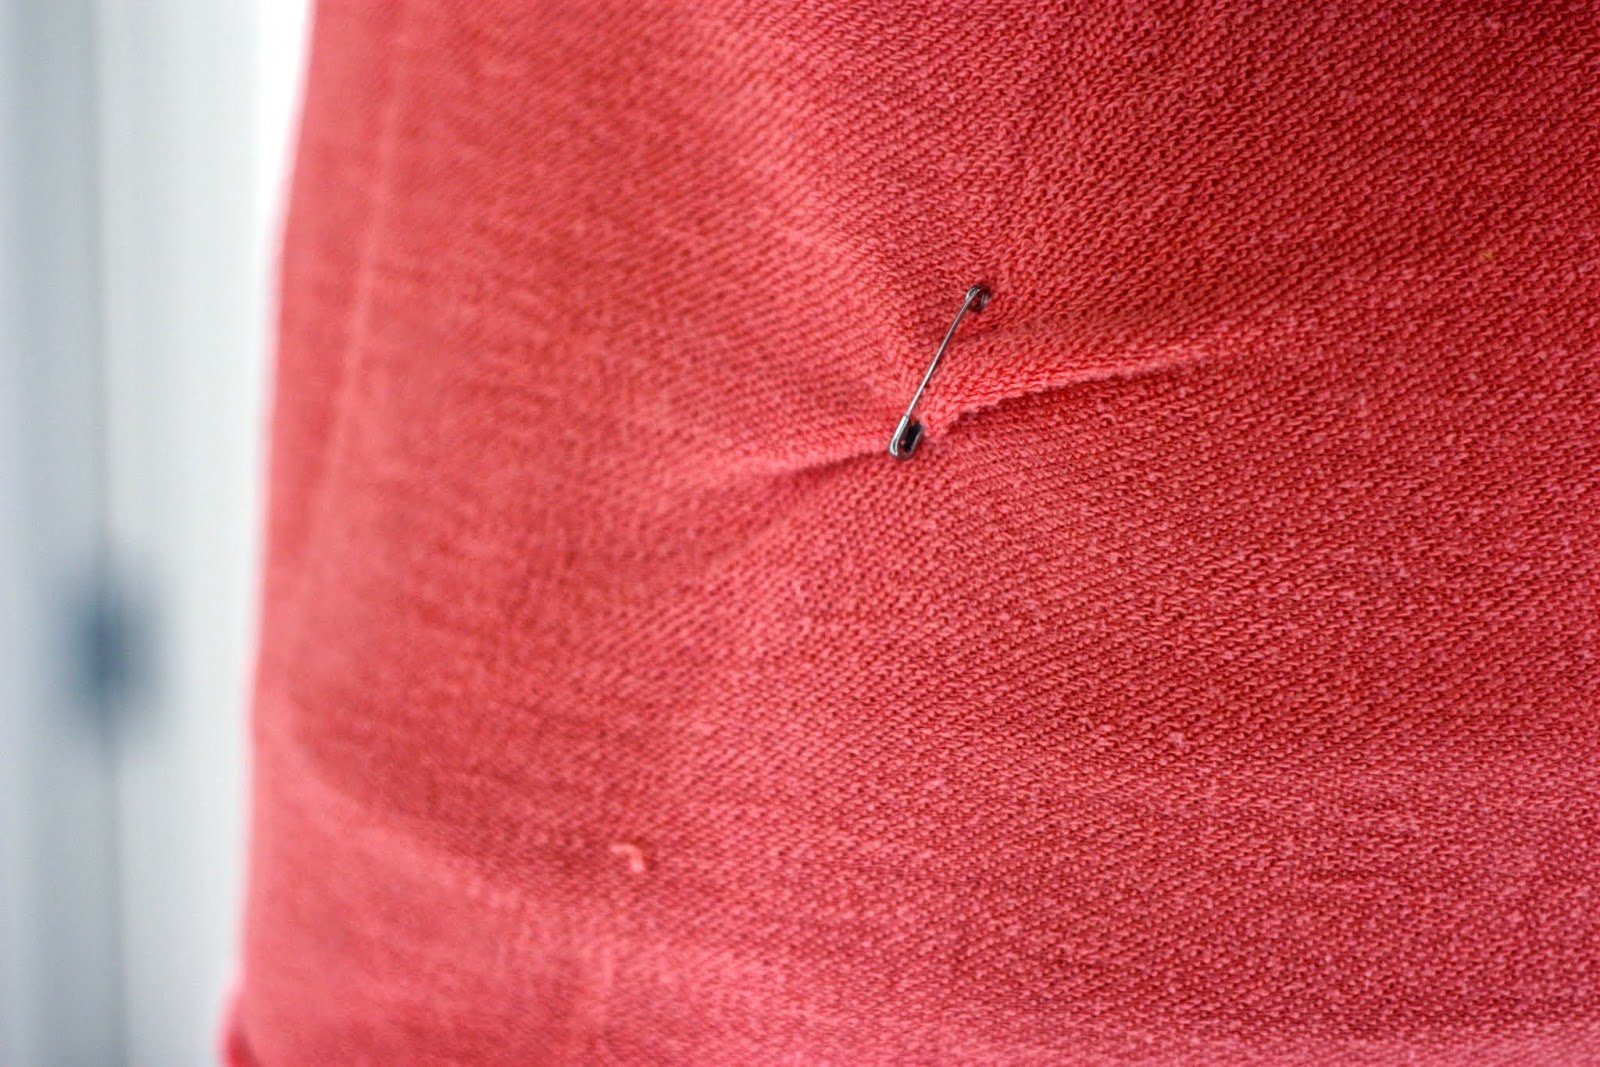
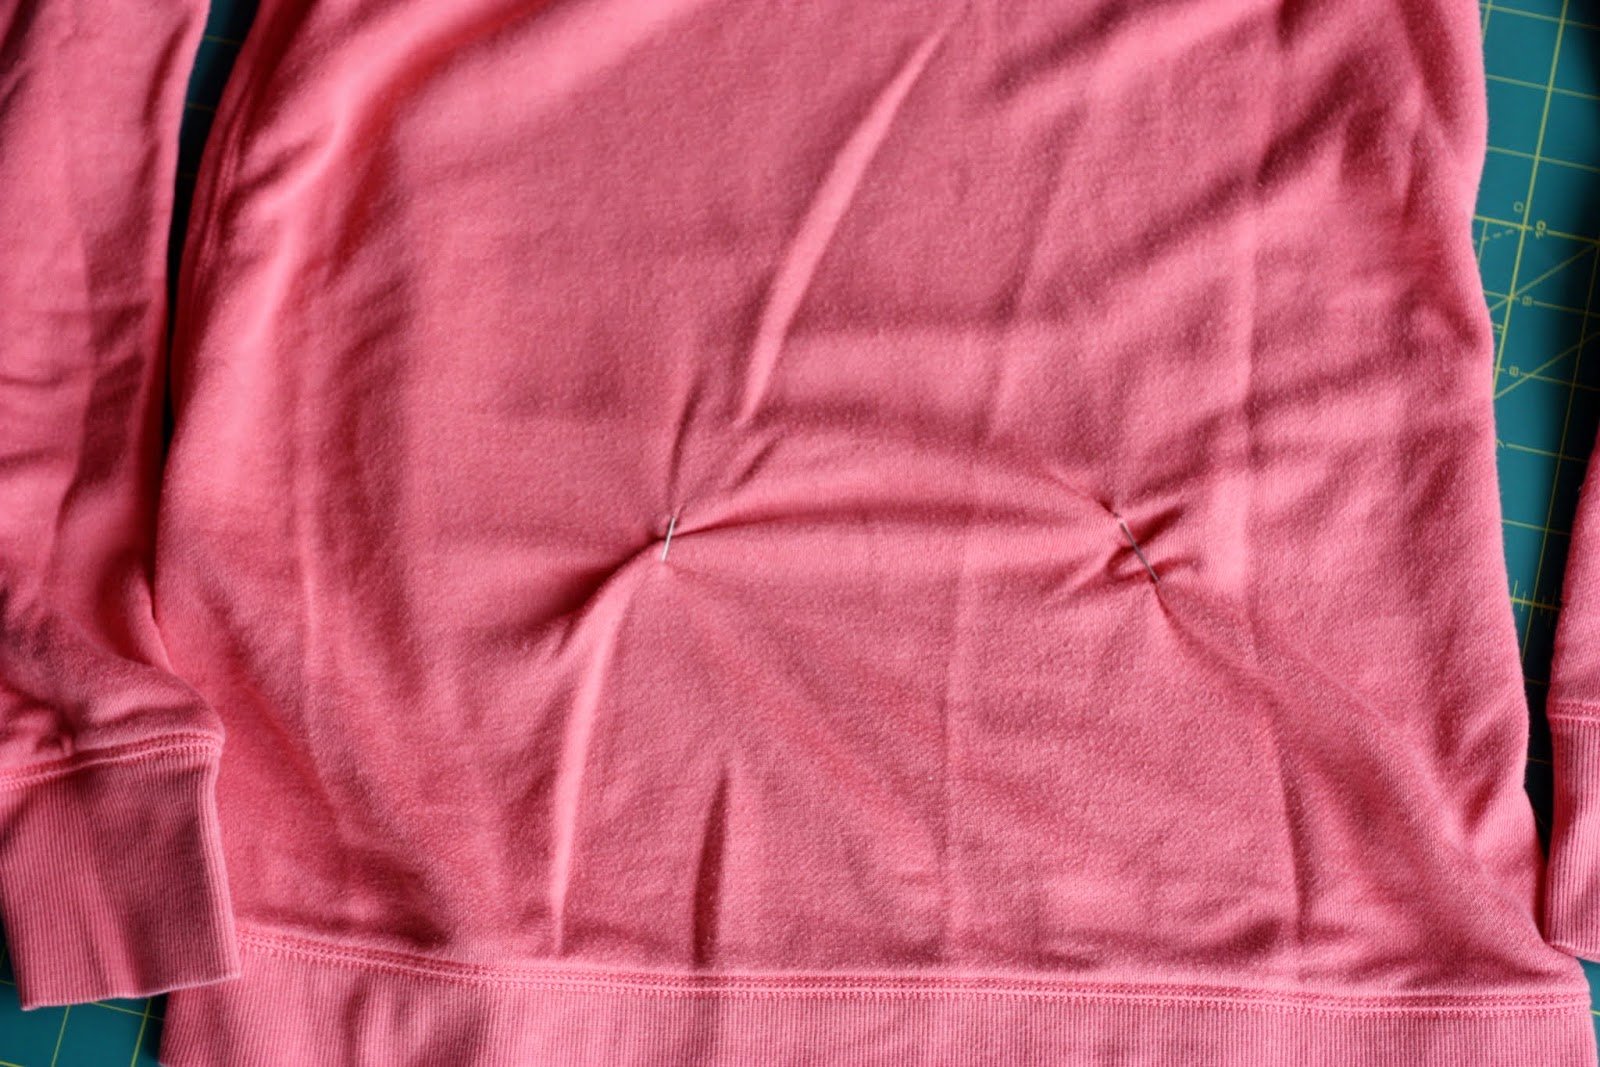
Step 1: Turn the sweatshirt inside and put it on to determine where you’d like the fabric to be removed and how you’d like it to sit once you’re done wearing it. I used two safety pins, as you can tell from the photos, to pull the fabric together and have it lay flat as I’d like it to sit after the alteration.
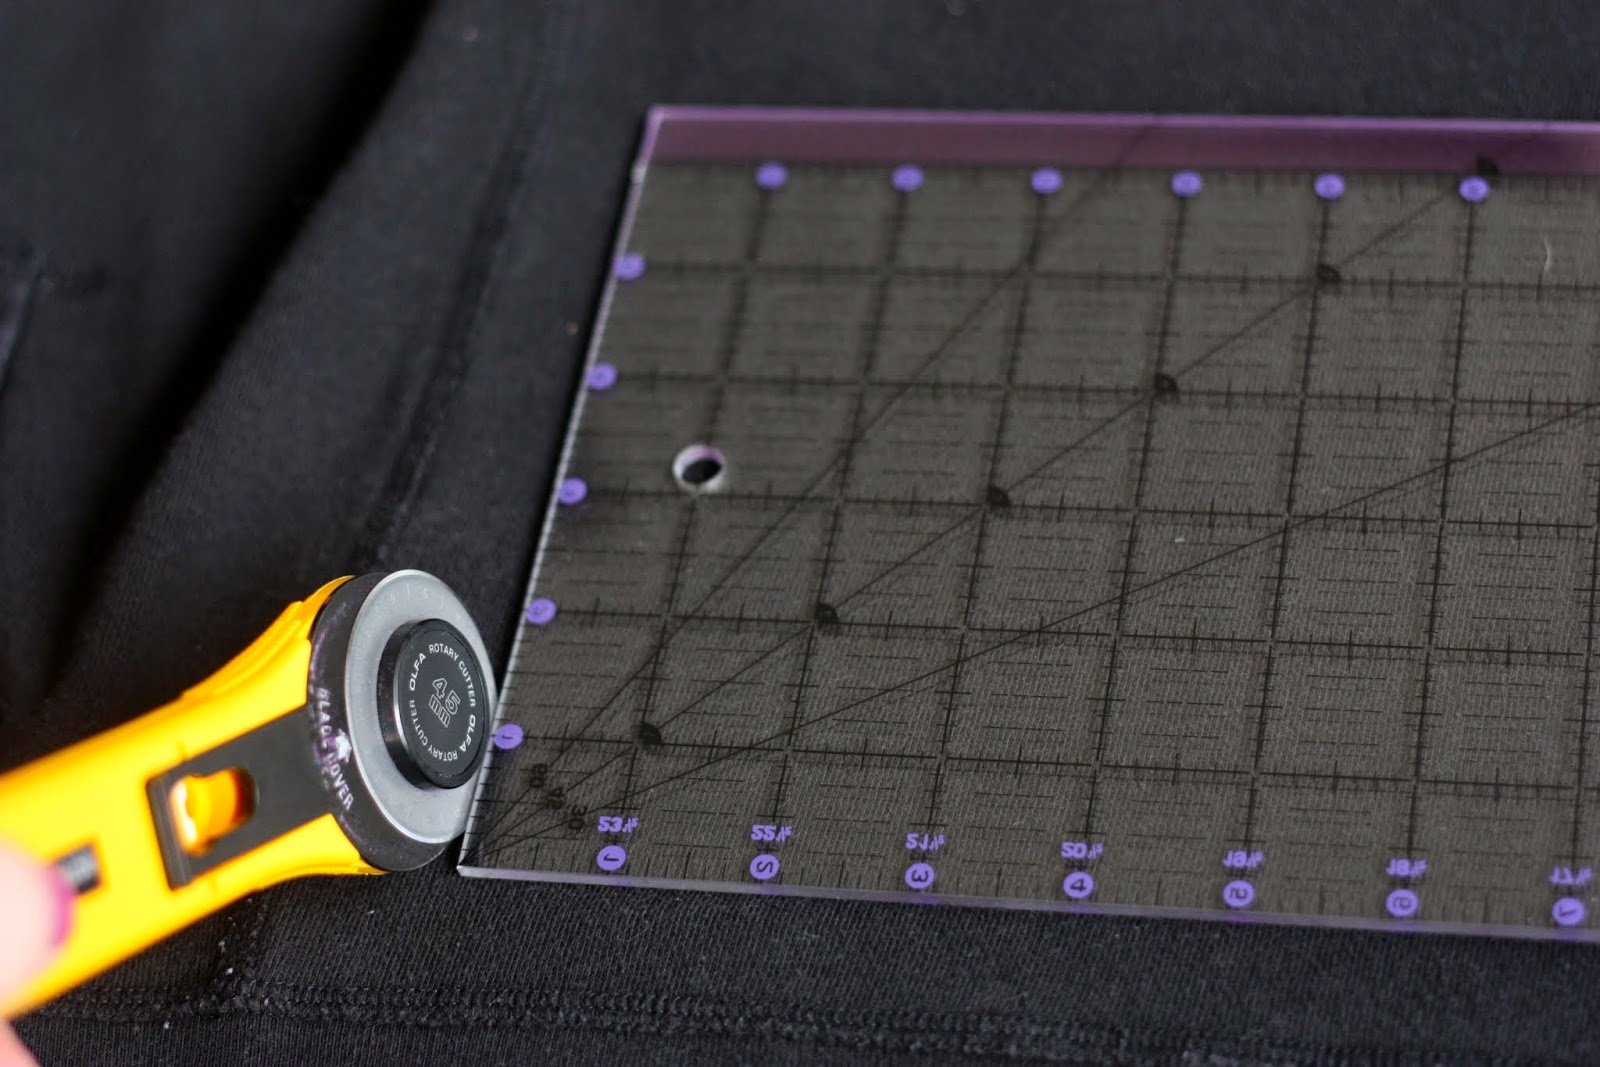
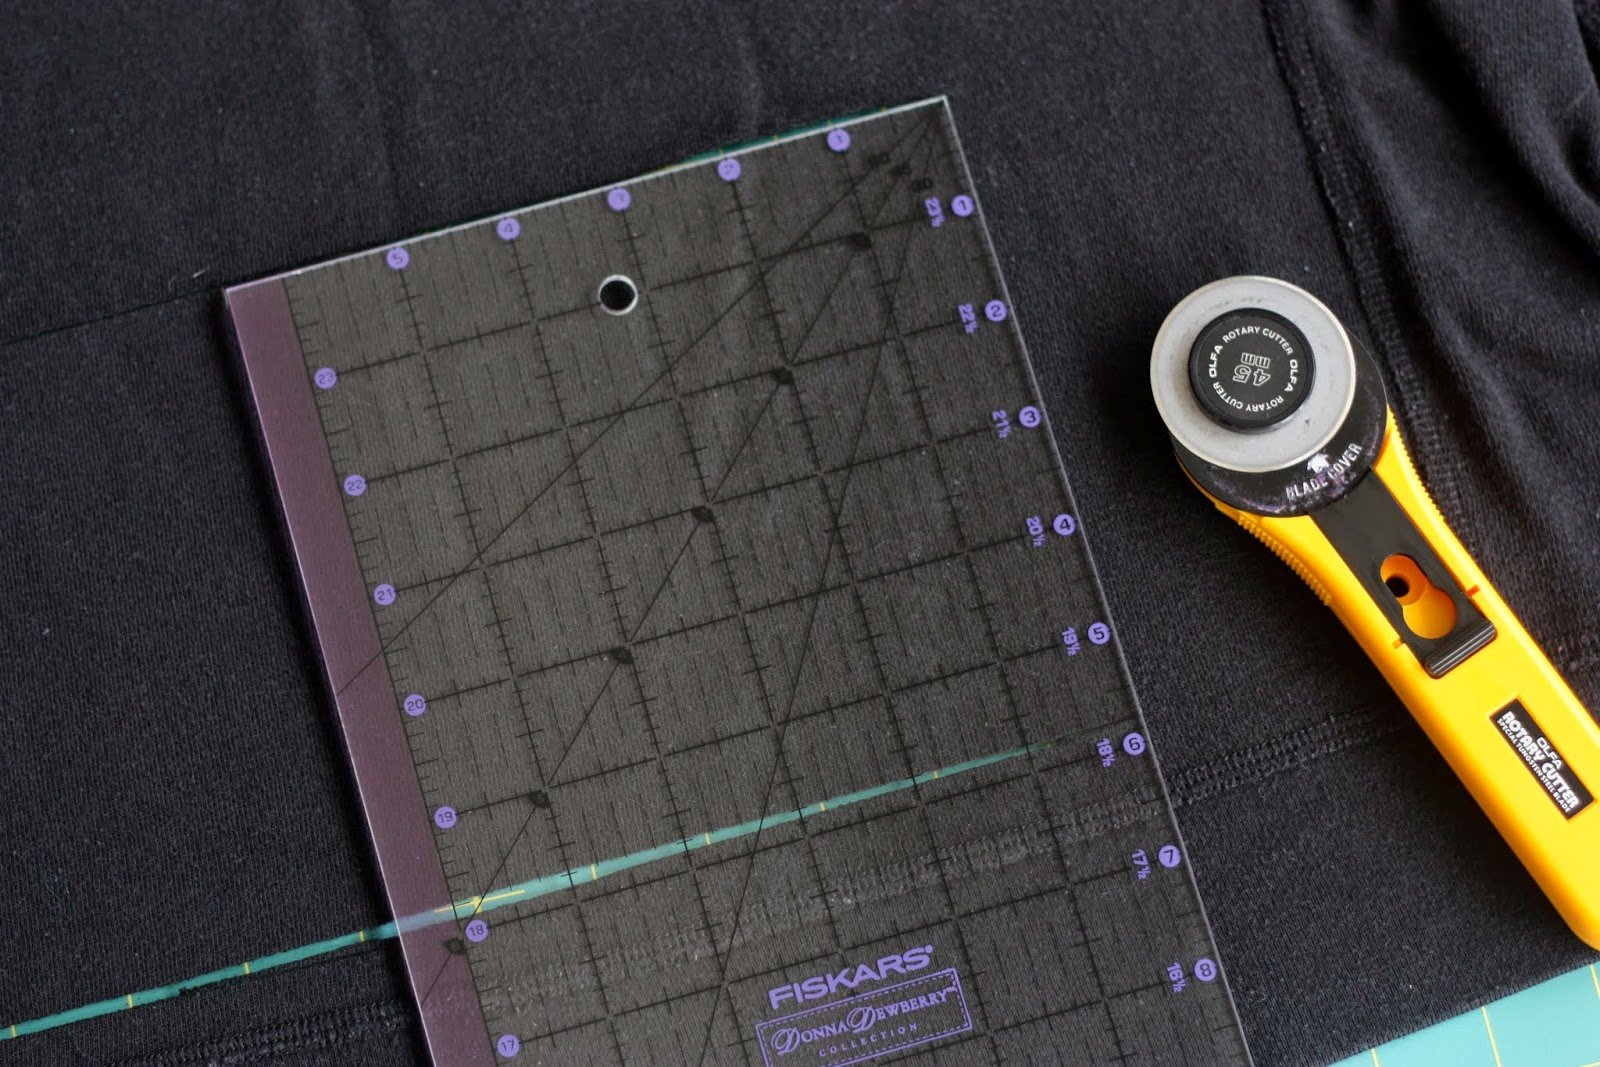
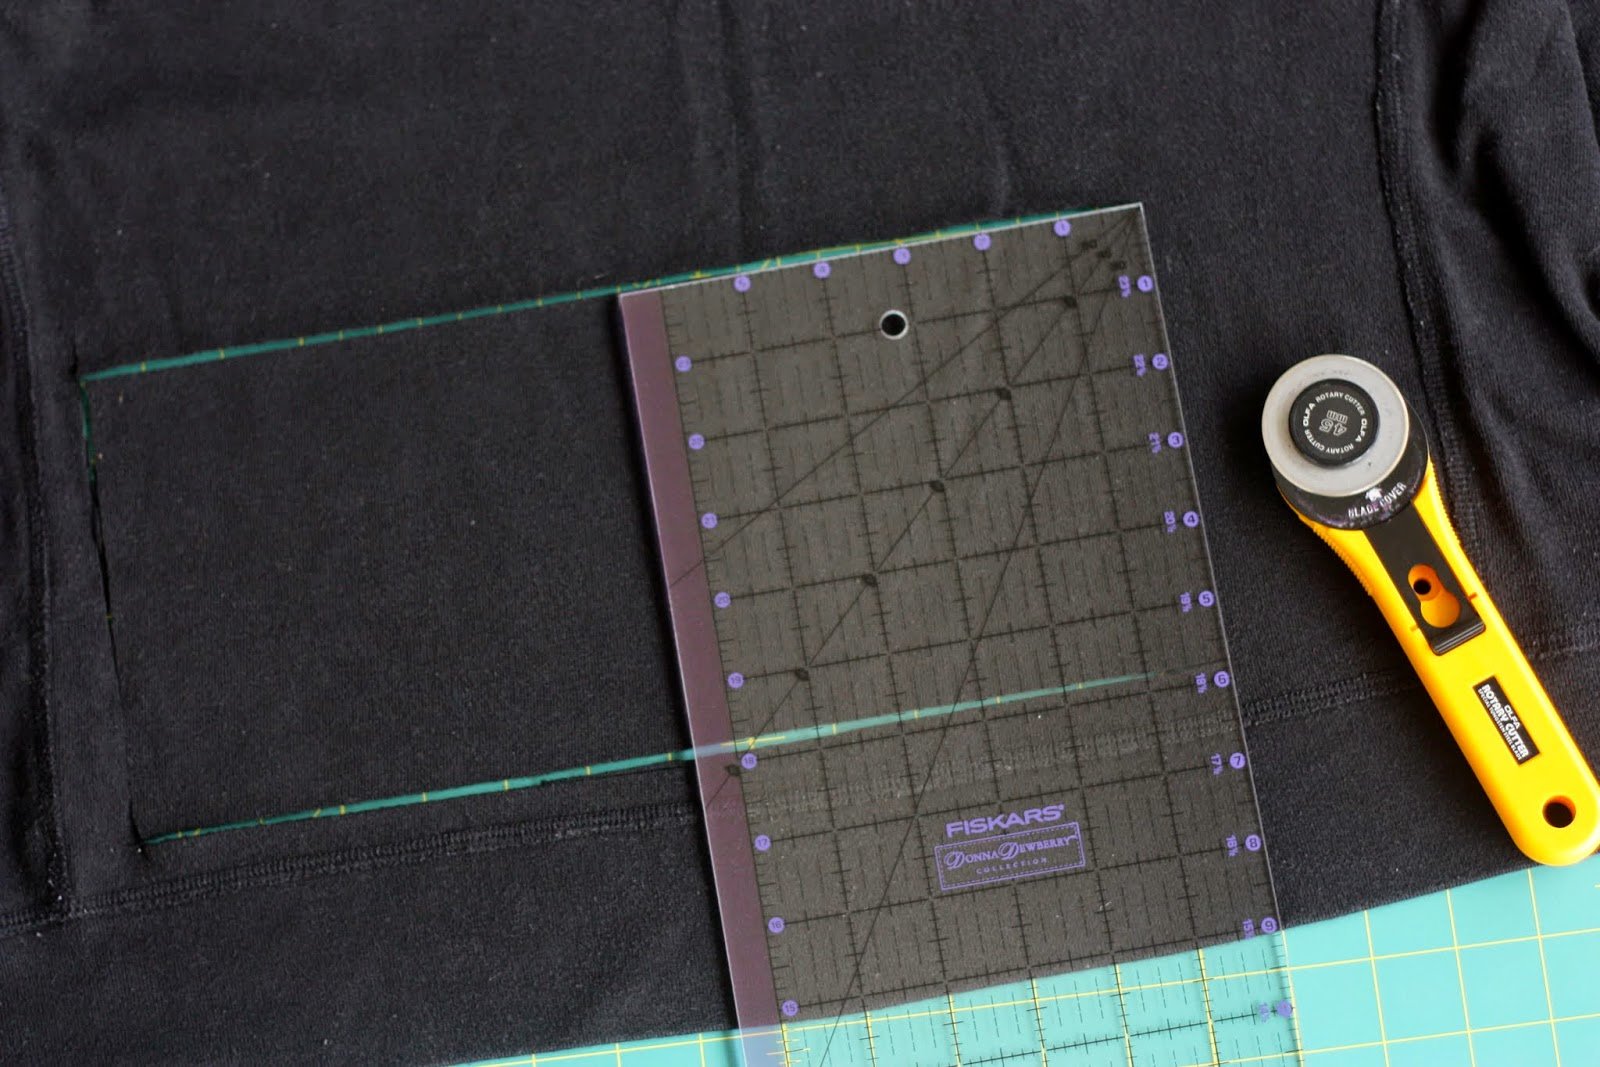
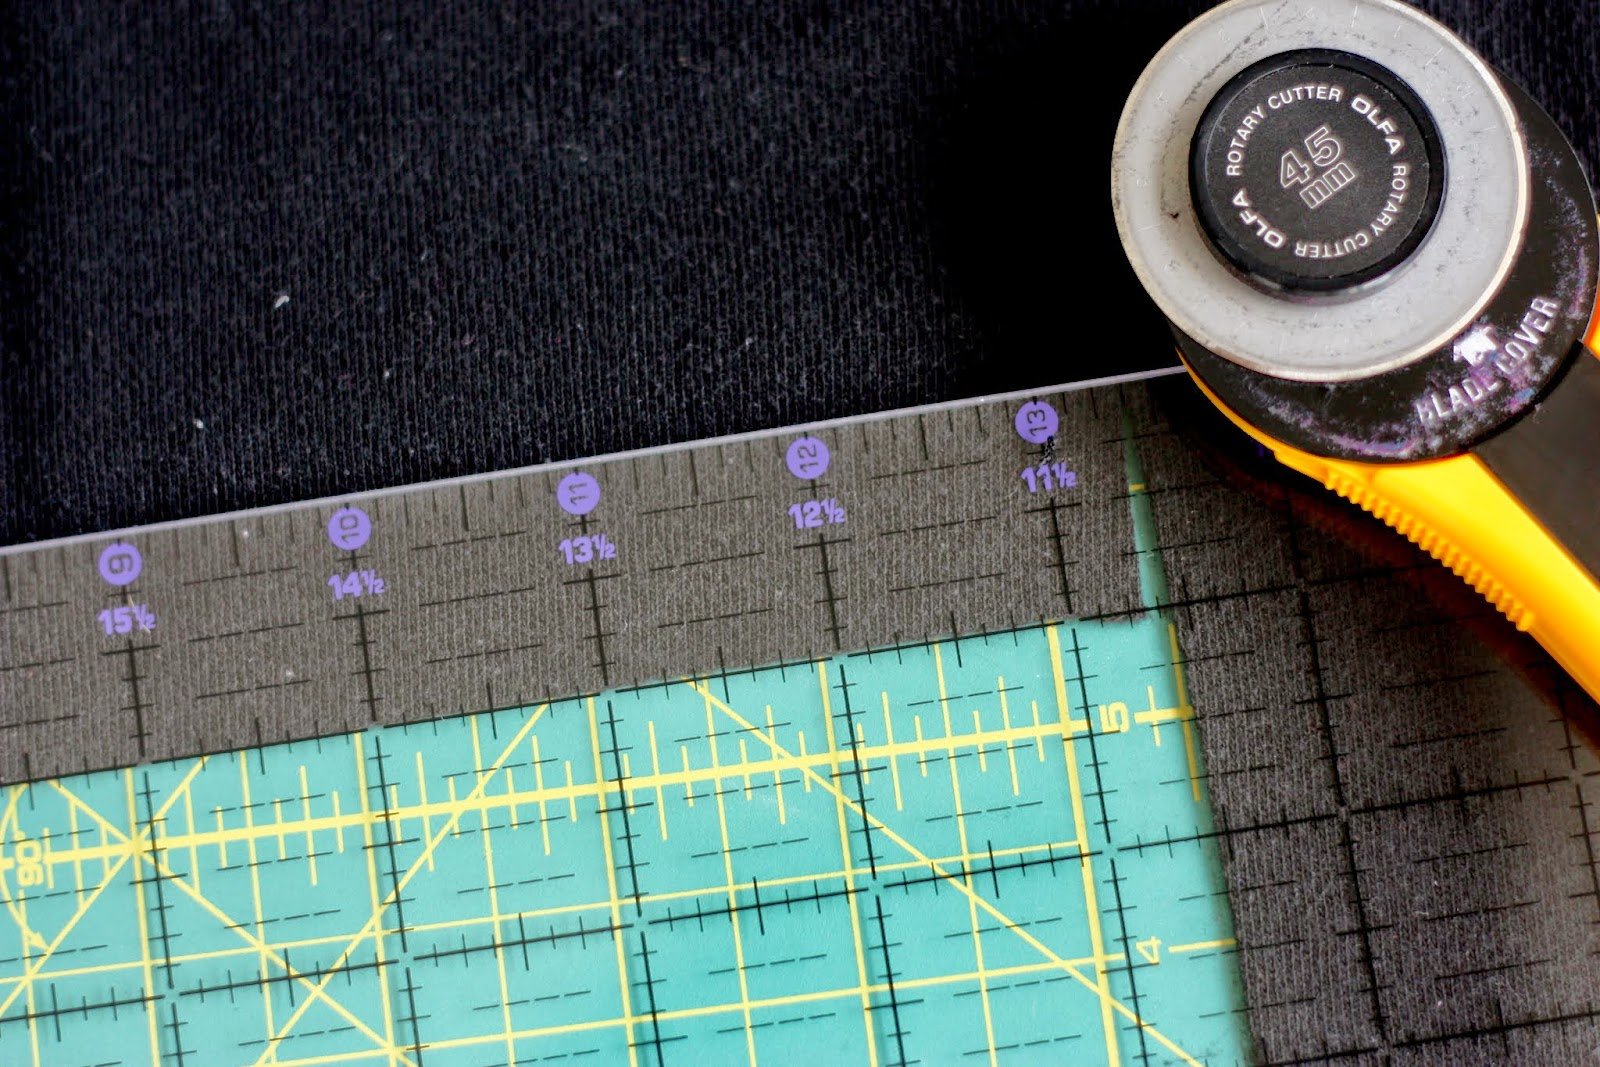
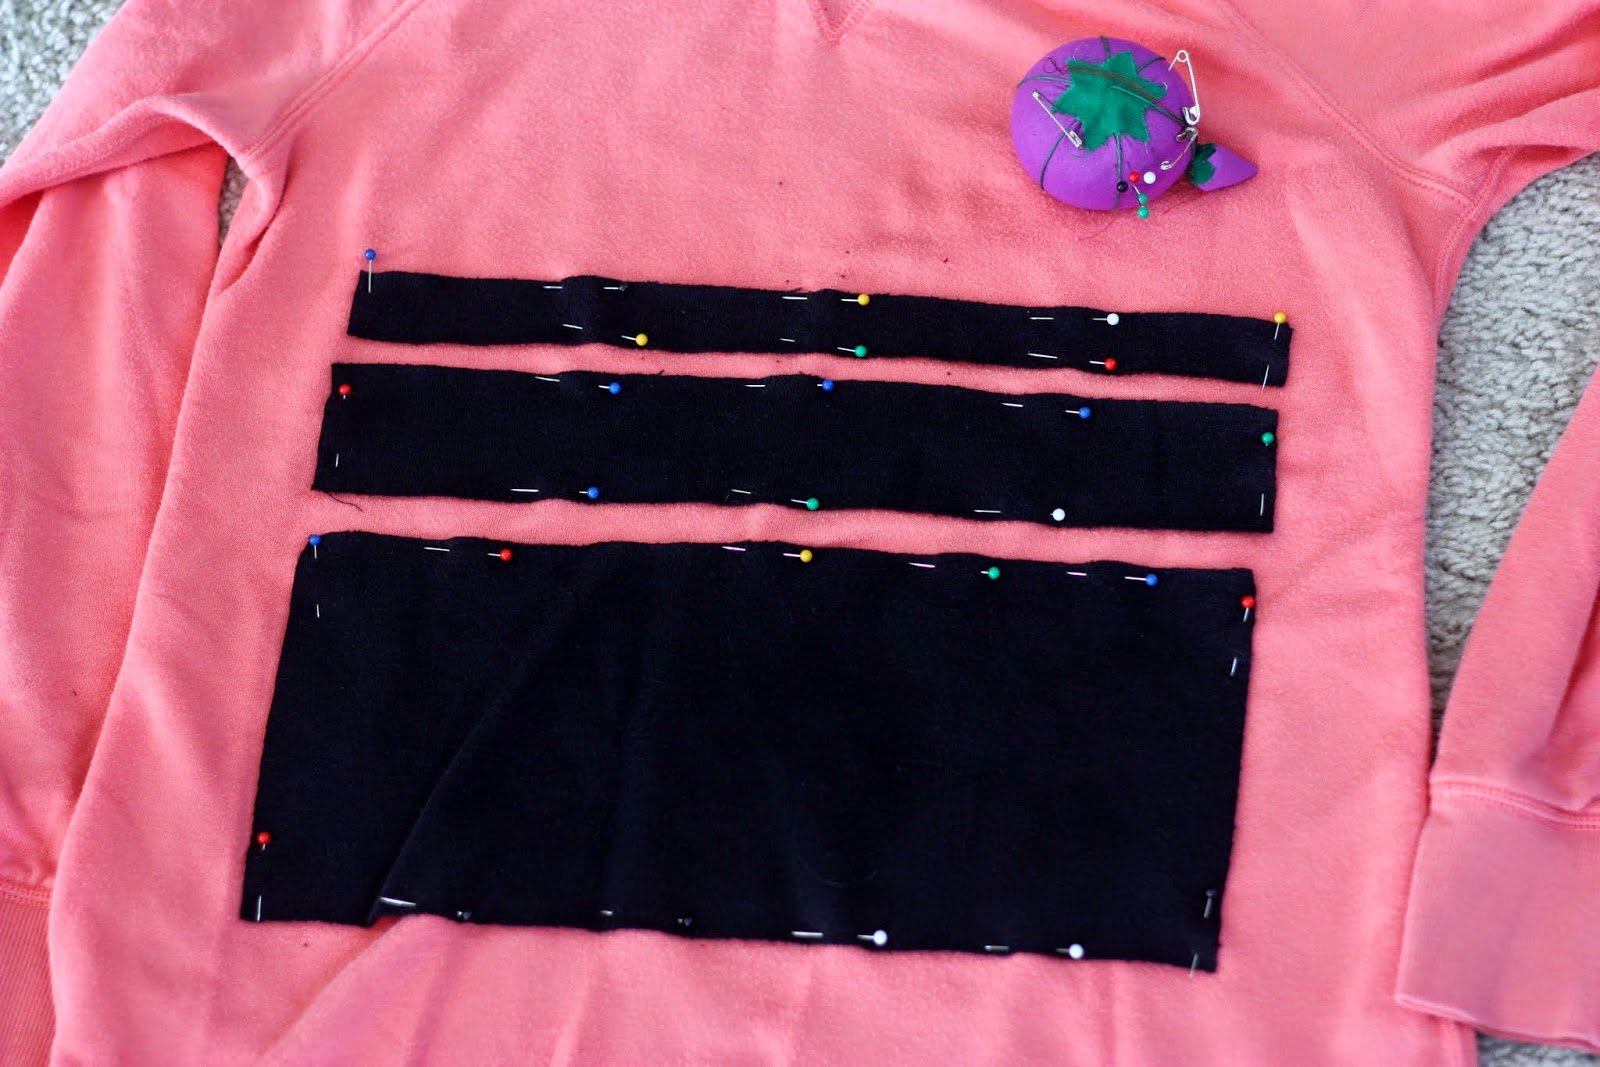
Step 2: Determine the design you’d like to lay out and begin to cut the pieces out of the old sweatshirt you will no longer wear. For the three rectangles, I used the edges and corners of my clear sewing mat to ensure the edges were straight and the corners had accurate 90 degree angles.


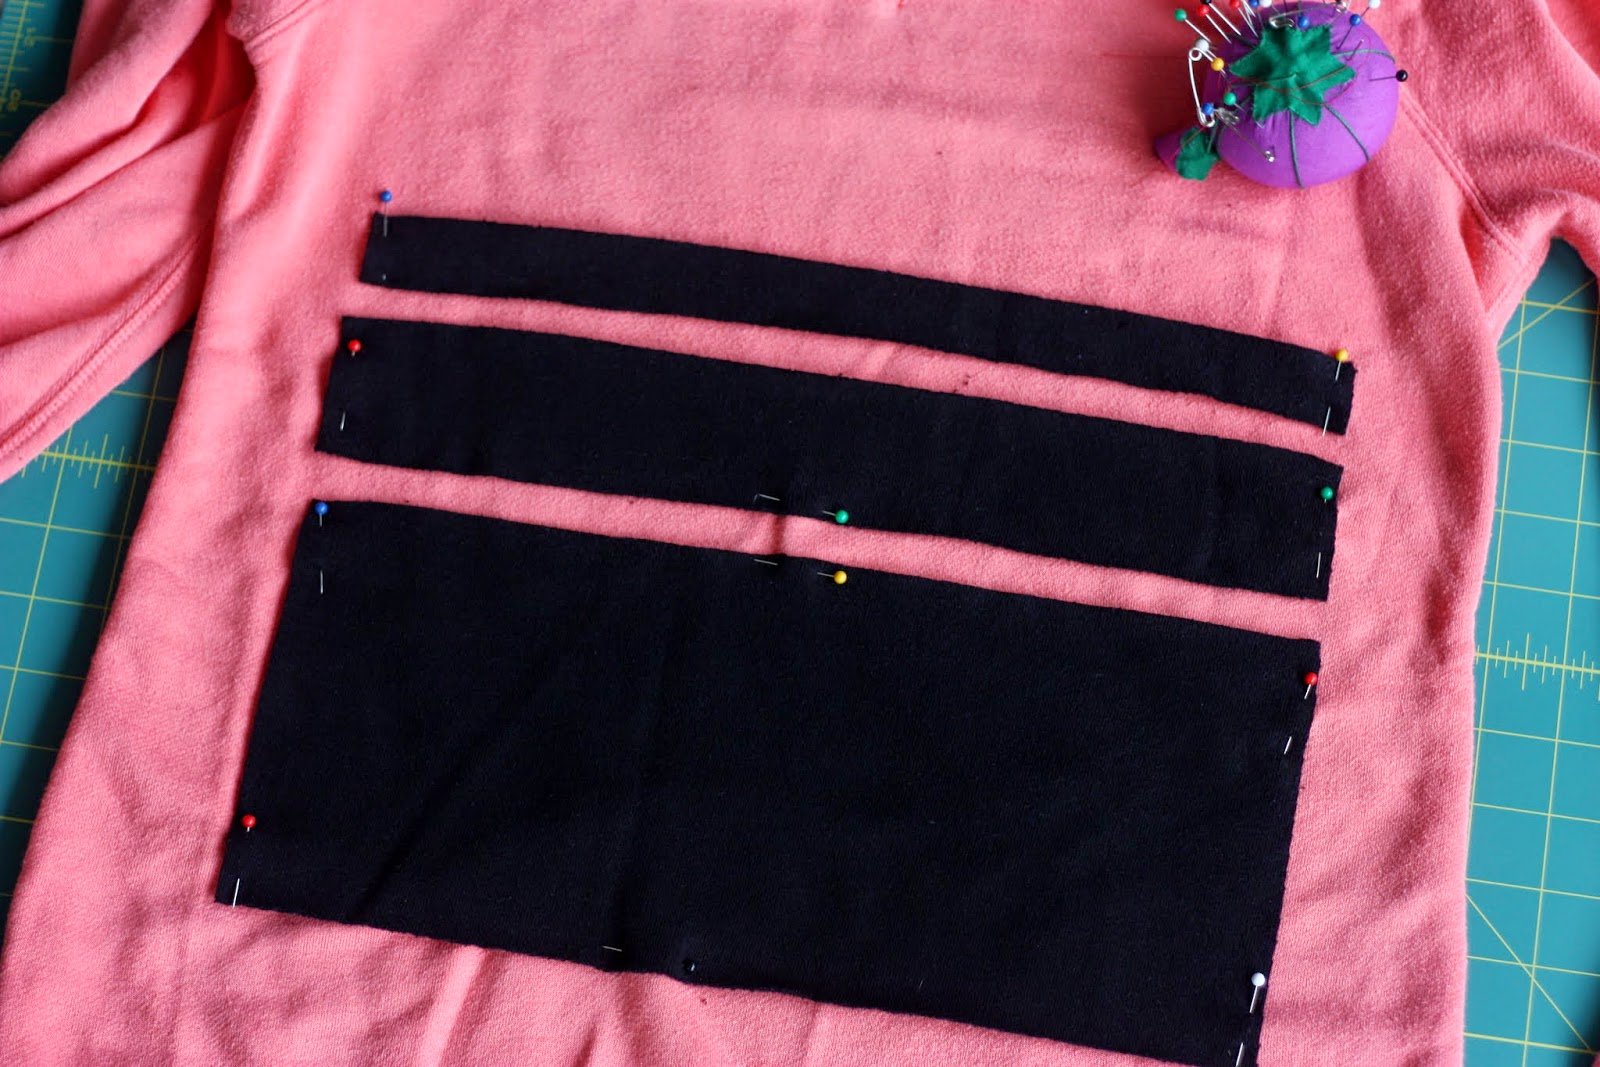
Step 3: Lay your maternity sweatshirt on a flat surface, right side out, and pin the black fabric pieces in place where you’d like them for your design. Note: I used more pins to hold the fabric in place than I might have otherwise in other projects. Because getting the sweatshirt into the machine took a bit of finagling, certain parts of the fabric were bunched up while sewing and having all the extra pins ensured the shapes didn’t move around much while being sewn on.
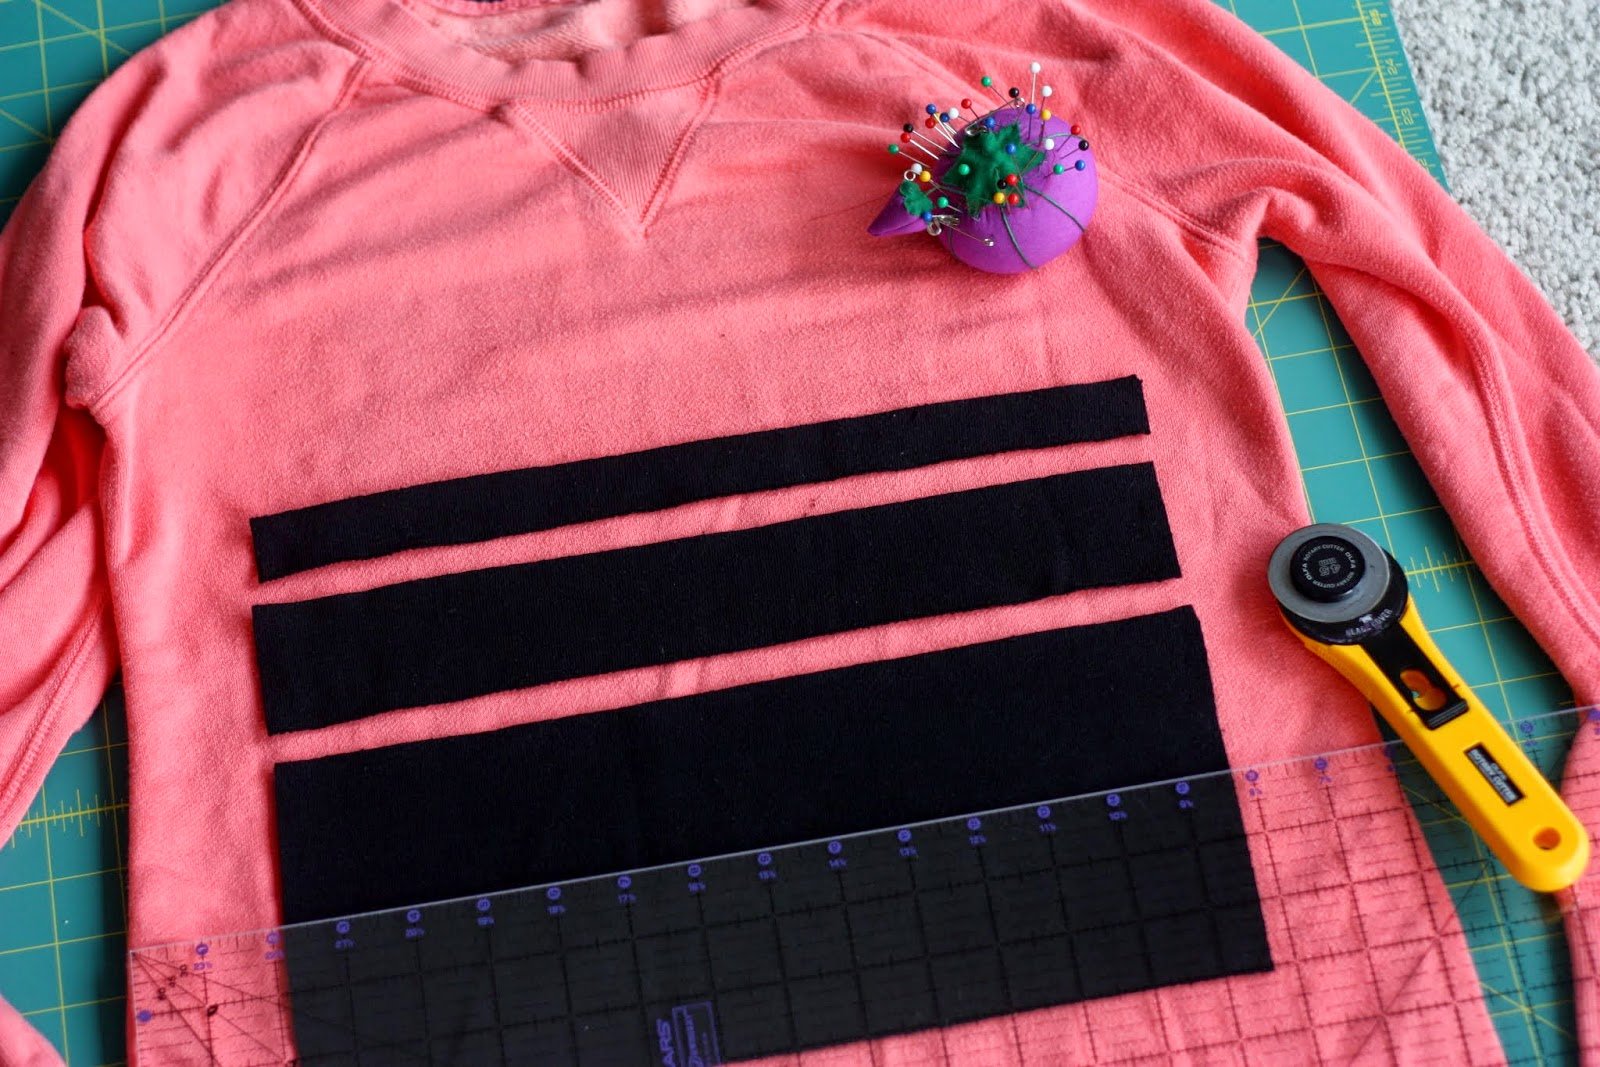

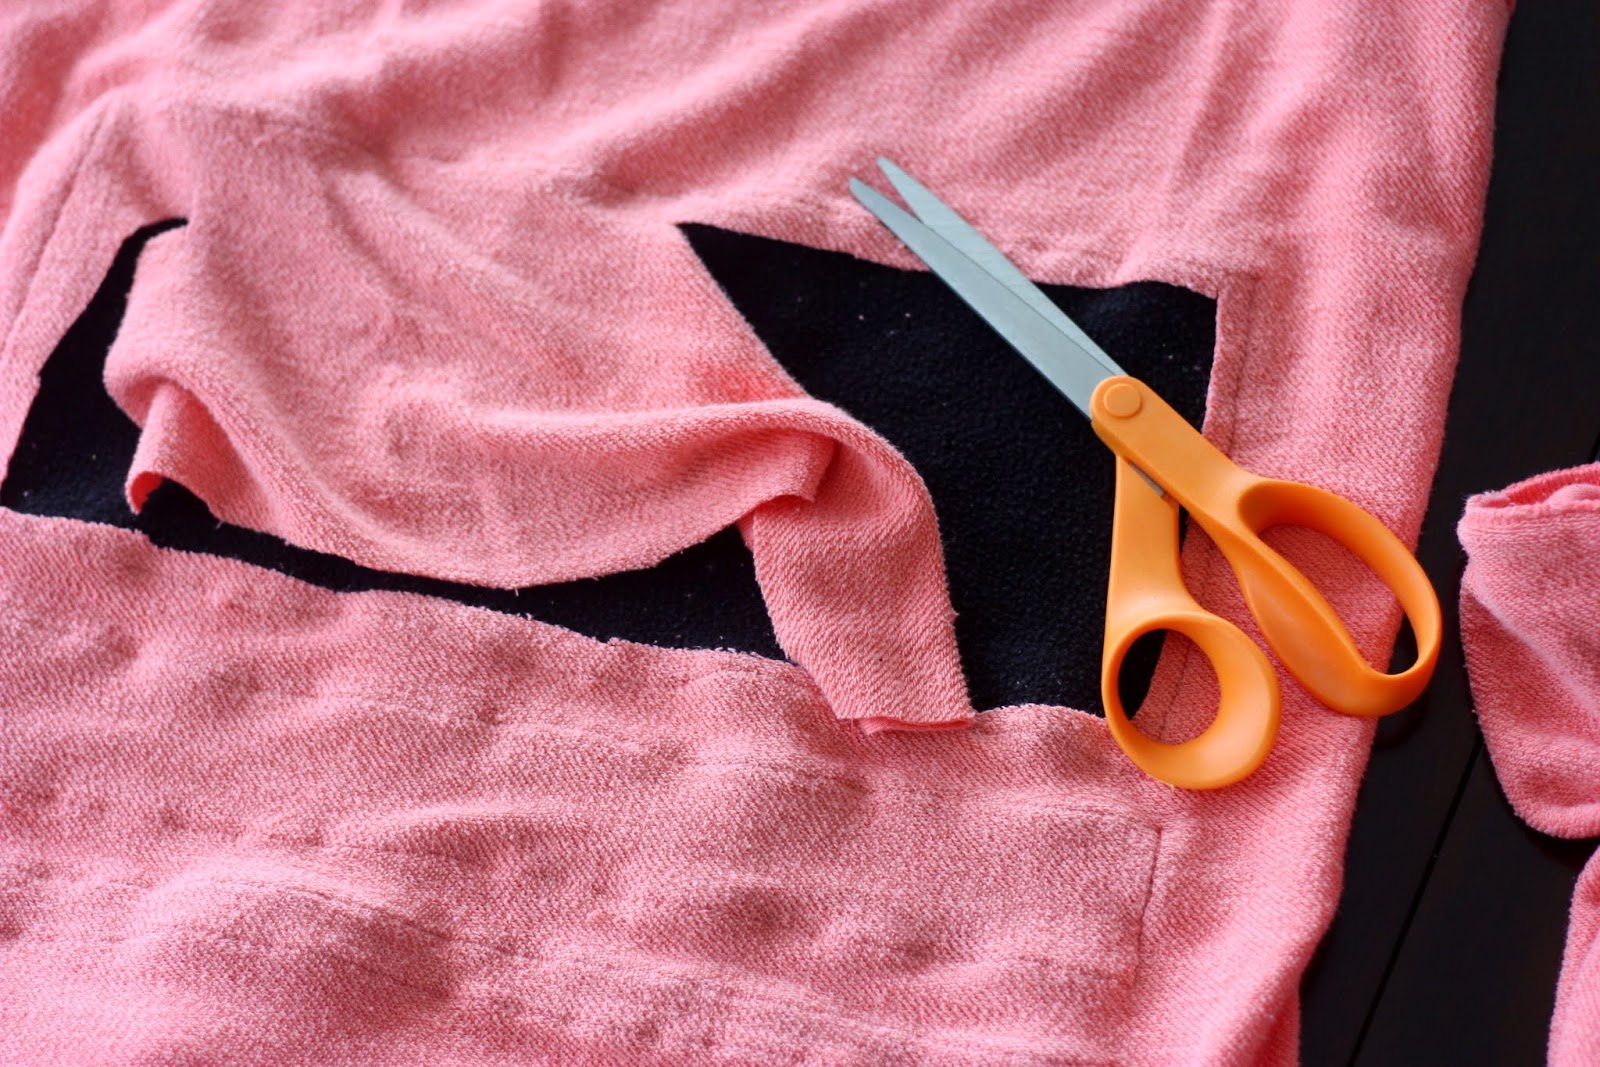
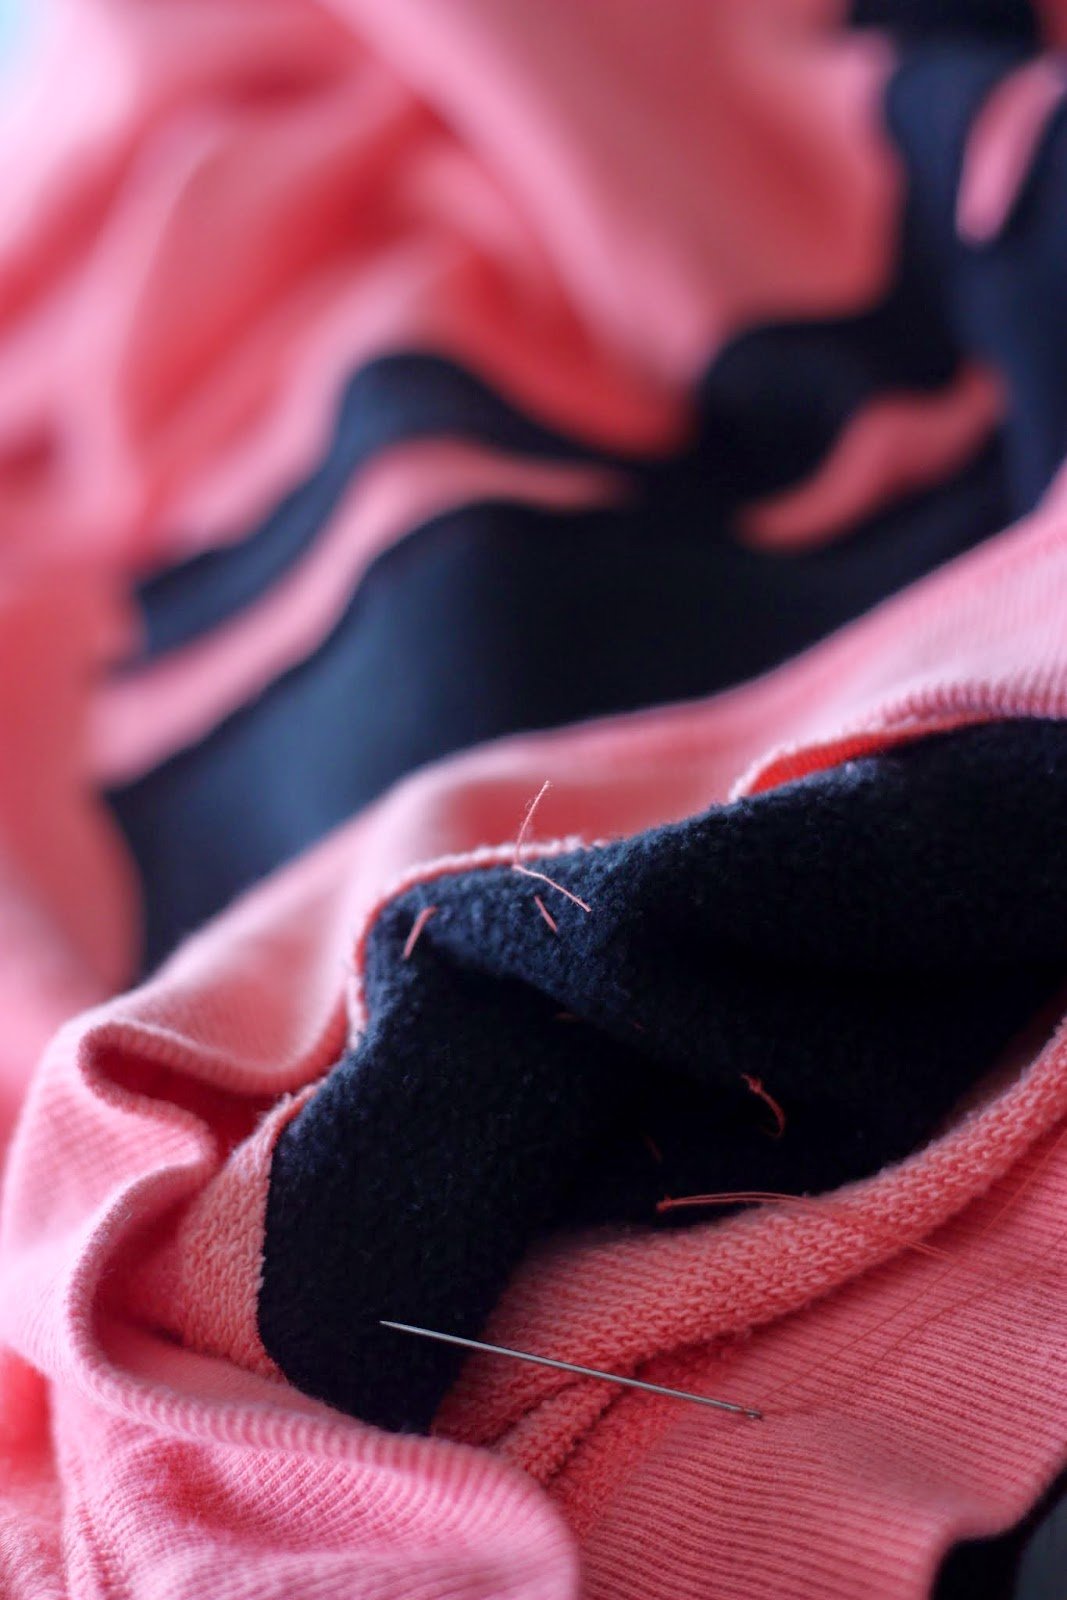
Step 4: Cut out the extra fabric from the coral sweatshirt that is now hidden beneath the new black fabric. This step is optional, but removing the excess fabric will limit the bulkiness of the sweatshirt. And I used the excess coral fabric to add elements of contrasting design.
Step 5: Cut out and hand stitch any additional design items.
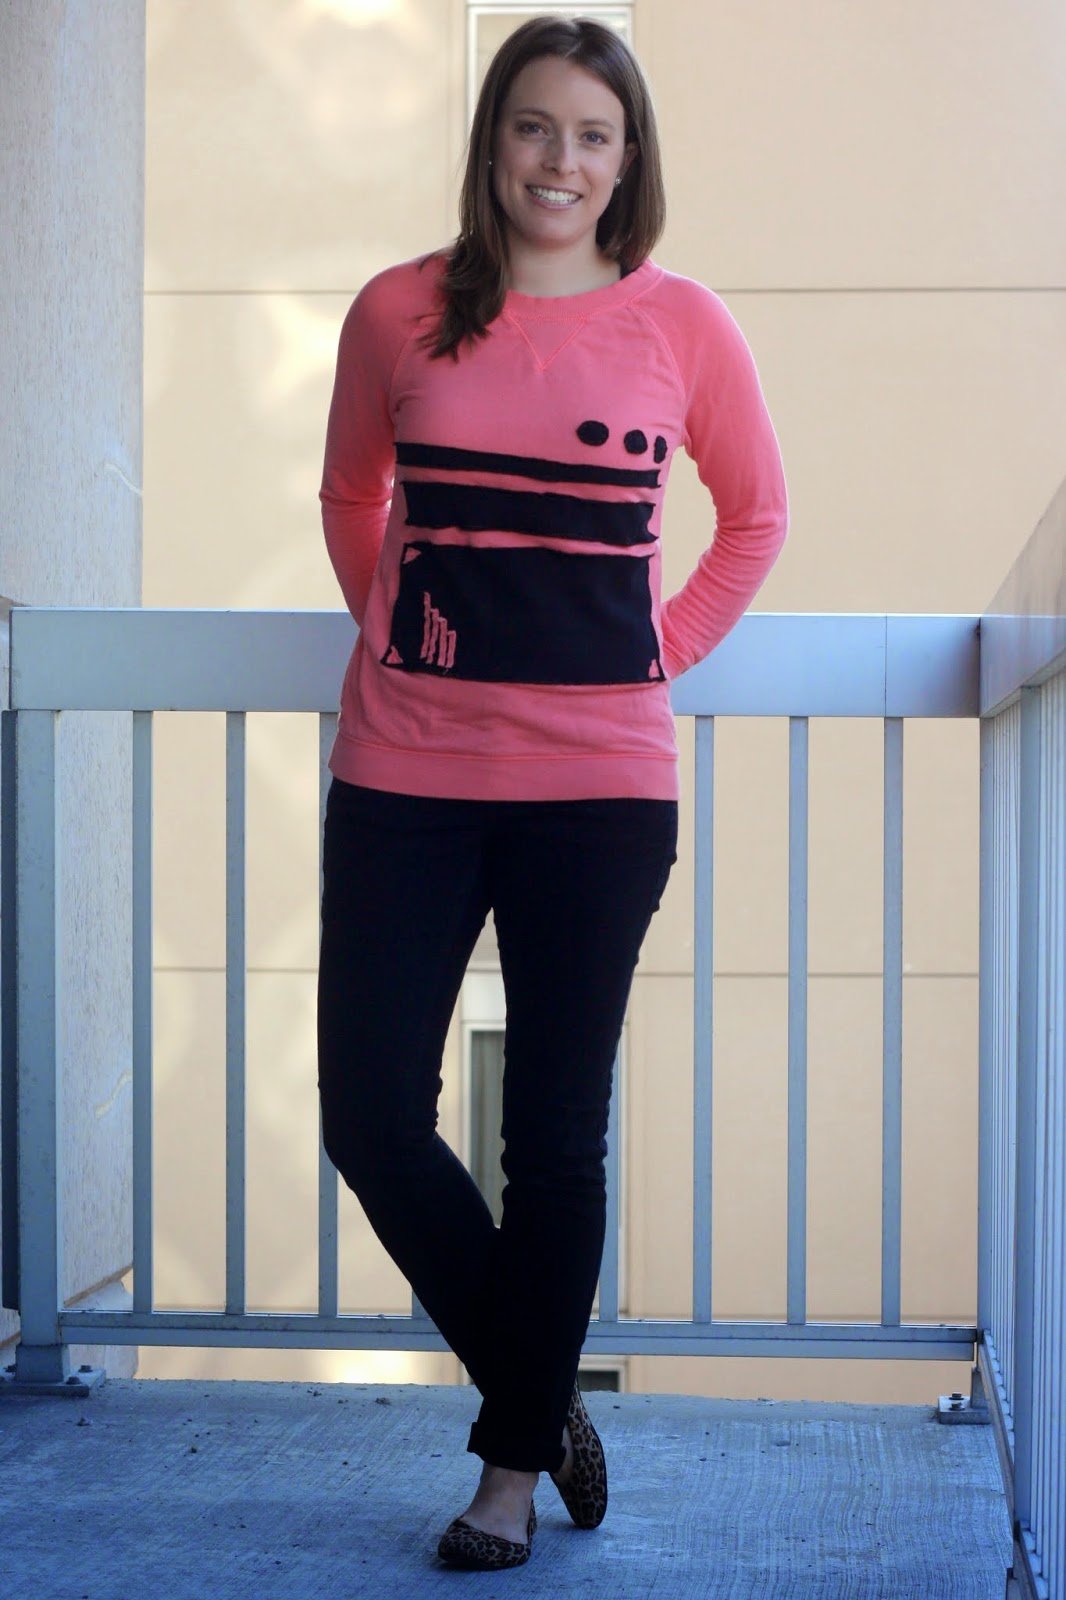
Sweatshirt (refashioned DIY); Jeans – Target; Shoes – Target


One Comment