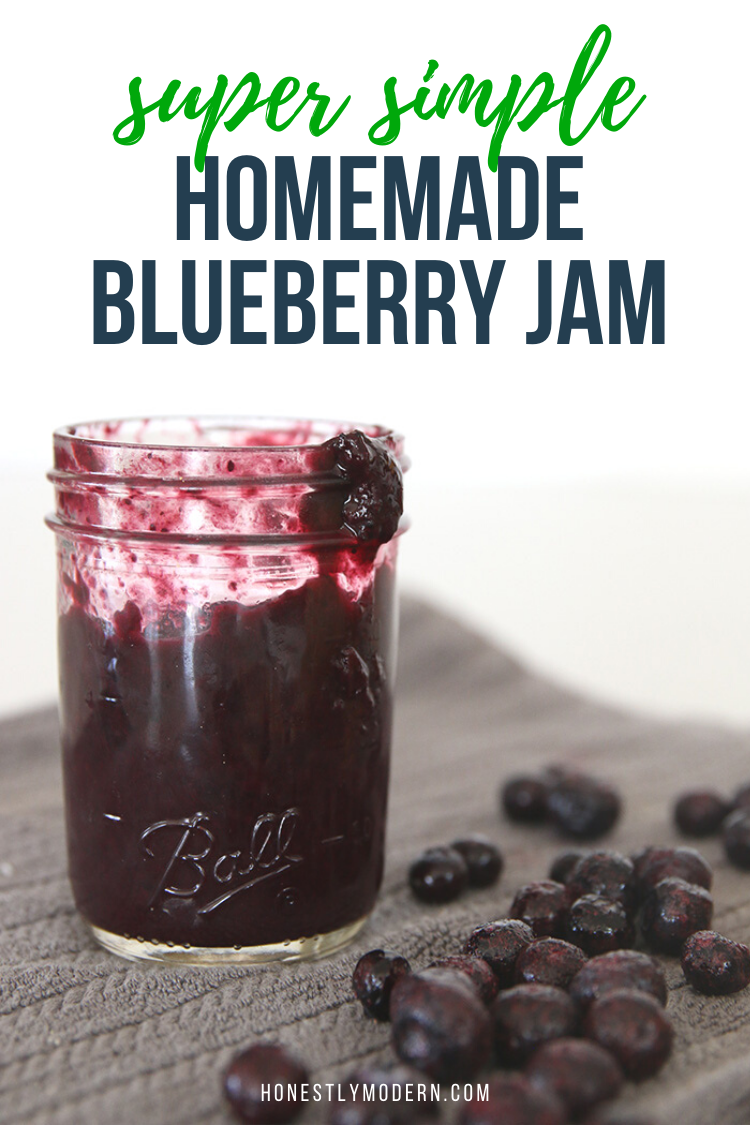
Simple & Delicious Homemade Blueberry Jam
If you’re looking for a healthier and low or zero waste jelly or jam option, look no further. This blueberry jam will crush those PB & J sandwiches packed in your kiddos lunches. It’s easy to make, has no added sugar or pectin, and actually looks and tastes like store-bought jam. Your kids will never know the difference.

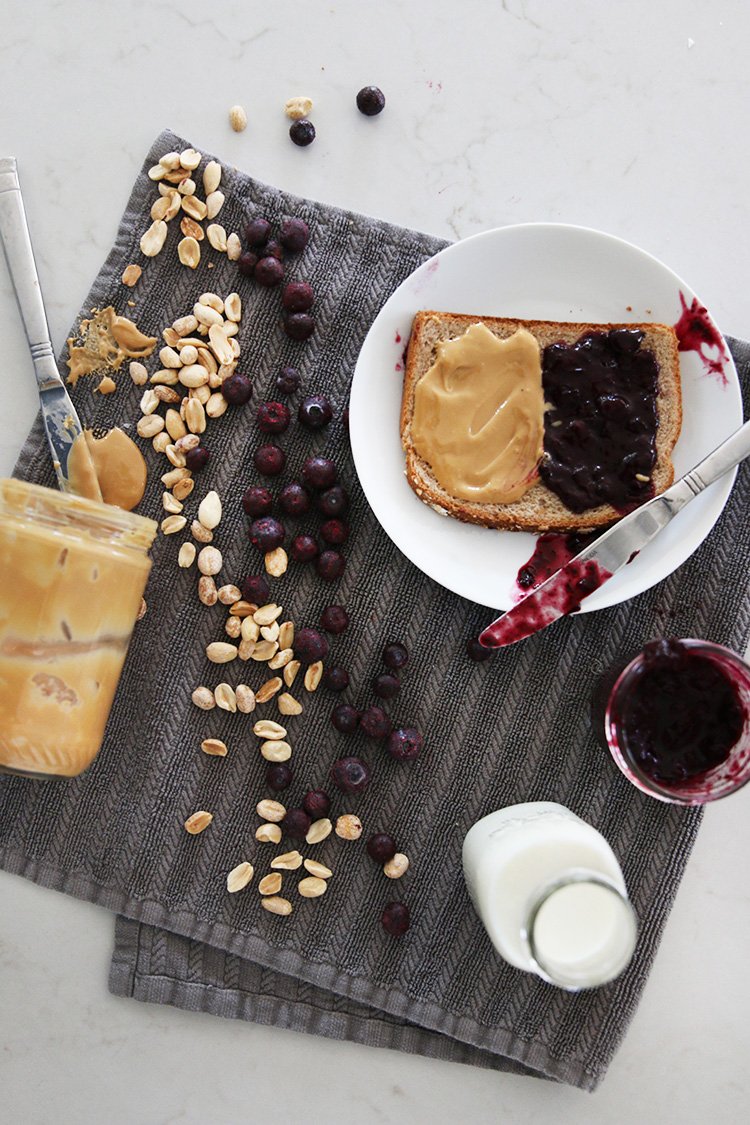
Peanut butter and jelly sandwiches are a staple in our house. Shocking, I know. While I’m partial to the creamy, dreamy peanut butter on its own, my son takes a peanut butter and jelly sandwich with dried apples almost every day for lunch. After I ate a peanut butter sandwich for lunch every day for all of middle and high school, apparently the apple didn’t fall from the tree.
For health reasons, as much as waste or cost reasons, I really wanted a jelly or jam with no added sugar. I had trouble finding store-bought options my boys liked. Then I realized how easy it is to make my own jam, and we haven’t looked back.
What Is The Difference Between Jelly and Jam?
Before I go any further, let’s quickly address the difference between jelly and jam. Essentially, jelly is made with fruit juice while jam is made from whole fruit. Both typically have other ingredients like added sugar and pectin.
Technically, this recipe is blueberry jam, because I make it with whole fruit. As long as I’m patient enough, the consistency is quite smooth, so it might work well as a replacement for jelly even if your family is particular about consistency.
I tried making a really simple jam with no added sugar or pectin using a variety of fruits over the years, including grapes, strawberries, and raspberries. None of these really worked out for me. In those cases, I found the sugar and pectin were pretty important to the process. I figured as much but thought it was worth a try to see what happens with just boiled fruit and water.
Simple Homemade Blueberry Jam
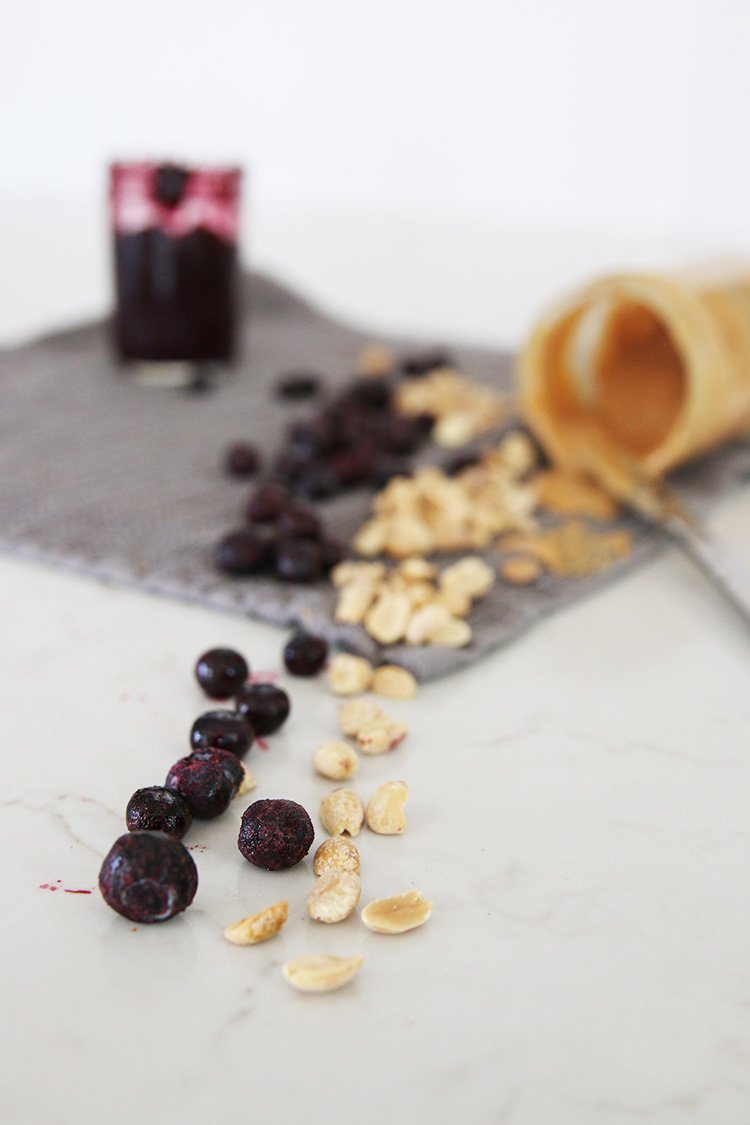
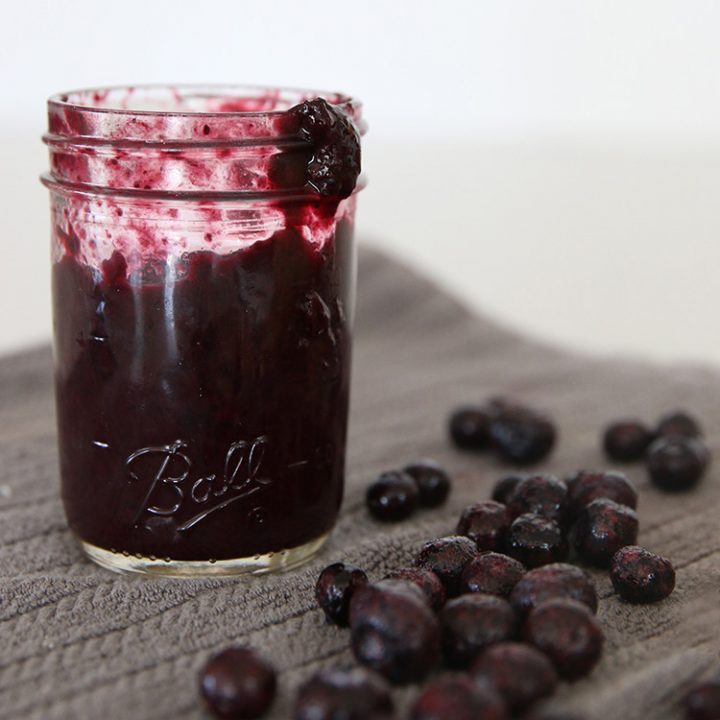
Blueberries, however, proved to be the perfect ingredient to boil up, add in a bit of water and mash gently to make a tasty blueberry jam that my boys love.
We started making our homemade blueberry jam about 18 months ago. My boys have had store-bought jelly or jam a handful of times, and they recognize a slight difference but have no qualms about the much healthier homemade blueberry jam made with love by their mom.
If you haven’t tried this, I highly recommend it. I often make it in the morning before school while my boys are eating breakfast. It’s so easy and requires little attention but for a bit of stirring here and there.
If you try this out, be sure to let me know how you liked it. I love hearing from all of you when you bring our family’s ideas into your own homes. And if your kiddos like classic peanut butter and jelly sandwiches, you can definitely rock this homemade peanut butter recipe with the right equipment.
Between sandwich made with homemade jelly jam and made from scratch peanut butter, along with his homemade dried apple slices, my son likes to humblebrag that he has an almost entirely homemade lunch. Now I just need to master my grandmother’s homemade bread and his school lunch will all be made from scratch.
Don’t worry, the peanut butter and jelly sandwich recipes are really easy. No one’s fooling me that I’m about to be the next Betty Crocker, preparing every meal for my family from scratch. Ain’t no time or patience for that. But when it comes to homemade jam and homemade peanut butter, you got this!
Have you tried making homemade jam before? If so, what flavor did you make and how did it turn out?

Homemade Blueberry Jam
Ingredients
- 3 cups frozen blueberries
- 1 /2 - 1 cup of water
Instructions
- Add blueberries and 1/2 cup of water in a small saucepan over medium heat, stirring occasionally. Bring to a simmer.
- Gently mash the blueberries while they are cooking. I use a potato masher and included the link to it below, but you can use anything that won't ruin your pans.
- Add 1/4 cup of water if the mixture starts to get dry.
- Continue simmering and mashing, adding 1/4 cup of water each time it gets too dry, until you've reached your desired consistency. The mixture will become slightly more firm once It cools.
- Store in an airtight container in the fridge and enjoy.
- This will last in the fridge for at least two weeks (and maybe more).
Recommended Products
As an Amazon Associate and member of other affiliate programs, Honestly Modern earns from qualifying purchases.